Using the Embedded Web Page
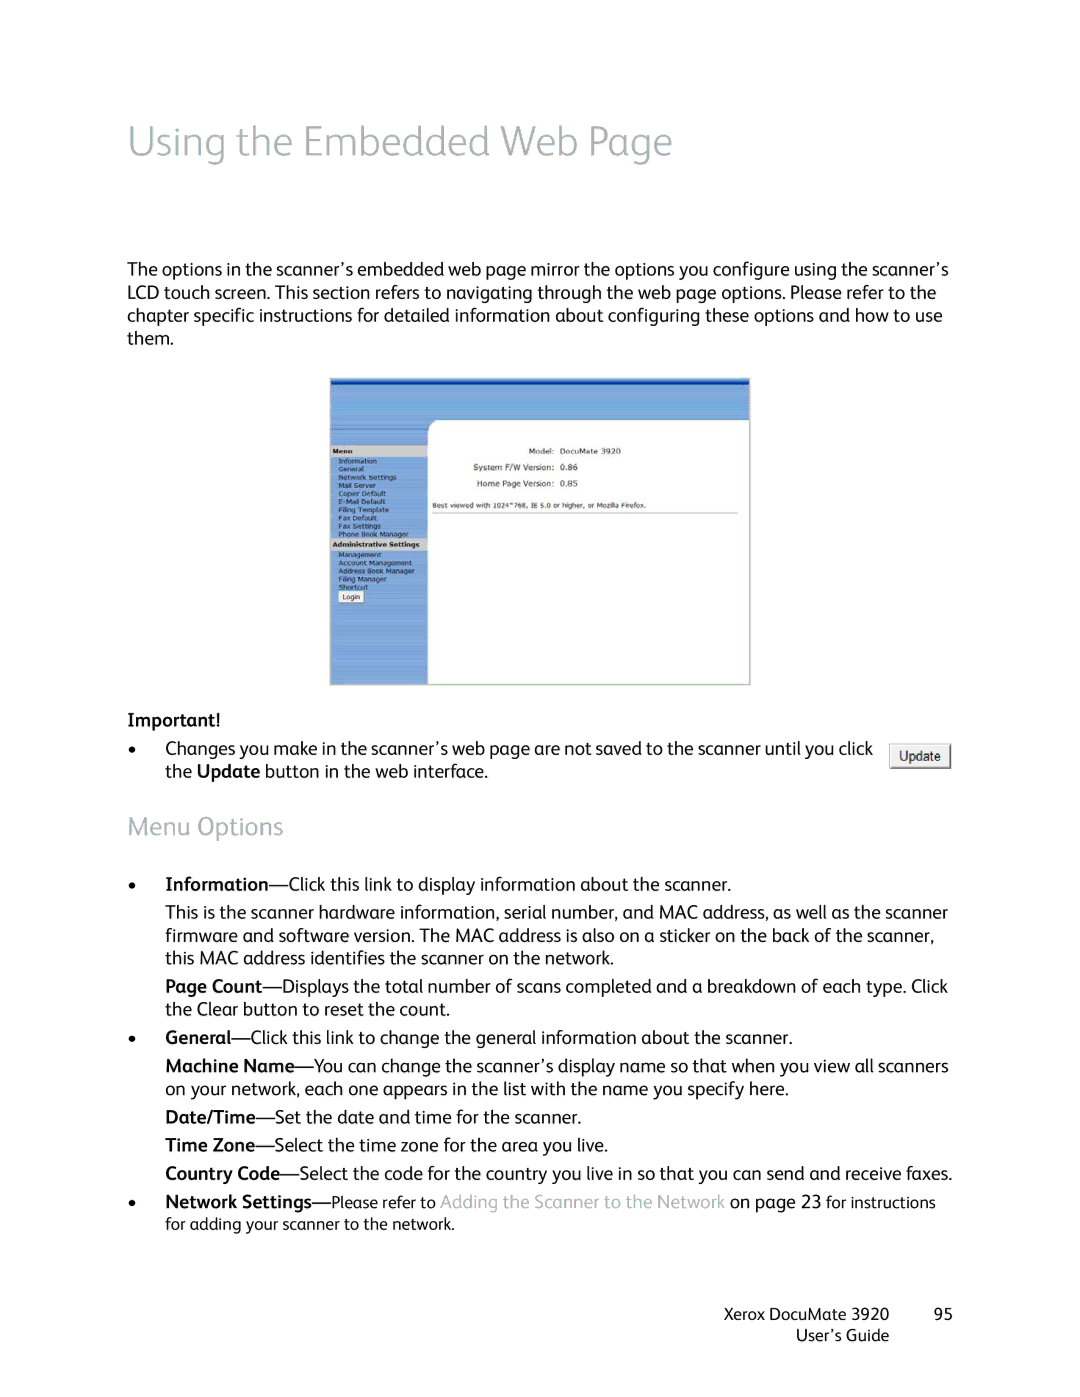
The options in the scanner’s embedded web page mirror the options you configure using the scanner’s LCD touch screen. This section refers to navigating through the web page options. Please refer to the chapter specific instructions for detailed information about configuring these options and how to use them.
Important!
•Changes you make in the scanner’s web page are not saved to the scanner until you click the Update button in the web interface.
Menu Options
•
This is the scanner hardware information, serial number, and MAC address, as well as the scanner firmware and software version. The MAC address is also on a sticker on the back of the scanner, this MAC address identifies the scanner on the network.
Page
•
Machine
Country
•Network
Xerox DocuMate 3920 | 95 |
User’s Guide |
|