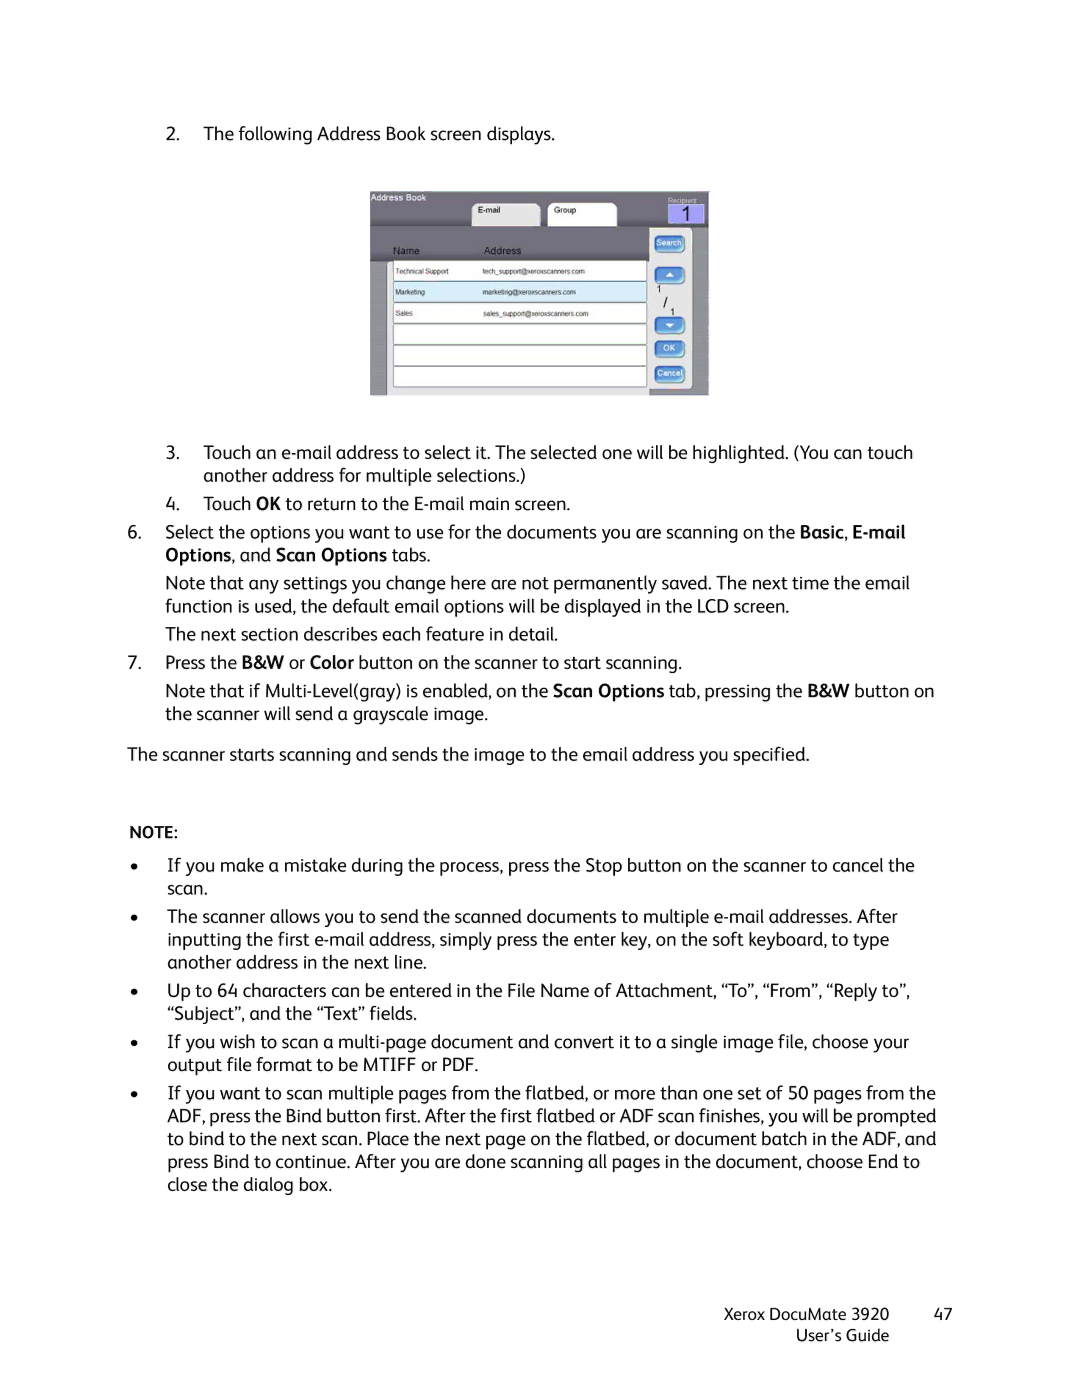
2.The following Address Book screen displays.
3.Touch an
4.Touch OK to return to the
6.Select the options you want to use for the documents you are scanning on the Basic,
Note that any settings you change here are not permanently saved. The next time the email function is used, the default email options will be displayed in the LCD screen.
The next section describes each feature in detail.
7.Press the B&W or Color button on the scanner to start scanning.
Note that if
The scanner starts scanning and sends the image to the email address you specified.
NOTE:
•If you make a mistake during the process, press the Stop button on the scanner to cancel the scan.
•The scanner allows you to send the scanned documents to multiple
•Up to 64 characters can be entered in the File Name of Attachment, “To”, “From”, “Reply to”, “Subject”, and the “Text” fields.
•If you wish to scan a
•If you want to scan multiple pages from the flatbed, or more than one set of 50 pages from the ADF, press the Bind button first. After the first flatbed or ADF scan finishes, you will be prompted to bind to the next scan. Place the next page on the flatbed, or document batch in the ADF, and press Bind to continue. After you are done scanning all pages in the document, choose End to close the dialog box.
Xerox DocuMate 3920 | 47 |
User’s Guide |
|
