Page
user’s guide
scanner
DocuMate
Copyright 2008 Visioneer, Inc
Scanning
Table of Contents
Installation
Welcome
Scanning with the ISIS Interface
Maintenance
Scanning with the TWAIN Interface
Scanning with the WIA Interface
What’s in the Box
Welcome
DocuMate 752 Scanner User’s Guide
The Xerox DocuMate 752 Scanner
ADF cover release Scanner lock Status lights Power switch Power jack
Welcome
Document pad-Holds documents in place on the scanner glass
IBM-compatible Pentium 4 PC, or AMD equivalent with
What You Need
Documentation
Before You Begin
Installation
Please make sure of the following before you begin installation
To assemble the scanner
Step 1 Assemble the Scanner
DocuMate 752 Scanner User’s Guide
Installation
7. Flip up the Paper Guide Extension to fully extend it
8. Slide the Scanner Locking Tab to its unlocked position
10. Proceed to “Step 2 Install the Software.”
To install the software
Step 2 Install the Software
2. Make sure the box for Scanner Driver is checked
1. On the Main Menu, select Install Products
3. Click Install Now
Installation
The Welcome to the One Touch 4.0 Setup Wizard opens 5. Click Next
8. Click Next
During installation of the driver you will see this window asking you to select one of the images for your Color Space setting
To connect your DocuMate 752 scanner
Step 3 Connect the Power Supply
Step 4 Connect the USB Cable and Turn on the Power
3. Turn on the power switch, located on the back of the scanner to the left of the power port
5. Click OK
2. Click Install Products
Additional Applications for Your Scanner
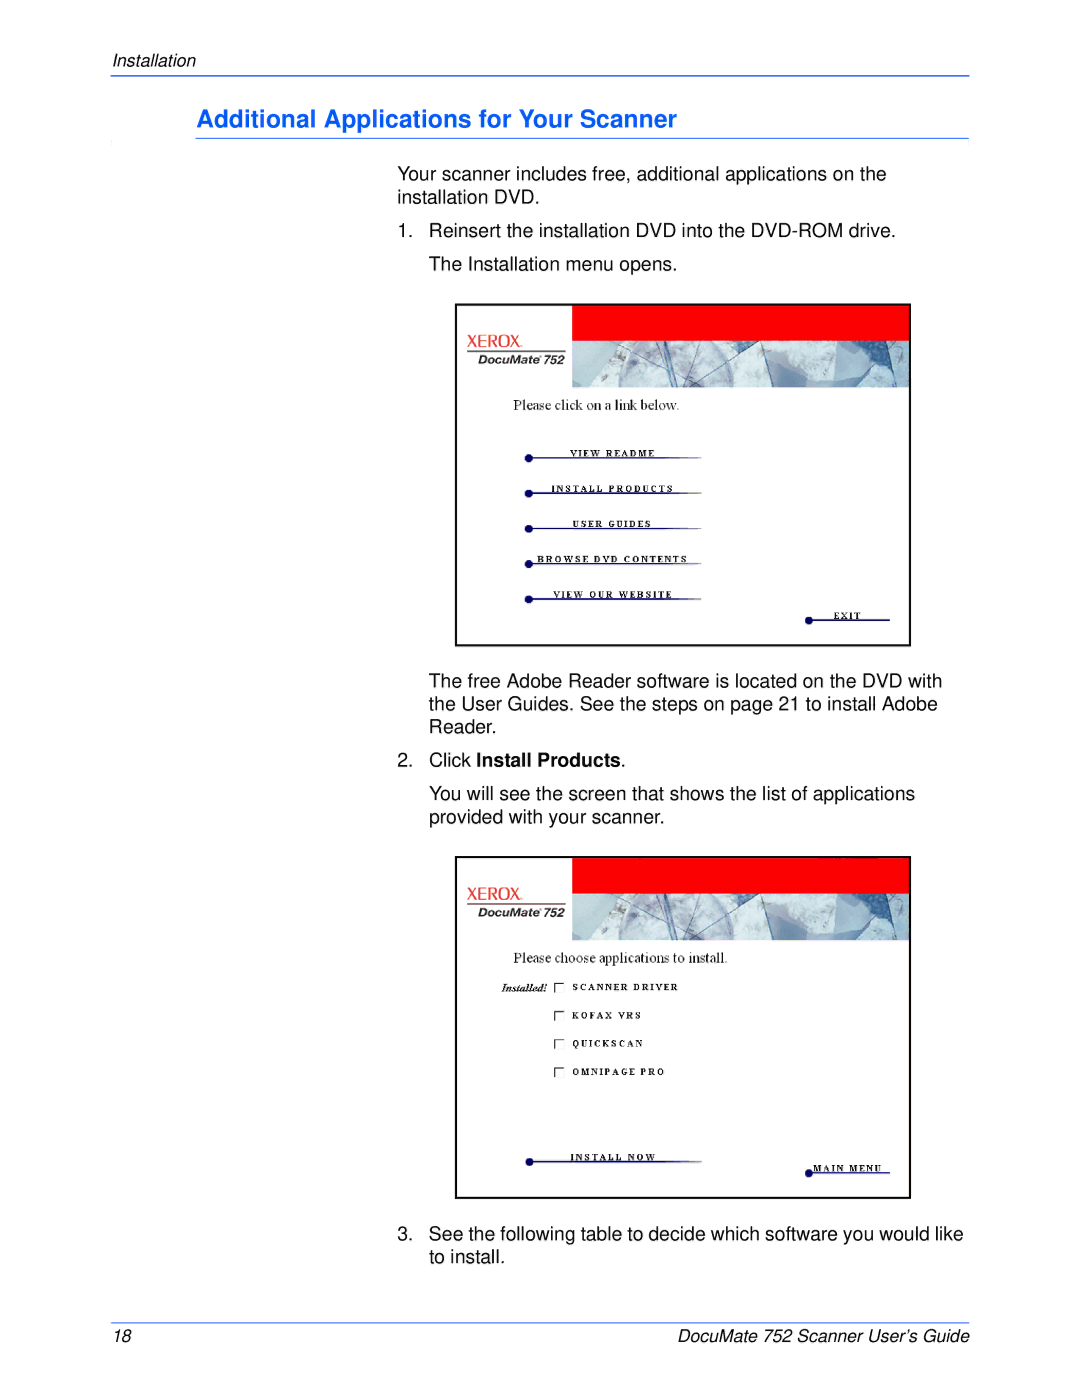
About the Software
other software you want to install, and click Install Now. Follow
QuickScan
Kofax Scan Demo
View the User Guides
Scanner Readme file has late-breaking news about your scanner
To view and save the User Guides
To register your scanner
Register Your Scanner
Scanning
Loading a Stack of Documents
Scanning Basics
For Simplex one-sided scans, load the documents face up
Scanning a Single Page
Scan from the One Touch Button Panel
Check the Scan Settings Before Scanning
Using the One Touch Panel
About the One Touch Button Panel’s Names and Icons
For example
To open the One Touch Properties window
Configuring the One Touch Buttons
About the One Touch Properties Window
The settings on the One Touch Properties window are
Color. Black and White. Grayscale. Configure Before Scan
Click the icon of a selected configuration to view its settings
To select new settings for the scanner
Selecting New Settings for a Button
4. Select a Format and Pages option
Setting Destination Application Properties
Text Documents Properties
The Add Text Based Link dialog box opens
Image Documents Properties
Storage Properties
eMail Properties
4. Select the options for color document handling
Create Single Image Files
Selecting Page Format Options
To select a JPEG or PDF file size
Image Formats
Text Formats
To select a file type for the text format
Page
To change the button names
Renaming a One Touch Button
To select options
Selecting Options for the One Touch Properties Window
PDF applications are for documents scanned to PDF format
Creating a New Scan Configuration
To create a new configuration
NOTE If you select a printer or other device in the Select Destinations list, the dialog box may have an additional Device Settings tab for setting specific options for the particular device
7. Click the Page Settings tab to select page settings
When using the AutoCrop to Original option for a single page on the Flatbed Glass, make sure to align the top left corner of the item with the arrows at the top left corner of the Flatbed Glass
The original with a red watermark over black text
Original Image
Inverted Image
The scanned item with the red filtered out
8. Click the Advanced Settings tab
The Device Settings Tab
The Storage Options Tab Archive
Scanning to Multiple Folders
Setting up multiple folders for transfer to storage
Scanning
7. Click the Storage Options tab
8. Click the Browse button
9. Select the folder you created for storing the scanned documents
10. Click OK. The selected folder will now be set as the Storage Location, such as “Business Receipts.”
Scan to multiple storage folders
To edit or delete a scan configuration
Editing or Deleting Scan Configurations
Click the Key/Lock icon to toggle between locked and unlocked
5. Edit the settings and click OK 6. Click OK to close the dialog box
Scanning
DocuMate 752 Scanner User’s Guide
To Set Configure Before Scan
Configure Before Scan
To Scan Using Configure Before Scan
Canceling a Configure Before Scan
Scanning with Optical Character Recognition OCR
To scan and burn to a CD
Scan and Burn to a CD
Scanning
The One Touch 4.0 Link Properties window opens
9. Make sure a CD is in the CD burner 10. Click the Burn to CD button
The CD burner begins and your scanned documents are written to the CD
To scan with event forwarding
Scanning with Event Forwarding
DocuMate 752 Scanner User’s Guide
5. Start scanning using the button you selected for event forwarding
6. Select the application in the box and click OK
Scanning
To scan and create an HTML web page
Creating an HTML Web Page from Your Scanned Documents
NOTE Depending on the complexity of the document, its conversion to the HTML format may take a few moments
Click the arrows until Button 7 is on the panel, then click it
Transferring Scanned Documents to Storage
To Transfer Documents to a Server or Mapped Drive
To Use OCR Before Transferring to Storage
The Browse For Folder window opens
Checking the Hardware and Setting the Lamp Power Saving
2. Click the Properties button
Scanning with the TWAIN Interface
To scan with the TWAIN Interface
The Basic Steps to Open the TWAIN Interface
Basic Interface or Advanced Interface button
The Two TWAIN Interface Options
To scan from the Basic Interface
Scanning from the TWAIN Basic Interface
8. Click the Preview button
Scanning from the TWAIN Advanced Interface
4. Click one of the icons to select a configuration
To adjust a setting
Adjusting the Image with the Advanced Interface
To adjust the resolution
Adjusting the Resolution
To adjust the brightness and contrast
Adjusting the Brightness and Contrast
To adjust the color settings
Adjusting Gamma, Saturation, and Color Hue
To set the image size
Adjusting Input Size
5. On the image example, a dotted outline shows the selected size
The Scan Info Box
The ruler units
To set the ruler units
To change or delete a profile you created
Creating a New Advanced Interface Profile
To create a new profile
Display the Device Configuration
Scanning with the WIA Interface
To scan using WIA from Microsoft Paint
6. Adjust settings of the previewed image as desired
To select the scanner settings before you scan
Fine Tuning Your Scans
1. On the scan window, click Adjust the quality of the scanned picture
Scanning with the ISIS Interface
Accessing the ISIS interface in QuickScan
To clear a paper jam
Maintenance
Cleaning the Scanner Glass
Clearing Paper Jams
To clean the ADF
Care and Maintenance
Cleaning the Automatic Document Feeder
To replace the ADF Pad assembly
Replacing the ADF Pad Assembly
Problem The scanner won’t scan. What’s wrong?
Troubleshooting
Problem The motor runs but doesnt feed the paper. How can I fix it?
Problem The ADF won’t feed pages properly. How can I fix it?
1. Unplug the power cable from the scanner 2. Restart your computer
Normal Operation
Error Light Troubleshooting Codes
Error Codes
Use the table below as a reference for resolving hardware issues
2. Unplug the scanner USB cable
Uninstalling Your Scanner
To Install Another Driver
6. Unplug the scanner USB cable
Xerox DocuMate 752 Scanner Specifications
Part Number
Xerox DocuMate 752 Scanner Parts List
Maintenance
Part Name
DocuMate 752 Scanner User’s Guide
Maintenance
Section 2 EMC
Section 1 Safety Introduction
Notices and Safety
Appendix A Notices
DocuMate 752 Scanner User’s Guide
Section 3 Operational Safety Information
Do These
Do Not Do These
Disconnect Device
Warning - Electrical Safety Information
Section 4 Electrical Information
Electrical Supply
Agency
Section 5 Emergency Power Off
Section 6 Maintenance Information
Section 7 Product Safety Certification
Product Recycling & Disposal USA & Canada
Section 8 Regulatory Information
Section 9 Compliance Information
Certifications in Europe
DocuMate 752 Scanner User’s Guide
European Union RoHS and WEEE Compliance
Professional/Business Environment
Energy Star for the USA Energy Program Compliance
DocuMate 752 Scanner User’s Guide
Section 10 Illegal Copies
DocuMate 752 Scanner User’s Guide
Canada
DocuMate 752 Scanner User’s Guide
Section 11 EH&S Contact Information
Other Countries
Contact Information
DocuMate 752 Scanner User’s Guide
Index
Color 54, 88 color
dpi 90, 101 DVD-ROM drive
DocuMate 752 Scanner User’s Guide
Index
USB port
Index
Text Documents Properties 38 Text Editors
text file format 46 Text Formats 46 TIFF
DocuMate 752 Scanner User’s Guide
Index
05-0690-200