Scanning
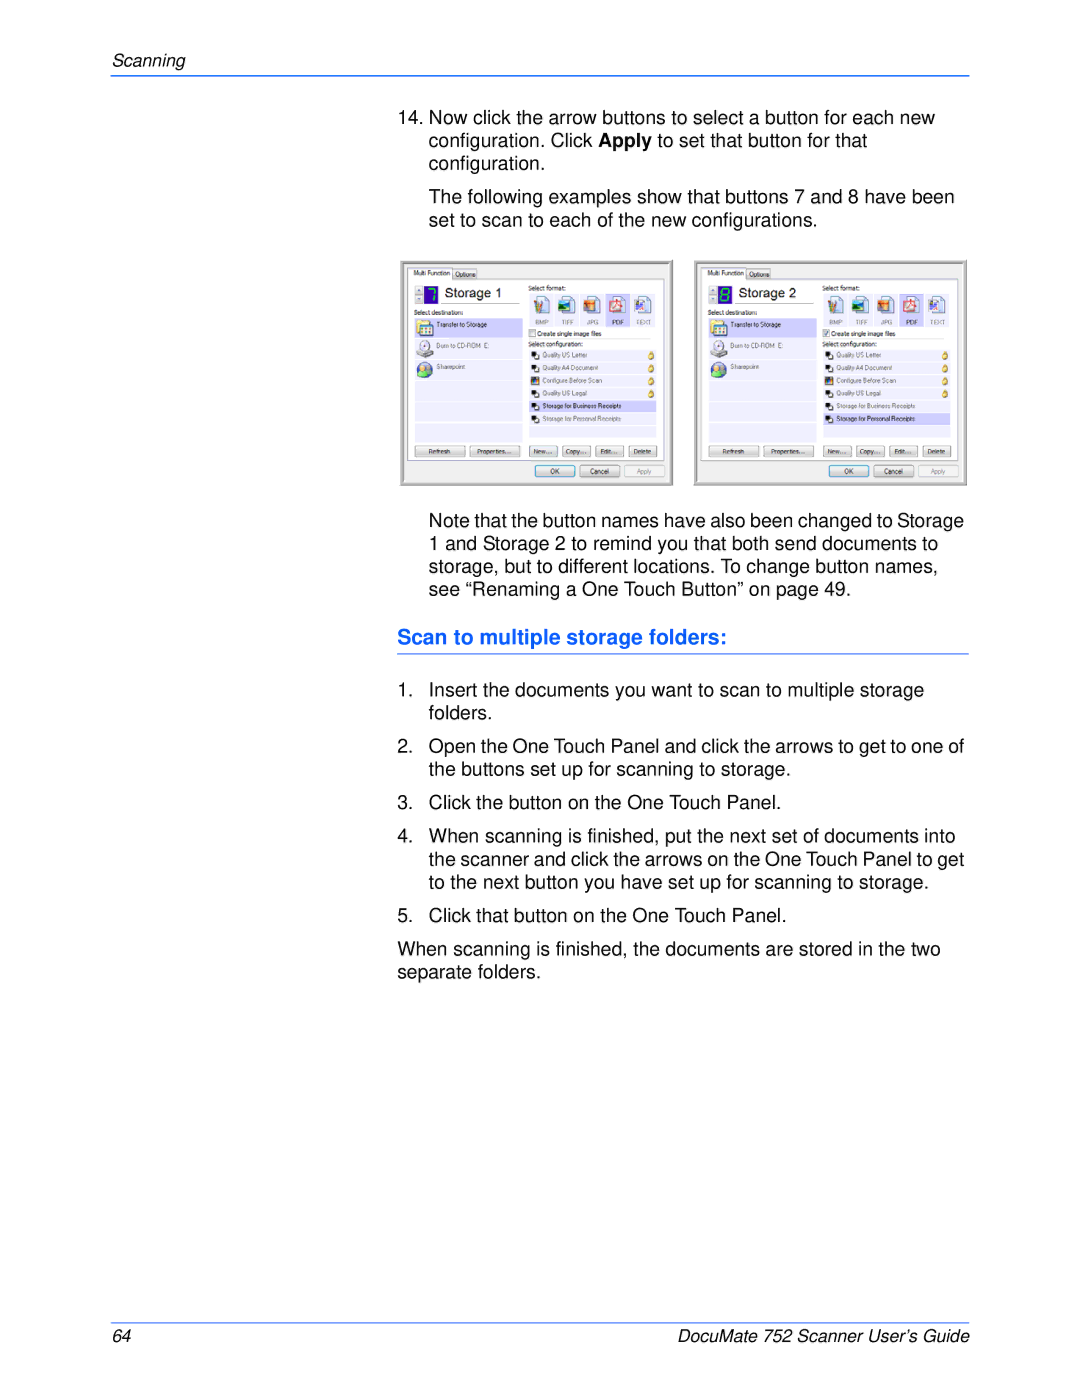
14.Now click the arrow buttons to select a button for each new configuration. Click Apply to set that button for that configuration.
The following examples show that buttons 7 and 8 have been set to scan to each of the new configurations.
Note that the button names have also been changed to Storage 1 and Storage 2 to remind you that both send documents to storage, but to different locations. To change button names, see “Renaming a One Touch Button” on page 49.
Scan to multiple storage folders:
1.Insert the documents you want to scan to multiple storage folders.
2.Open the One Touch Panel and click the arrows to get to one of the buttons set up for scanning to storage.
3.Click the button on the One Touch Panel.
4.When scanning is finished, put the next set of documents into the scanner and click the arrows on the One Touch Panel to get to the next button you have set up for scanning to storage.
5.Click that button on the One Touch Panel.
When scanning is finished, the documents are stored in the two separate folders.
64 | DocuMate 752 Scanner User’s Guide |