USER’S Guide
Warranty Information
Certification
Safety Summary
General
Safety Symbols
Declaration
EMC
Declaration of Conformity
Acoustic Noise Information
Printing History
Table of Contents
Types of Scpi Commands
Checkout Procedure Case of Trouble
VXIplug&play Power Products Instrument Drivers
DVM Connections
Introduction Programming the Output
Types of Scpi Messages
Scpi Data Formats
Triggering Output Changes
Display Commands 103
Inhibit/Fault Indicator
Calibration Commands 100
Measurement Commands 104
System Commands 125
Output Commands 114
Status Commands 121
Trigger Commands 126
Specifications 143 Supplemental Characteristics 144
Common Commands
Additional Commands
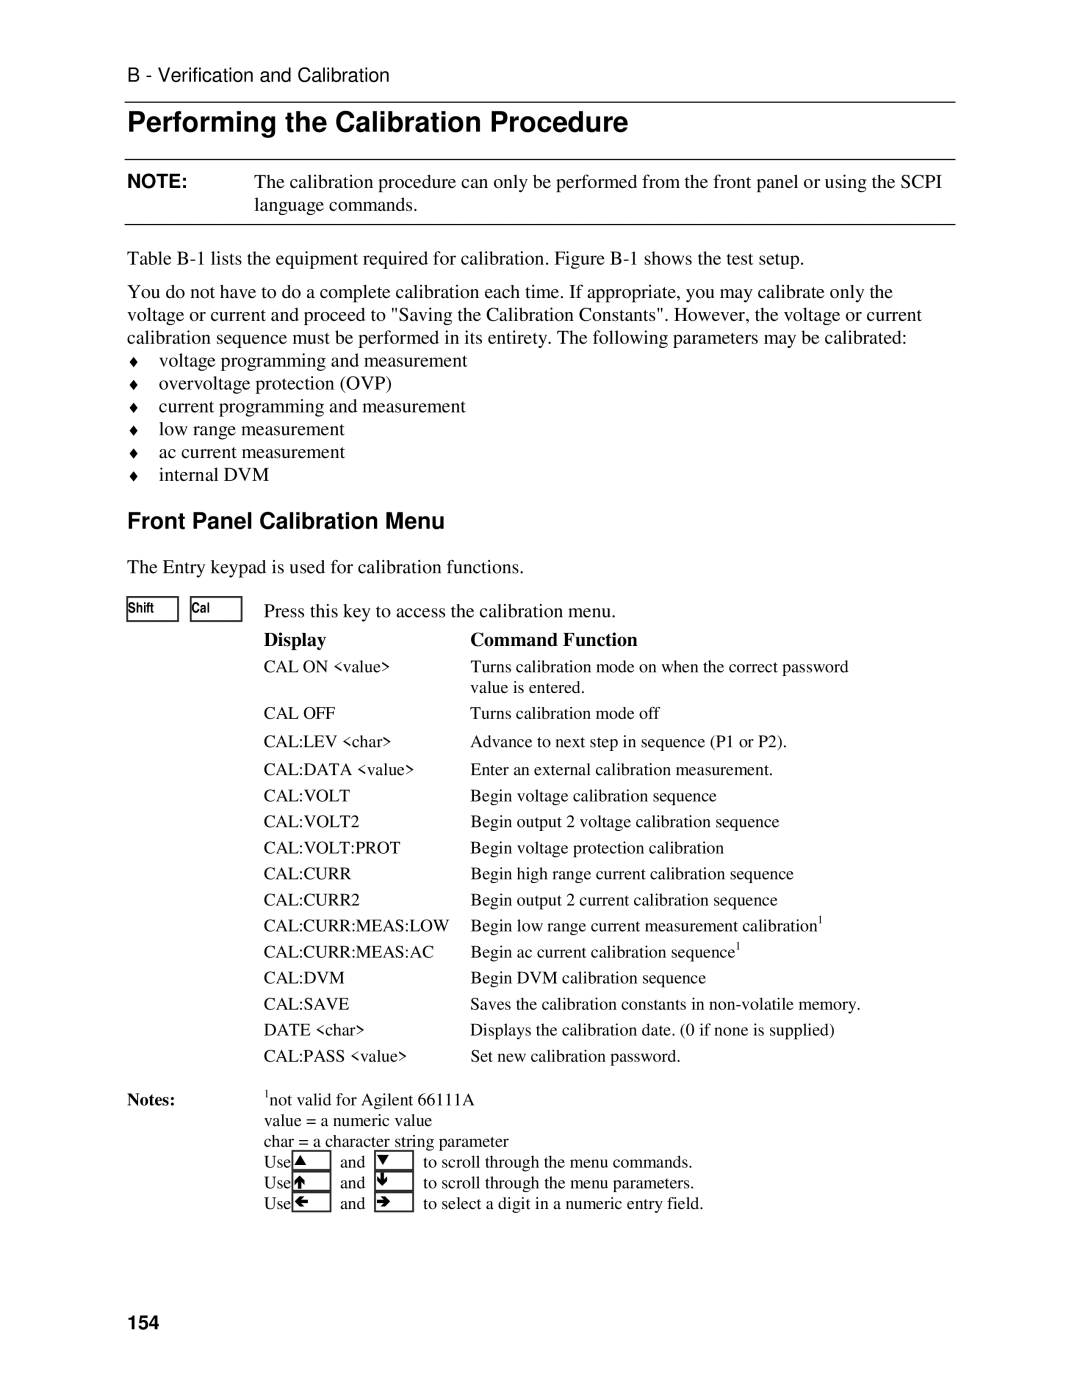
Performing the Calibration Procedure 154
Basic
Error Number List 161
Introduction 165
Introduction 177
Quick Reference
Front Panel At a Glance
Use the front panel Address key to configure the interface
Instrument Configuration
Rear Panel At a Glance
Front Panel Number Entry
Use the Function keys and Entry keys to enter a new value
Front Panel Annunciators
Immediate Action Keys
Front Panel Menus At a Glance
Scpi Programming Commands At a Glance
ABORt CALibrate
Programming the unit using Scpi COMPatibility commands
Using the front panel
Using the programming interface
Installing the VXIplug&play instrument driver
Option
Safety Considerations
Options and Accessories
Description
Agilent 66309B
Description and Model Differences
Agilent
Agilent 66309D
Front Panel Controls
Common Capabilities
Remote Programming
Output 1 Characteristic
Dc Source Output 1 Characteristic
Output 2 Characteristic
Output 2 Characteristic
Option 521 Description Agilent 66309B/D only
Option 521 Factory Settings
Option 521 Relay Modes
Page
Additional Agilent 66311/66309 Operating Settings Checks
Installation and Operation Checklist
Check the Operating Settings and Conditions
Check the Phone Connections
Location
Cleaning
Inspection
Damage Packaging Material
Bench Operation
Connect the Power Cord
Input Connections
Rack Mounting
Output
Turn the unit off before connecting any wires
Output Connections
Current Ratings
Remote Sense Connections
Remote Sense Connections
Remote Sense Connections with External Relays
Load Regulation and Voltage Drop in the Remote Sense Leads
Maintaining Stability while Remote Sensing
Open Sense Lead Protection
Local Sensing
Message Description
Output Compensation
DVM Connections
OVP Considerations
Measuring Circuits that are Not Powered by the Main Output
Measuring Circuits Not Powered by the Main Output
Measuring Circuits Floating with Respect to the Main Output
External Protection Connections
10. FLT/INH Examples
Computer Connections
FLT/INH DIGital I/O Connector
Digital I/O Connections
Gpib Interface
RS-232 Interface
Pin Input/Output Description
Press Output On/Off
Checkout Procedure
Procedure Display Explanation
Press Protect
Procedure Display Explanation
Press Shift, Channel
Selftest Error Messages
Case of Trouble
Enter Number 12, Enter Press Output On/Off
Runtime Error Messages
Runtime Error Messages
Power-On Selftest Errors
Line Fuse
Introduction
Front Panel Description
Front Panel Operation
System Keys
Display Command Function
OFF
Immediate Action Keys
Function Keys
Scrolling Keysq
Metering Keys
Display Measurement
Output Control Keys
Over Current
Entry Keys
Entry Keys
Selecting an output on Agilent 66309B/D units
Using the Front Panel Display
Examples of Front Panel Programming
Selecting the DVM on Agilent 66311D/66309D units
Set the output compensation
Set the output voltage
Set the output current limit
Typecap High
Set the output 2 current limit
Enable the output
Set the output 2 voltage
Keypad, press Enter Number, 7, Enter
Query and Clear Errors as follows
Querying and Clearing Output Protection and Errors
Disable Overvoltage Protection as follows
Overcurrent
Making Basic Front Panel Measurements
Use the Meter menu for making front panel measurements
Default Front Panel Measurement Parameters
Making Enhanced Front Panel Measurements
Currrang Auto
Making DVM Measurements Agilent 66311D/66309D only
Use the Meter menu for making DVM measurements
Currdet Acdc
To configure the Digio mode of the port, proceed as follows
Setting the Gpib Address and Programming Language
To configure the Ridfi mode of the port, proceed as follows
Set the Gpib address as follows
Storing and Recalling Instrument States
Gpib References
External References
Scpi References
Supported Applications
VXIplug&play Power Products Instrument Drivers
Downloading and Installing the Driver
System Requirements
RS-232 Capabilities of the DC Source
Accessing Online Help
Gpib Capabilities of the DC Source
Gpib Address
RS-232 Flow Control
Introduction to Scpi
Baud Rate
Conventions Used in This Guide
Types of Scpi Commands
Boldface font
Including Common Commands
Multiple Commands in a Message
Moving Among Subsystems
Message Unit
Using Queries
Types of Scpi Messages
Headers
Scpi Data Formats
Response Data Types
Scpi Command Completion
Suffixes and Multipliers
Class Suffix Unit Unit with Multiplier
Non-SCPI Commands
Using Device Clear
Scpi Conformed Commands
Scpi Conformance Information
Programming the Output
Power-on Initialization
Enabling the Output
Output Voltage
Output Current
Scpi Triggering Nomenclature
Setting the Voltage or Current Transient Levels
Triggering Output Changes
Output Trigger Model
Generating Triggers
Enabling the Output Trigger System
Selecting the Output Trigger Source
Single Trigger
Average Measurements
Making Basic Measurements
Controlling Measurement Samples
Making Enhanced Measurements
Window Functions
Current Ranges and Measurement Detector
RMS Measurements
Minimum and Maximum Measurements
Pulse Measurements
High/Low Measurements
Making DVM Measurements
Returning All Measurement Data From the Data Buffer
Measurement Trigger Model
Triggered Measurements
Sequence Form Alias SEQuence2 ACQuire
Selecting the Sensing Function
Enabling the Measurement Trigger System
Selecting the Measurement Trigger Source
INTernal
Generating Measurement Triggers
Single Triggers
Trigacqcouncurr number or Trigacqcounvolt number
Programming the Status Registers
Pre-trigger and Post-trigger Data Acquisition
Power-On Conditions
DC Source Status Model
Bit Configurations of Status Registers
Operation Status Group
Standard Event Status Group
PON Power On Bit
Questionable Status Group
Status Byte Register
MSS Bit
Determining the Cause of a Service Interrupt
Servicing Operation Status and Questionable Status Events
RQS Bit
Monitoring Both Phases of a Status Transition
Inhibit/Fault Indicator
Remote Inhibit RI
Bit Weight
Discrete Fault Indicator DFI
Using the Inhibit/Fault Port as a Digital I/O
Pin
Subsystem Commands
Subsystem Commands Syntax
Language Dictionary
Language Dictionary
Common Commands
Programming Parameters
CALibrateCURRent2
Calibration Commands
CALibrateCURRent
CALibrateCURRentMEASureLOWRange
CALibrateDATE
CALibratePASSword
CALibrateDATA
CALibrateDVM
CALibrateVOLTage
CALibrateSAVE
CALibrateSTATe
CALibrateVOLTage2
DISPlayCHANnel
Display Commands
DISPlay
DISPlayMODE
FORMat
Measurement Commands
104
MEASureARRayVOLTage? FETChARRayVOLTage?
FORMatBORDer
MEASureARRayCURRent? FETChARRayCURRent?
Query Syntax
MEASureCURRentACDC? FETChCURRentACDC?
MEASureCURRent? FETChCURRent?
MEASureCURRent2?
NR3
MEASureCURRentMAXimum? FETChCURRent MAXimum?
MEASureCURRentHIGH? FETChCURRentHIGH?
MEASureCURRentLOW? FETChCURRentLOW?
107
MEASureDVMACDC? FETChDVMACDC?
MEASureCURRentMINimum? FETChCURRentMINimum?
MEASureDVM? FETChDVM?
MEASureVOLTage? FETChVOLTage?
MEASureVOLTageHIGH? FETChVOLTageHIGH?
MEASureVOLTage2
MEASureVOLTageACDC? FETChVOLTageACDC?
109
MEASureVOLTageMINimum? FETChVOLTageMINimum?
MEASureVOLTageLOW? FETChVOLTageLOW?
MEASureVOLTageMAXimum? FETChVOLTageMAXimum?
110
Query Syntax SENSeCURRentDETector?
SENSeCURRentDETector
SENSeCURRentRANGe
111
SENSeSWEepOFFSetPOINts
SENSeFUNCtion
SENSePROTectionSTATe
SENSeSWEepPOINts
Query Syntax SENSeSWEepTINTerval?
SENSeSWEepTINTerval
SENSeWINDow
Query Syntax SENSeWINDowTYPE?
OUTPut1
Output Commands
INSTrumentCOUPleOUTPutSTATe
OUTPut1 2RELayMODE
OUTPutPONSTATe
OUTPutDFI
OUTPutDFISOURce
115
OUTPutRIMODE
OUTPutPROTectionDELay
OUTPutPROTectionCLEar
OUTPutTYPE
SOURceCURRent2
SOURceCURRent
117
SOURceCURRentTRIGger
Command Syntax Parameters RST Value Examples
SOURceCURRentPROTectionSTATe
SOURceCURRent2TRIGger
SOURceVOLTage
SOURceDIGitalDATA
SOURceDIGitalFUNCtion
119
SOURceVOLTagePROTectionSTATe
SOURceVOLTage2
SOURceVOLTagePROTection
120
SOURceVOLTageTRIGger
Status Commands
STATusPRESet
SOURceVOLTage2TRIGger
STATusOPERation?
STATusOPERationENABle
Bit Configuration of Operation Status Registers
STATusOPERationCONDition?
STATusOPERationNTR STATusOPERationPTR
Parameters Preset Value
Bit Configuration of Questionable Status Registers
STATusQUEStionable?
STATusQUEStionableNTR STATusQUEStionablePTR
STATusQUEStionableENABle
STATusQUEStionableCONDition?
124
SYSTemLANGuage
System Commands
SYSTemERRor?
SYSTemVERSion?
ABORt
Trigger Commands
Related Commands
INITiateSEQuence INITiateNAME
TRIGgerSOURce
TRIGger
127
TRIGgerSEQuence2COUNtDVM TRIGgerACQuireCOUNtDVM
TRIGgerSEQuence2 TRIGgerACQuire
TRIGgerSEQuence2COUNtCURRent TRIGgerACQuireCOUNtCURRent
128
Unit
TRIGgerSEQuence2COUNtVOLTage TRIGgerACQuireCOUNtVOLTage
129
TRIGgerSEQuence2HYSTeresisDVM TRIGgerACQuireHYSTeresisDVM
130
TRIGgerSEQuence2LEVelDVM TRIGgerACQuireLEVelDVM
TRIGgerSEQuence2LEVelCURRent TRIGgerACQuireLEVelCURRent
131
Returned Parameters
TRIGgerSEQuence2LEVelVOLTage TRIGgerACQuireLEVelVOLTage
TRIGgerSEQuence2SLOPeCURRent TRIGgerACQuireSLOPeCURRent
132
TRIGgerSEQuence2SLOPeVOLTage TRIGgerACQuireSLOPeVOLTage
TRIGgerSEQuence2SLOPeDVM TRIGgerACQuireSLOPeDVM
133
TRIGgerSEQuence1DEFine TRIGgerSEQuence2DEFine
TRIGgerSEQuence2SOURce TRIGgerACQuireSOURce
134
Bit Configuration of Standard Event Status Enable Register
Common Commands
Command Syntax *CLS Parameters None
135
Example
Field Information
136
Parameters Example
Query Syntax *OPT? Returned Parameters Aard
RCL NRf
137
Example *SAV Related Commands *RCL *RST 138
Command Syntax *SAV NRf
RST Settings
Query Syntax *STB?
Power-on Value
Bit Configuration of Status Byte Register
139
TRG
Query Syntax TST? Returned Parameters NR1
Additional Commands
VOLTageLIMitLOW?
CURRentPROTectionTRIPped?
VOLTageLIMitHIGH?
VOLTagePROTectionTRIPped?
Table A-1. Performance Specifications
Specifications
143
144
Supplemental Characteristics
Table A-2. Supplemental Characteristics
Agilent 66309B/D
145
Table A-4. Agilent 66309B/D Option 521 Characteristics
146
147
Test Setup
Equipment Required
Table B-1. Equipment Required
Turn-On Checkout
Performing the Verification Tests
148
Output terminals on both outputs 1
Voltage Programming and Measurement Accuracy
Current Programming and Measurement Accuracy
Steps 6-10 apply to Agilent 66309B/D output 2 only
Current Sink Measurement
Steps 7-11 apply to Agilent 66309B/D output 2 only
150
DVM Measurement Accuracy
151
152
153
DVM Voltage Measurement Agilent 66309D only
Front Panel Calibration Menu
Performing the Calibration Procedure
154
Enable Calibration Mode
Front Panel Calibration Procedure
Check the Language Setting
Voltage Programming and Measurement Calibration
Current Programming and High-Range Measurement Calibration
Steps 11-16 apply to Agilent 66309B/D output 2 only
Overvoltage Protection Calibration
156
157
Steps 27-32 apply to Agilent 66309B/D output 2 only
Calcurrmeas AC
Saving the Calibration Constants
Restore the Language Setting
DVM Calibration applies to Agilent 66311D, 66309D only
158
Table B-3. Gpib Calibration Error Messages
Calibration Error Messages
Changing the Calibration Password
Calibration Over the Gpib
Page
Table C-1. Error Numbers
Error Number List
161
Error Messages
162
Error Messages C
163
Page
National Instruments Gpib Driver
Assigning the Gpib Address in Programs
165
Example 1. National Instruments Interface Example
Error Handling
166
167
Example Programs D
Example 2. Controller Using Basic
168
Example 3. Current Pulse Measurement Using Basic
169
170
171
172
DFI Programming Example
Example 5. DFI Example Using Basic
173
Page
Open the Unit
Configure the Power Transformer
Install the Correct Line Fuse
Close the Unit
Figure E-1, Power Transformer AC Input Connections
176
Table F-1. COMPatibility Power-on Settings
Command Setting
177
Table F-2. COMPatibility Commands
Compatibility Command
Similar Scpi Command
178
179
Table F-3. COMPatibility Errors
Error
NumberError String Description/Explanation/Examples
180
Table F-5. Bit Configuration of Serial Poll Register
181
Page
Index
183
Index
184
185
OVERTEMPERATURE, 47 OVERVOLTAGE, 47 OVLD, 47, 60, 61
186
Subsystem commands syntax, 96 suffixes
187
188
Type CAP
Europe Asia Pacific
United States Latin America
Canada Australia/New Zealand
Japan
Manual Updates