Performance Tests
Agilent
2.Press PreseLocal t then Confirm .
3.On the power meter press ZerCalo , Zero. Wait approximately 10 seconds for the wait symbol to disappear. Verify that the display reads 0 ±50 pW.
4.Press Cal to calibrate the power meter.
5.Turn the power reference on by pressing
■ ZerCalo , Power Ref Off On on the Agilent E4418B.
■ZerCalo , Cal, More , Power Ref Off On on the Agilent E4419B.
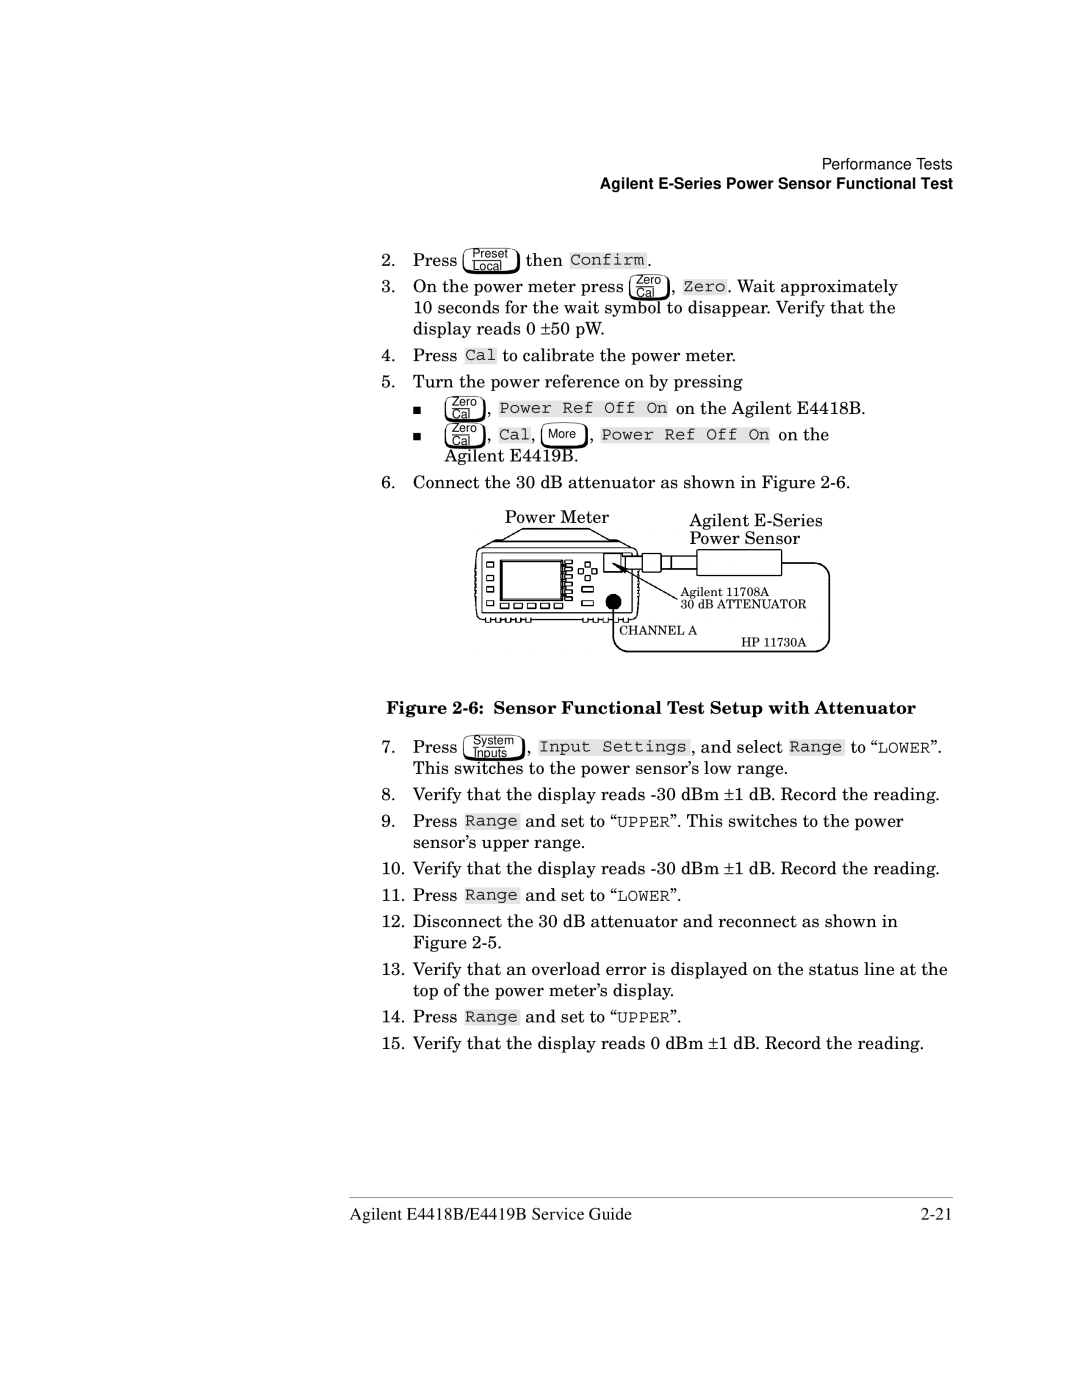
6.Connect the 30 dB attenuator as shown in Figure
| Power Meter | Agilent |
| |||||
|
|
|
| Power Sensor |
| |||
|
|
|
| Agilent 11708A |
| |||
|
|
|
| 30 dB ATTENUATOR |
| |||
|
|
|
| CHANNEL A |
| |||
|
|
|
|
| HP 11730A |
| ||
Figure | ||||||||
|
|
|
|
|
|
|
| |
7. Press | System | , |
|
| , and select |
| to “LOWER”. | |
Input Settings | Range | |||||||
Inputs | ||||||||
|
|
| ||||||
This switches to the power sensor’s low range.
8.Verify that the display reads
9.Press Range and set to “UPPER”. This switches to the power sensor’s upper range.
10.Verify that the display reads
11. Press
Range and set to “LOWER”.
12.Disconnect the 30 dB attenuator and reconnect as shown in Figure
13.Verify that an overload error is displayed on the status line at the top of the power meter’s display.
14. Press
Range and set to “UPPER”.
15. Verify that the display reads 0 dBm ±1 dB. Record the reading.
Agilent E4418B/E4419B Service Guide |