Inspired Signage XPress Programming
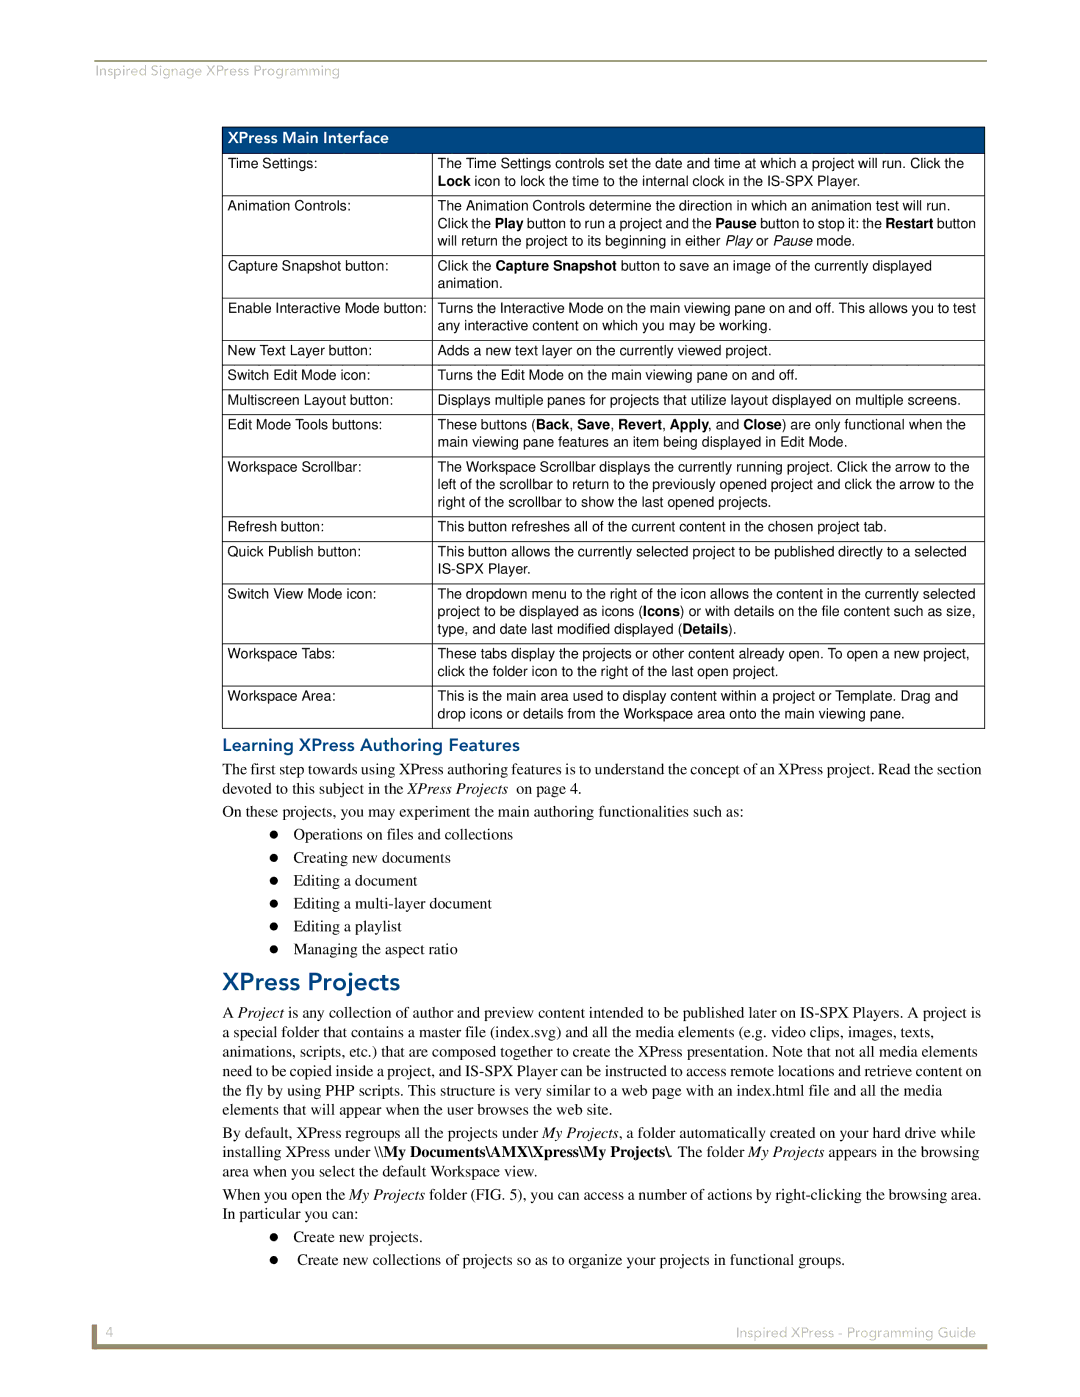
XPress Main Interface
Time Settings: | The Time Settings controls set the date and time at which a project will run. Click the |
| Lock icon to lock the time to the internal clock in the |
|
|
Animation Controls: | The Animation Controls determine the direction in which an animation test will run. |
| Click the Play button to run a project and the Pause button to stop it: the Restart button |
| will return the project to its beginning in either Play or Pause mode. |
|
|
Capture Snapshot button: | Click the Capture Snapshot button to save an image of the currently displayed |
| animation. |
|
|
Enable Interactive Mode button: | Turns the Interactive Mode on the main viewing pane on and off. This allows you to test |
| any interactive content on which you may be working. |
|
|
New Text Layer button: | Adds a new text layer on the currently viewed project. |
|
|
Switch Edit Mode icon: | Turns the Edit Mode on the main viewing pane on and off. |
|
|
Multiscreen Layout button: | Displays multiple panes for projects that utilize layout displayed on multiple screens. |
|
|
Edit Mode Tools buttons: | These buttons (Back, Save, Revert, Apply, and Close) are only functional when the |
| main viewing pane features an item being displayed in Edit Mode. |
|
|
Workspace Scrollbar: | The Workspace Scrollbar displays the currently running project. Click the arrow to the |
| left of the scrollbar to return to the previously opened project and click the arrow to the |
| right of the scrollbar to show the last opened projects. |
|
|
Refresh button: | This button refreshes all of the current content in the chosen project tab. |
|
|
Quick Publish button: | This button allows the currently selected project to be published directly to a selected |
| |
|
|
Switch View Mode icon: | The dropdown menu to the right of the icon allows the content in the currently selected |
| project to be displayed as icons (Icons) or with details on the file content such as size, |
| type, and date last modified displayed (Details). |
|
|
Workspace Tabs: | These tabs display the projects or other content already open. To open a new project, |
| click the folder icon to the right of the last open project. |
|
|
Workspace Area: | This is the main area used to display content within a project or Template. Drag and |
| drop icons or details from the Workspace area onto the main viewing pane. |
|
|
Learning XPress Authoring Features
The first step towards using XPress authoring features is to understand the concept of an XPress project. Read the section devoted to this subject in the XPress Projects on page 4.
On these projects, you may experiment the main authoring functionalities such as: Operations on files and collections
Creating new documents Editing a document Editing a
XPress Projects
A Project is any collection of author and preview content intended to be published later on
By default, XPress regroups all the projects under My Projects, a folder automatically created on your hard drive while installing XPress under \\My Documents\AMX\Xpress\My Projects\. The folder My Projects appears in the browsing
area when you select the default Workspace view.
When you open the My Projects folder (FIG. 5), you can access a number of actions by
Create new projects.
Create new collections of projects so as to organize your projects in functional groups.
4 | Inspired XPress - Programming Guide |
