Appendix
11.Save the project. The monitor will now power on and off at the time set in the new.ics file.
Serial Control From NetLinx
Serial control in NetLinx is roughly similar to serial control within an XPress project, in that the target parameter used when defining the serial protocol file is also used in the Send_String command. It is the value that follows “amx:control:”
in the command line. The example below uses a target of "monitor". The variables used in the Send_String command are:
target
variable name of command type command
The generic NetLinx code would be:
SEND_STRING dvIPServer,”'UPDATE “amx:control:{target}:{variable name}” “{command}”',13,10,13,10”
Below is the power command as defined for this monitor.
Power command
Variable Name | Command | Hex or Text | Serial Command |
|
|
|
|
Power | On | Text | ka 00 01$0D; |
|
|
|
|
Power | Off | Text | ka 00 00$0D; |
|
|
|
|
With these variables, the resultant NetLinx code would read:
SEND_STRING dvIPServer,”'UPDATE “amx:control:monitor:power” “Off”',13,10,13,10"
SEND_STRING dvIPServer,”'UPDATE “amx:control:monitor:power” “On”',13,10,13,10”
Adding Additional Templates to Inspired Signage XPress
While Inspired Signage XPress contains many
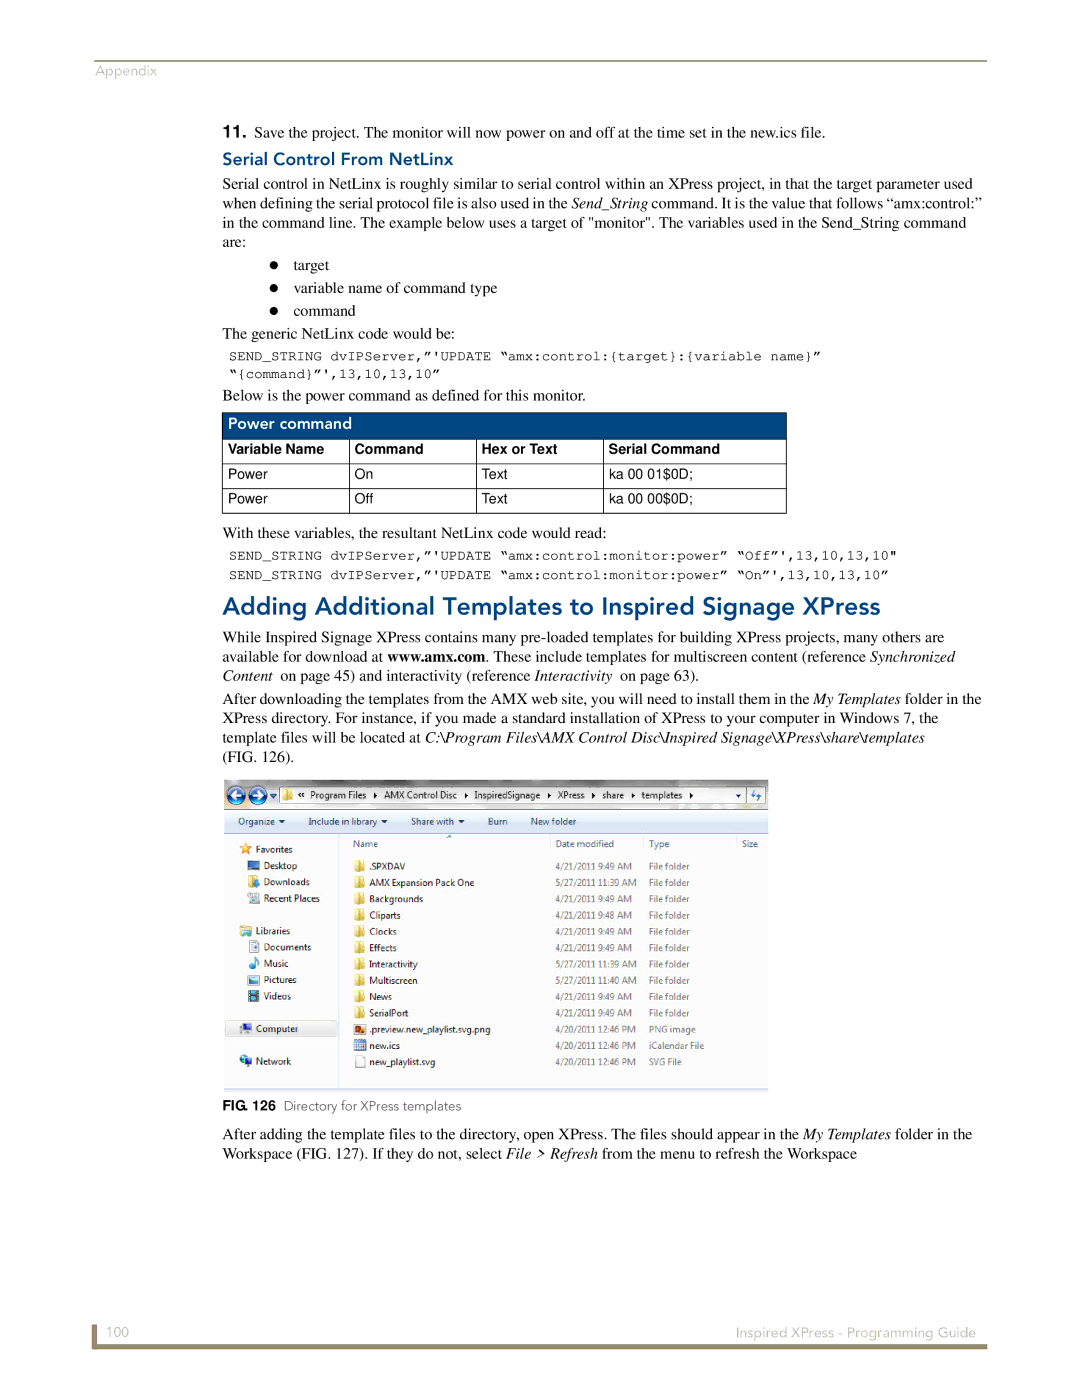
After downloading the templates from the AMX web site, you will need to install them in the My Templates folder in the
XPress directory. For instance, if you made a standard installation of XPress to your computer in Windows 7, the template files will be located at C:\Program Files\AMX Control Disc\Inspired Signage\XPress\share\templates
(FIG. 126).
FIG. 126 Directory for XPress templates
After adding the template files to the directory, open XPress. The files should appear in the My Templates folder in the Workspace (FIG. 127). If they do not, select File > Refresh from the menu to refresh the Workspace
100 | Inspired XPress - Programming Guide |
