Interactivity
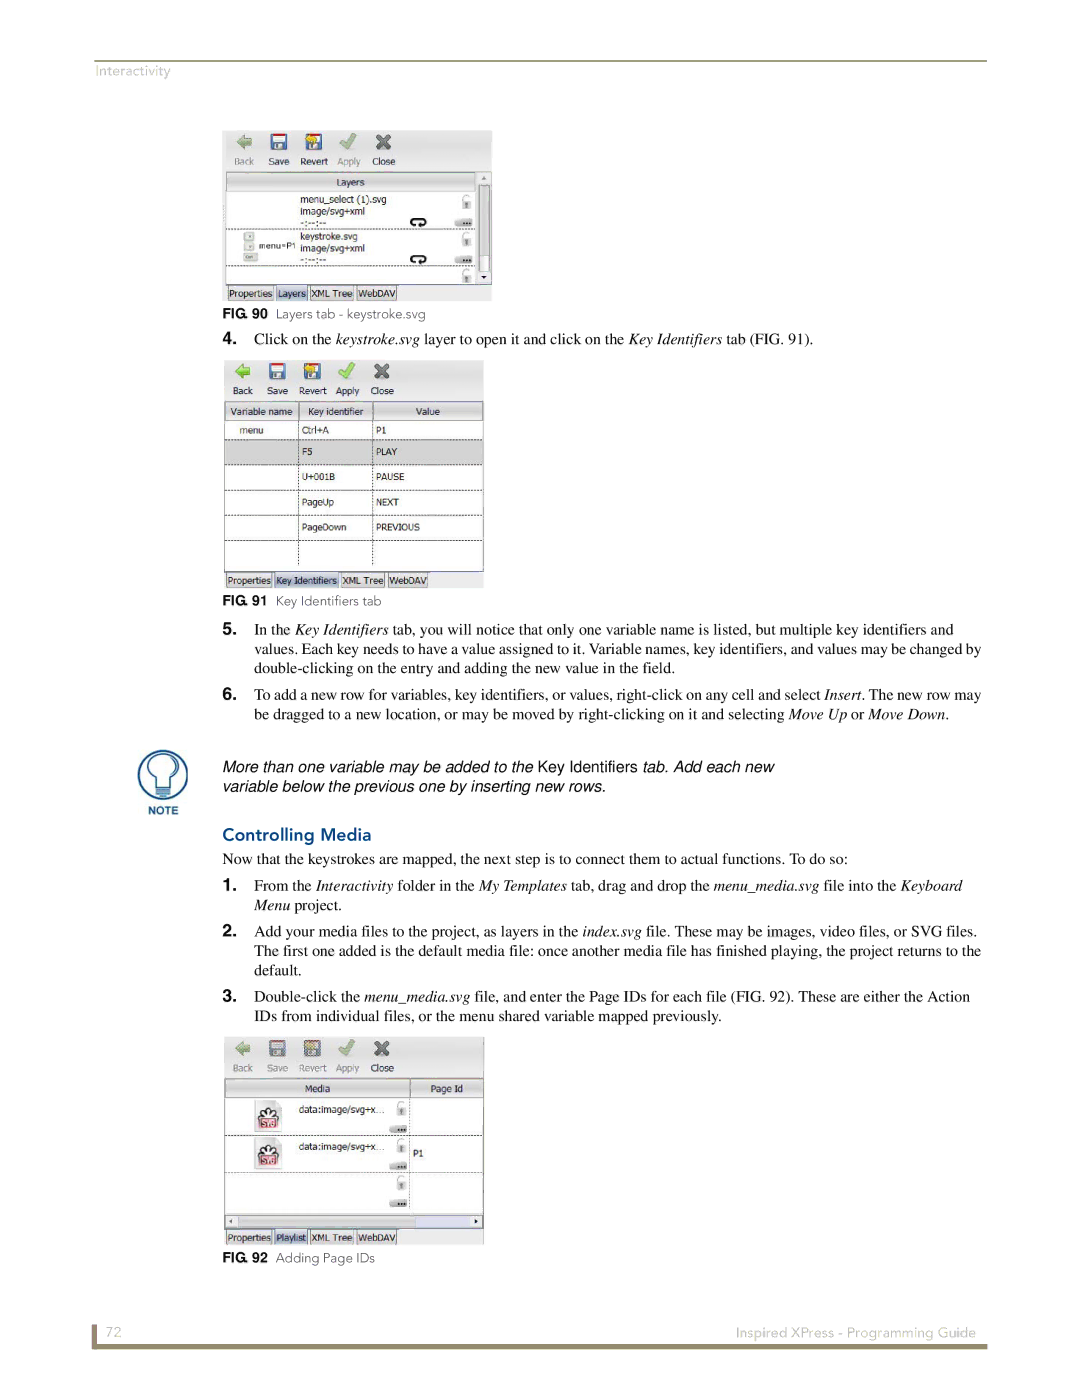
FIG. 90 Layers tab - keystroke.svg
4.Click on the keystroke.svg layer to open it and click on the Key Identifiers tab (FIG. 91).
FIG. 91 Key Identifiers tab
5.In the Key Identifiers tab, you will notice that only one variable name is listed, but multiple key identifiers and values. Each key needs to have a value assigned to it. Variable names, key identifiers, and values may be changed by
6.To add a new row for variables, key identifiers, or values,
More than one variable may be added to the Key Identifiers tab. Add each new variable below the previous one by inserting new rows.
Controlling Media
Now that the keystrokes are mapped, the next step is to connect them to actual functions. To do so:
1.From the Interactivity folder in the My Templates tab, drag and drop the menu_media.svg file into the Keyboard Menu project.
2.Add your media files to the project, as layers in the index.svg file. These may be images, video files, or SVG files. The first one added is the default media file: once another media file has finished playing, the project returns to the default.
3.
FIG. 92 Adding Page IDs
72 | Inspired XPress - Programming Guide |
