Interactivity
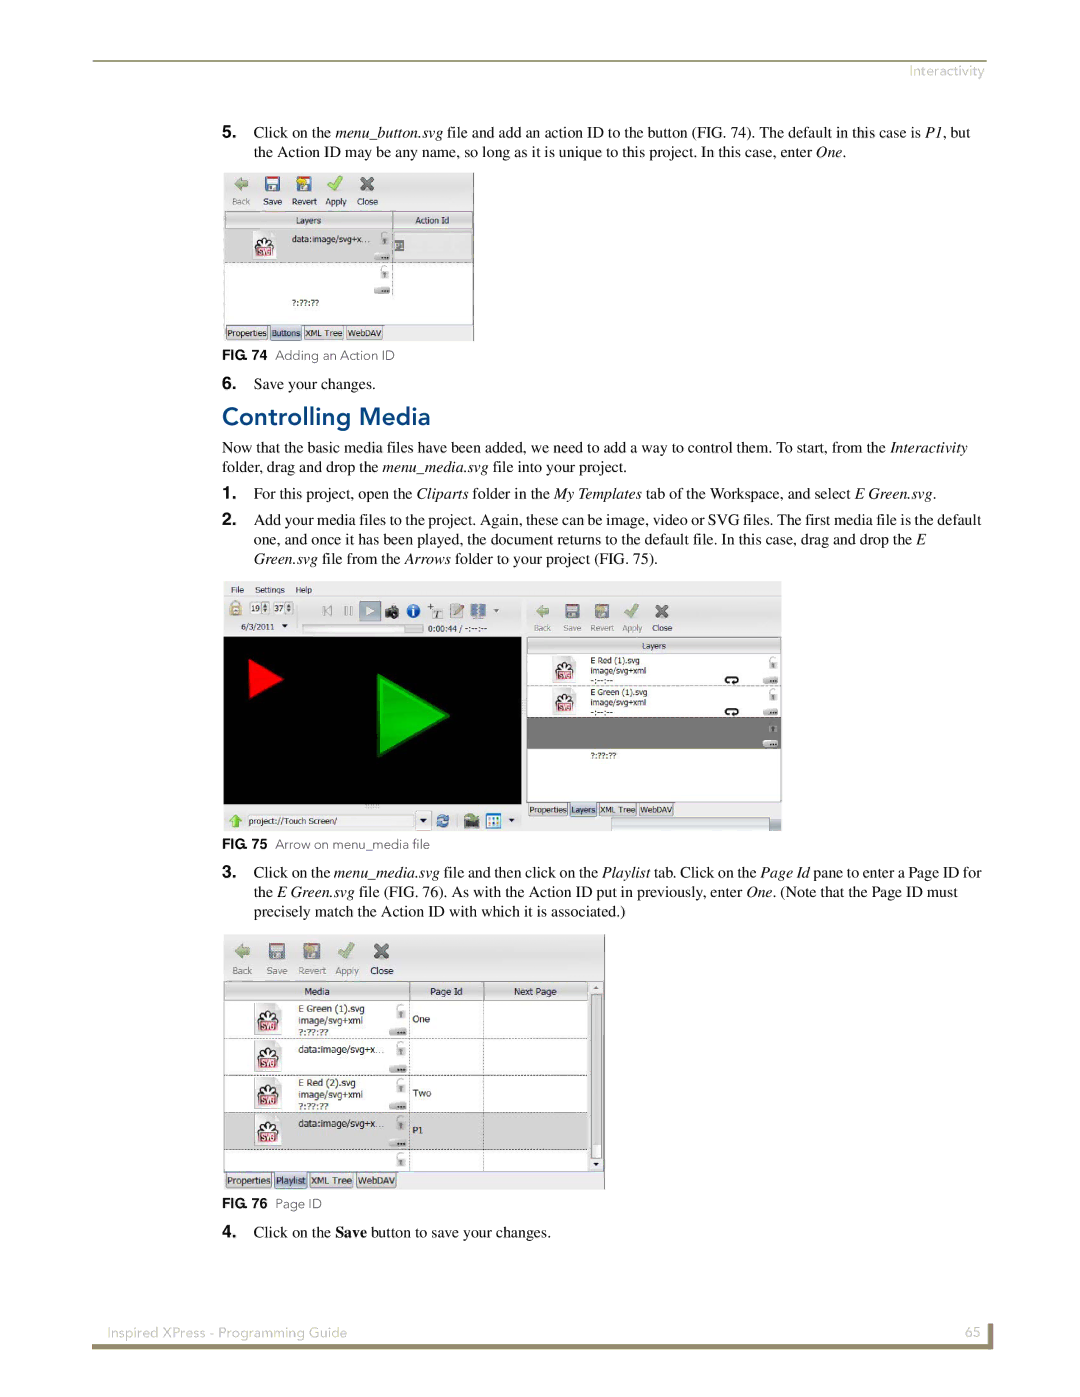
5.Click on the menu_button.svg file and add an action ID to the button (FIG. 74). The default in this case is P1, but the Action ID may be any name, so long as it is unique to this project. In this case, enter One.
FIG. 74 Adding an Action ID
6.Save your changes.
Controlling Media
Now that the basic media files have been added, we need to add a way to control them. To start, from the Interactivity folder, drag and drop the menu_media.svg file into your project.
1.For this project, open the Cliparts folder in the My Templates tab of the Workspace, and select E Green.svg.
2.Add your media files to the project. Again, these can be image, video or SVG files. The first media file is the default one, and once it has been played, the document returns to the default file. In this case, drag and drop the E Green.svg file from the Arrows folder to your project (FIG. 75).
FIG. 75 Arrow on menu_media file
3.Click on the menu_media.svg file and then click on the Playlist tab. Click on the Page Id pane to enter a Page ID for the E Green.svg file (FIG. 76). As with the Action ID put in previously, enter One. (Note that the Page ID must precisely match the Action ID with which it is associated.)
FIG. 76 Page ID
4.Click on the Save button to save your changes.
Inspired XPress - Programming Guide | 65 |
|
|