Synchronized Content
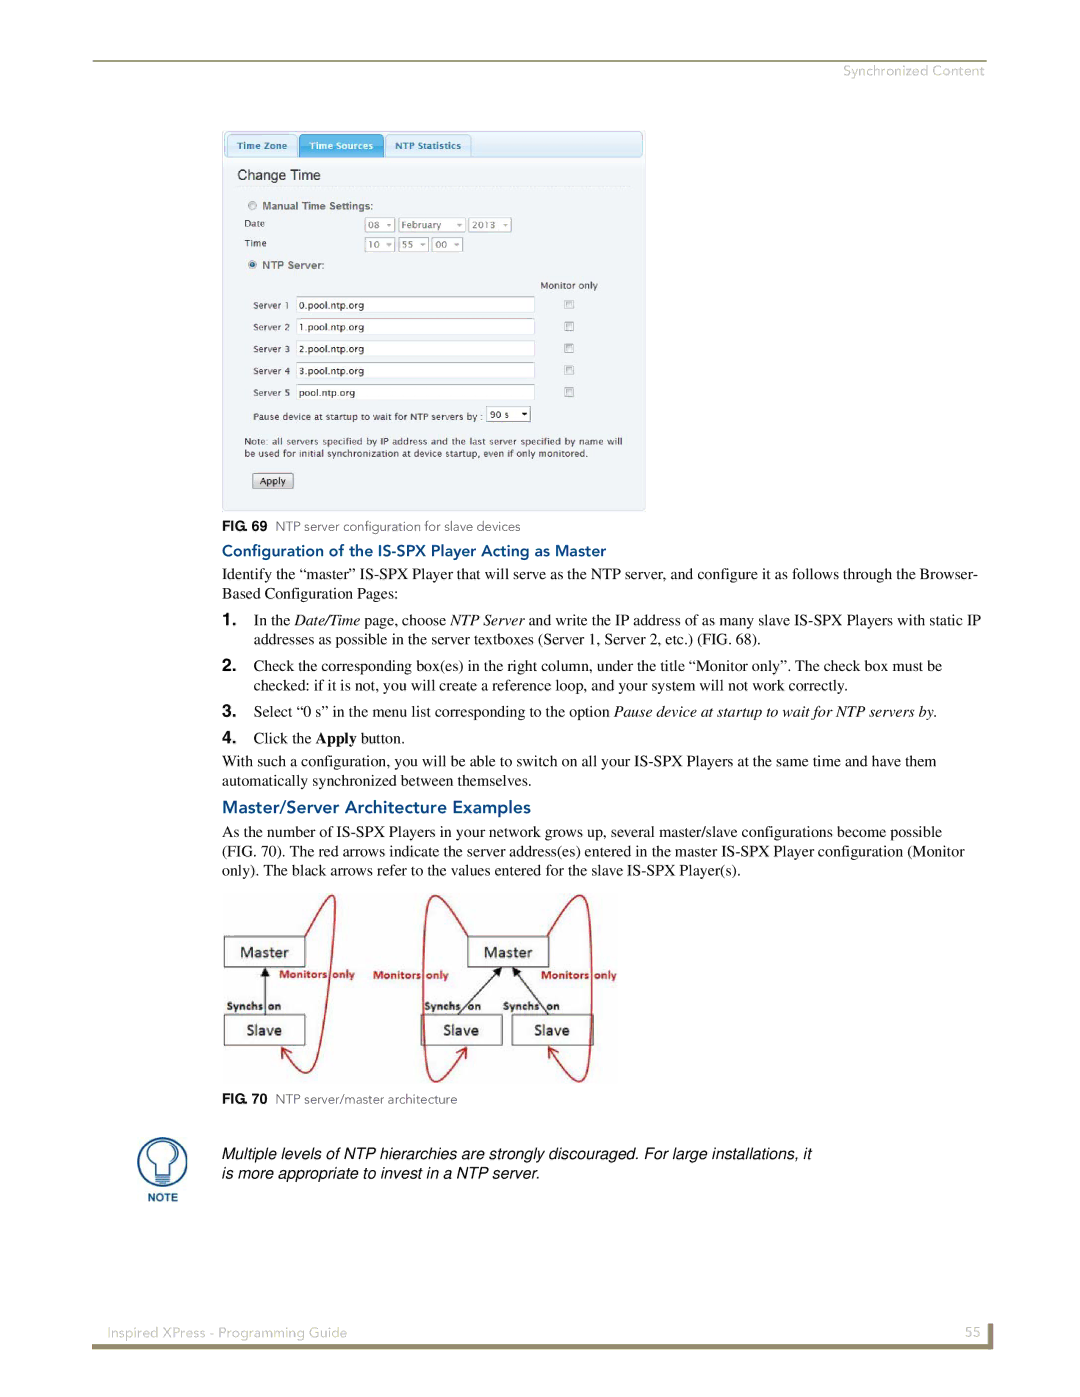
FIG. 69 NTP server configuration for slave devices
Configuration of the IS-SPX Player Acting as Master
Identify the “master”
1.In the Date/Time page, choose NTP Server and write the IP address of as many slave
2.Check the corresponding box(es) in the right column, under the title “Monitor only”. The check box must be checked: if it is not, you will create a reference loop, and your system will not work correctly.
3.Select “0 s” in the menu list corresponding to the option Pause device at startup to wait for NTP servers by.
4.Click the Apply button.
With such a configuration, you will be able to switch on all your
Master/Server Architecture Examples
As the number of
FIG. 70 NTP server/master architecture
Multiple levels of NTP hierarchies are strongly discouraged. For large installations, it is more appropriate to invest in a NTP server.
Inspired XPress - Programming Guide | 55 |
|
|