5.3 Configuring an axis
The NextMove PCI is capable of controlling servo and stepper axes. This section describes the basic setup for both types of axis. Commands typed in the Command window have immediate effect - they do not need to be separately downloaded to the NextMove PCI.
5.3.1 Choosing an axis - 1, 2, 3 and 4 axis cards
For the 1, 2, 3 and 4 axis cards, each axis can be configured as either a servo axis or a stepper axis. The factory preset configuration for all the axes is servo. If a stepper axis is required it must be configured:
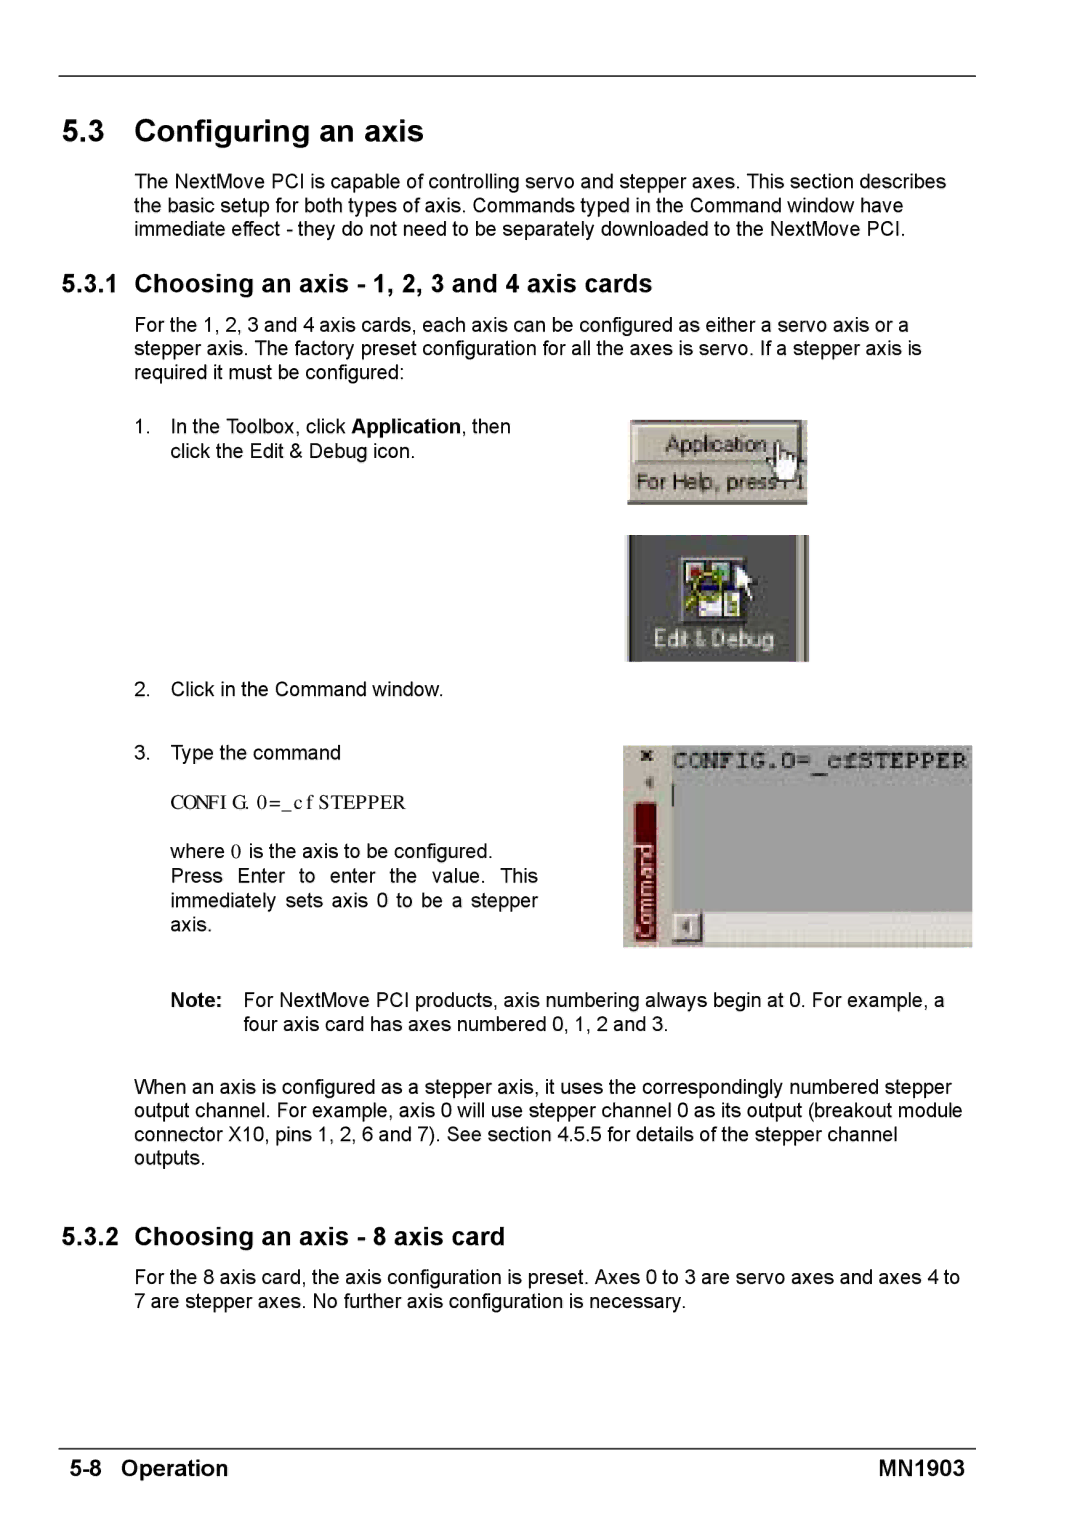
1.In the Toolbox, click Application, then click the Edit & Debug icon.
2.Click in the Command window.
3.Type the command
CONFIG.0=_cfSTEPPER
where 0 is the axis to be configured. Press Enter to enter the value. This immediately sets axis 0 to be a stepper axis.
Note: For NextMove PCI products, axis numbering always begin at 0. For example, a four axis card has axes numbered 0, 1, 2 and 3.
When an axis is configured as a stepper axis, it uses the correspondingly numbered stepper output channel. For example, axis 0 will use stepper channel 0 as its output (breakout module connector X10, pins 1, 2, 6 and 7). See section 4.5.5 for details of the stepper channel outputs.
5.3.2 Choosing an axis - 8 axis card
For the 8 axis card, the axis configuration is preset. Axes 0 to 3 are servo axes and axes 4 to 7 are stepper axes. No further axis configuration is necessary.
| MN1903 |