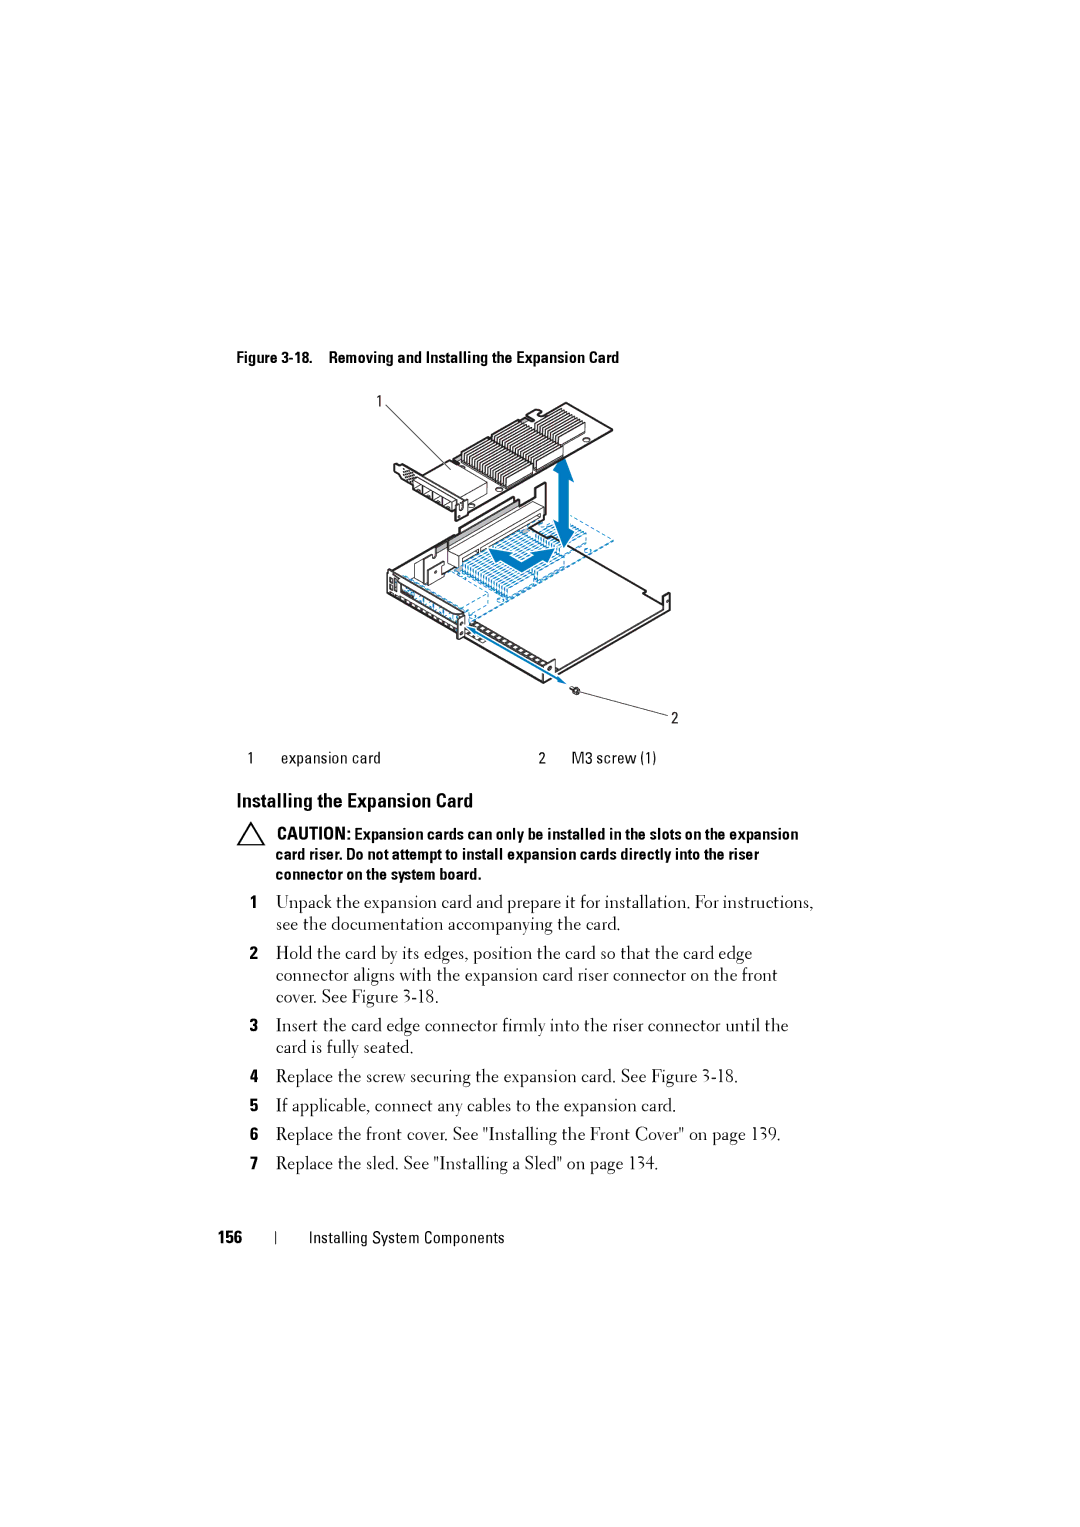
Figure 3-18. Removing and Installing the Expansion Card
1
2
1 | expansion card | 2 | M3 screw (1) |
Installing the Expansion Card
CAUTION: Expansion cards can only be installed in the slots on the expansion card riser. Do not attempt to install expansion cards directly into the riser connector on the system board.
1Unpack the expansion card and prepare it for installation. For instructions, see the documentation accompanying the card.
2Hold the card by its edges, position the card so that the card edge connector aligns with the expansion card riser connector on the front cover. See Figure
3Insert the card edge connector firmly into the riser connector until the card is fully seated.
4Replace the screw securing the expansion card. See Figure
5If applicable, connect any cables to the expansion card.
6Replace the front cover. See "Installing the Front Cover" on page 139.
7Replace the sled. See "Installing a Sled" on page 134.
156
Installing System Components