Appendix I: Firmware Recovery
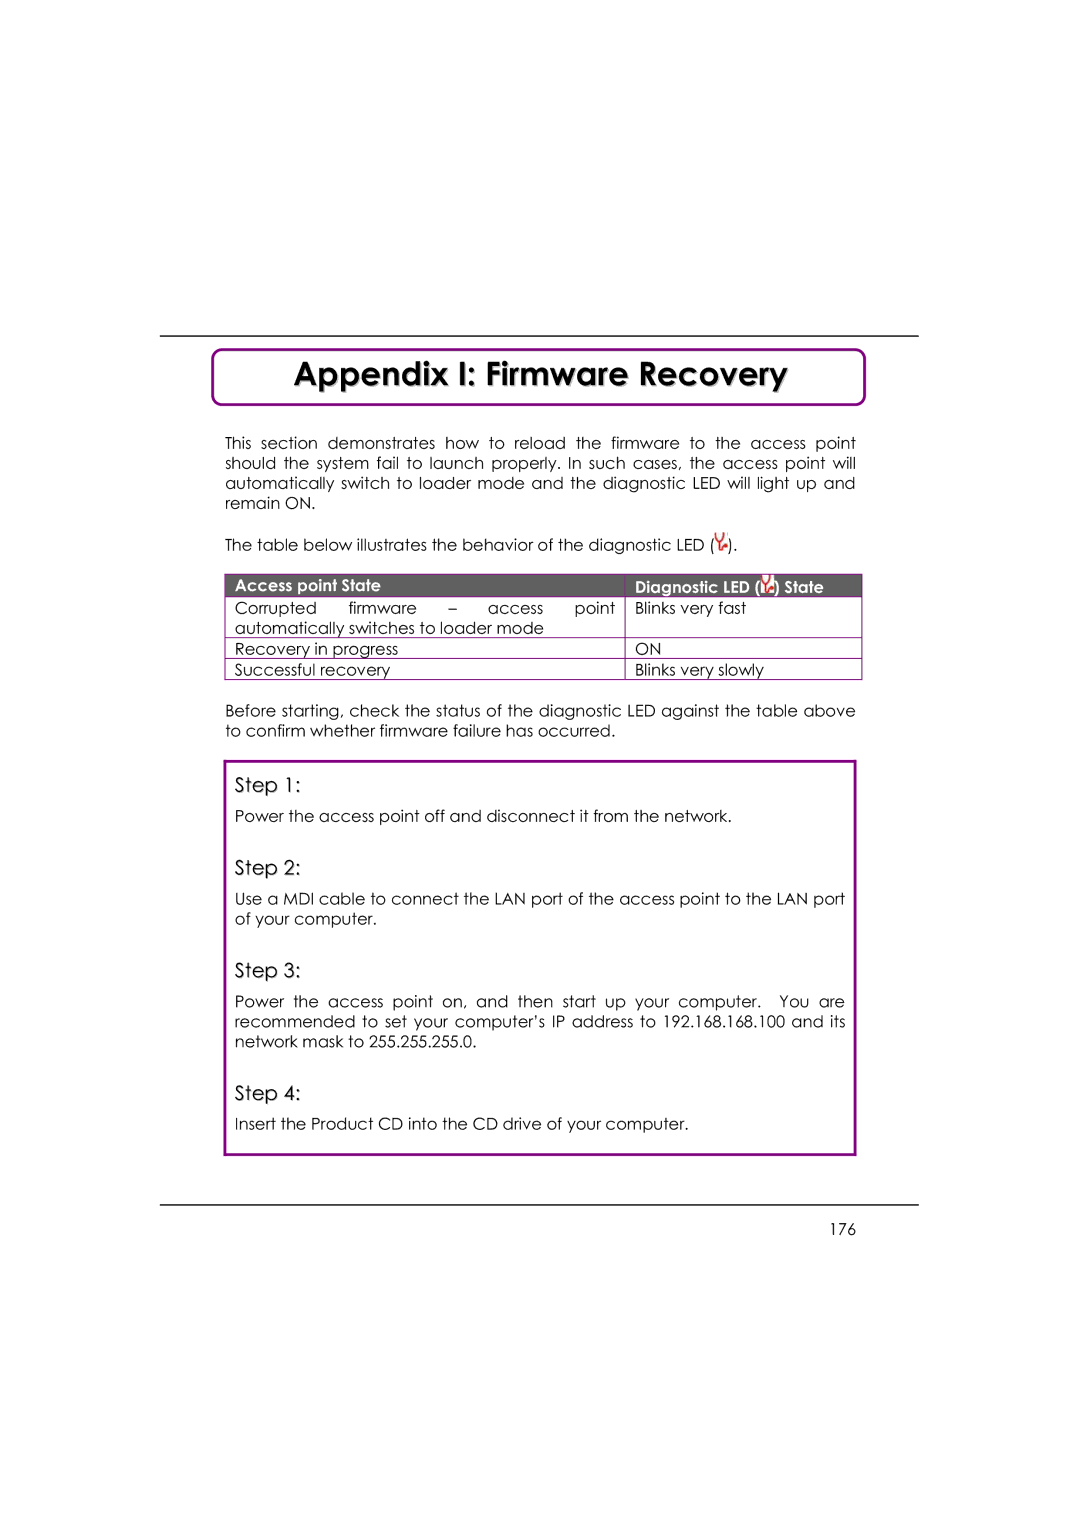
This section demonstrates how to reload the firmware to the access point should the system fail to launch properly. In such cases, the access point will automatically switch to loader mode and the diagnostic LED will light up and remain ON.
The table below illustrates the behavior of the diagnostic LED (![]() ).
).
| Access point State |
|
|
|
| Diagnostic LED ( ) State |
| |
|
|
|
|
|
| |||
| Corrupted | firmware | – | access | point | Blinks very fast |
| |
| automatically switches to loader mode |
|
|
|
| |||
| Recovery in progress |
|
|
|
| ON |
| |
| Successful recovery |
|
|
|
| Blinks very slowly |
| |
Before starting, check the status of the diagnostic LED against the table above to confirm whether firmware failure has occurred.
Step 1:
Power the access point off and disconnect it from the network.
Step 2:
Use a MDI cable to connect the LAN port of the access point to the LAN port of your computer.
Step 3:
Power the access point on, and then start up your computer. You are recommended to set your computer’s IP address to 192.168.168.100 and its network mask to 255.255.255.0.
Step 4:
Insert the Product CD into the CD drive of your computer.
176
