Step 3:
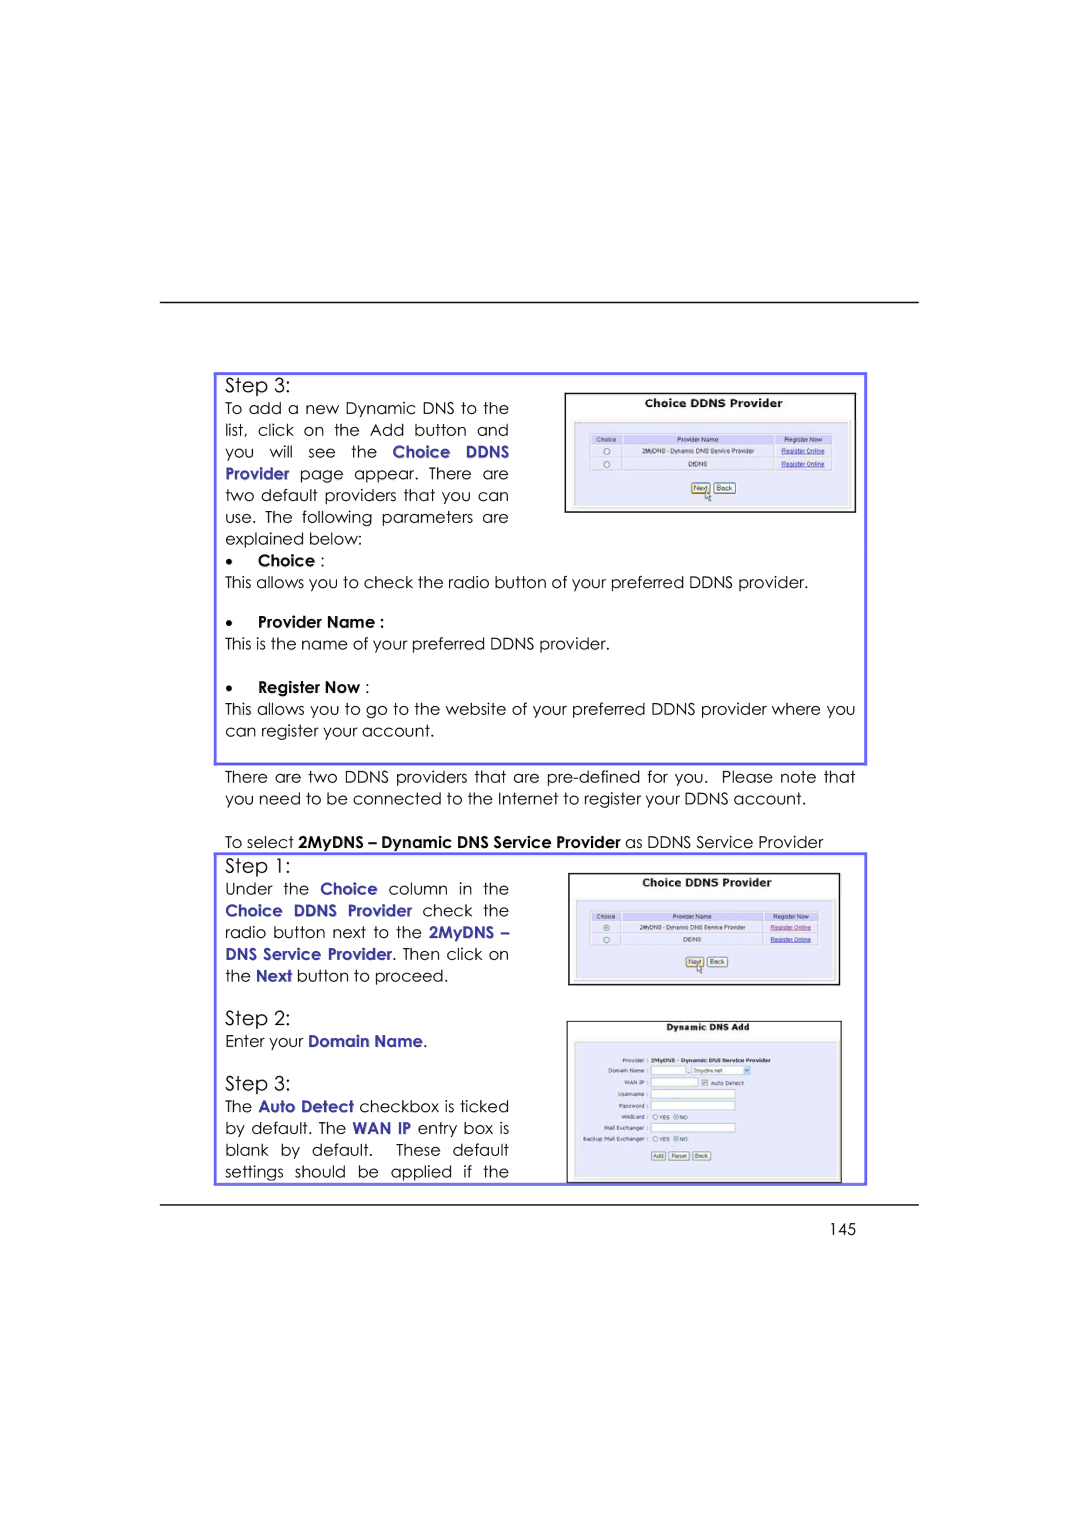
To add a new Dynamic DNS to the list, click on the Add button and you will see the Choice DDNS Provider page appear. There are two default providers that you can use. The following parameters are explained below:
!Choice :
This allows you to check the radio button of your preferred DDNS provider.
!Provider Name :
This is the name of your preferred DDNS provider.
!Register Now :
This allows you to go to the website of your preferred DDNS provider where you can register your account.
There are two DDNS providers that are
To select 2MyDNS – Dynamic DNS Service Provider as DDNS Service Provider
Step 1:
Under the Choice column in the
Choice DDNS Provider check the
radio button next to the 2MyDNS – DNS Service Provider. Then click on the Next button to proceed.
Step 2:
Enter your Domain Name.
Step 3:
The Auto Detect checkbox is ticked by default. The WAN IP entry box is blank by default. These default settings should be applied if the
145