TO CONFIGURE VIRTUAL SERVERS BASED ON
Having gone through the NAT Technology Primer on the Product CD, you would now have a good understanding of how DMZ works to make a specific PC in an
When NAT is enabled, an Internet request from a client within the private network first goes to the access point receiving a request, the access point keeps track of which client is using which port number. Since any reply from Internet goes to the access point first, the access point (from the port number in the reply packet) knows to which client to forward the reply. If the access point does not recognize the port number, it will discard the reply.
When using DMZ on a PC, any reply not recognized by the access point will be forwarded to the
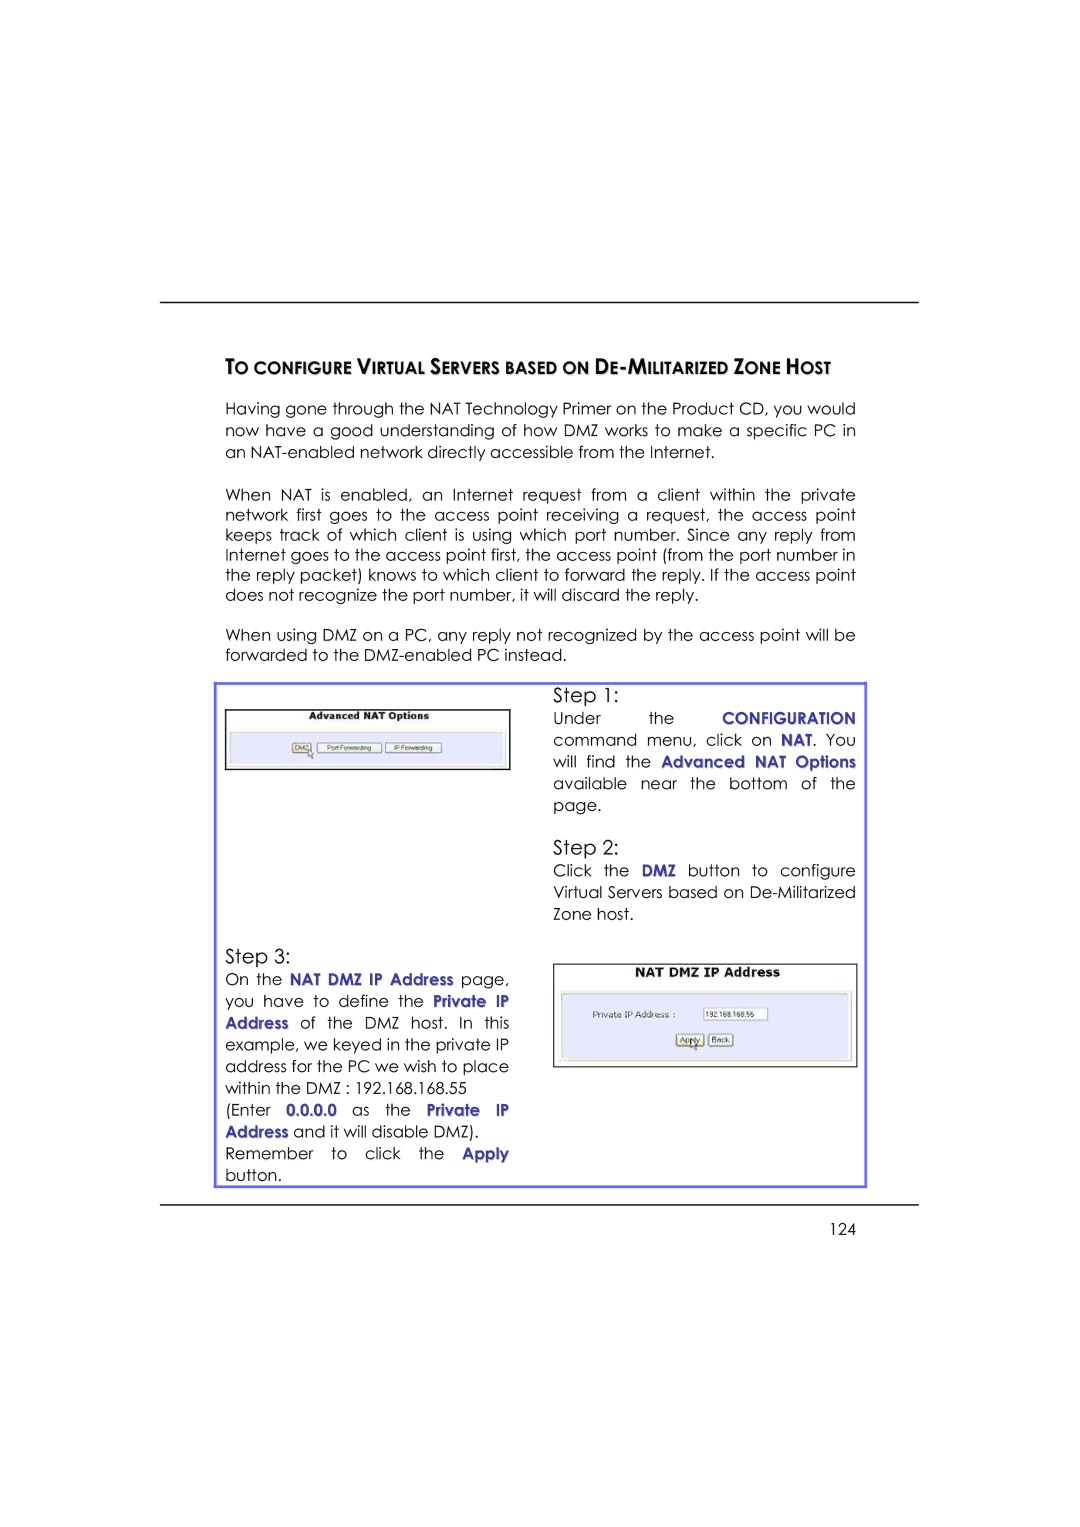
Step 1:
Under the CONFIGURATION command menu, click on NAT. You will find the Advanced NAT Options available near the bottom of the page.
Step 2:
Click the DMZ button to configure
Virtual Servers based on
Zone host.
Step 3:
On the NAT DMZ IP Address page, you have to define the Private IP Address of the DMZ host. In this example, we keyed in the private IP address for the PC we wish to place within the DMZ : 192.168.168.55 (Enter 0.0.0.0 as the Private IP Address and it will disable DMZ). Remember to click the Apply button.