Remote Controls
Improving Receiver Control
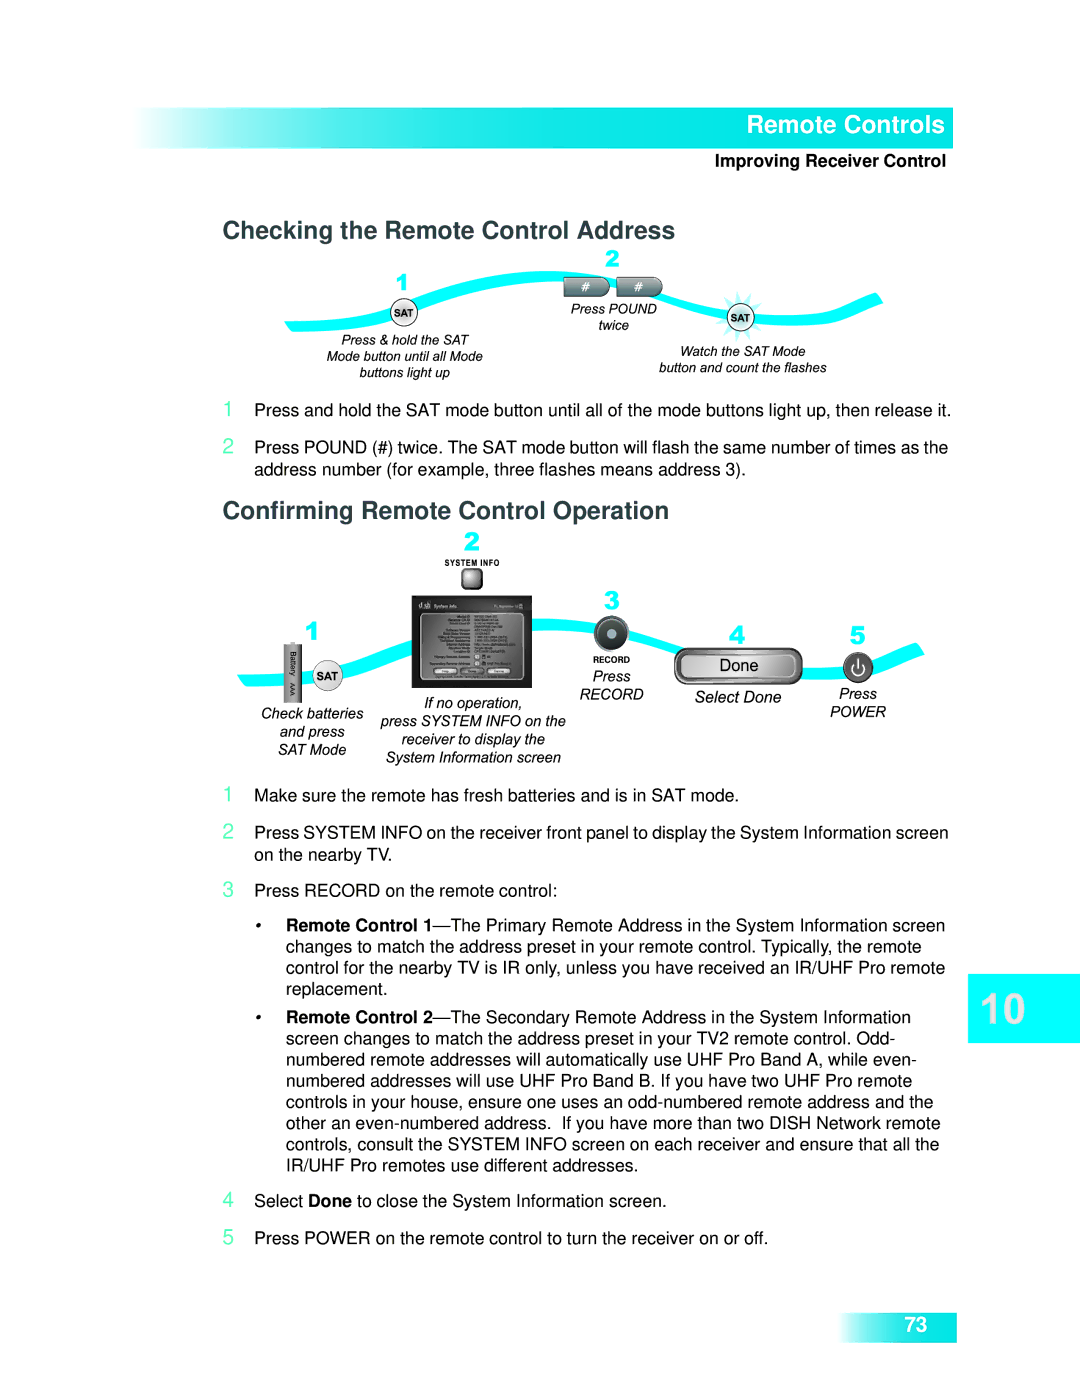
Checking the Remote Control Address
1Press and hold the SAT mode button until all of the mode buttons light up, then release it.
2Press POUND (#) twice. The SAT mode button will flash the same number of times as the address number (for example, three flashes means address 3).
Confirming Remote Control Operation
1Make sure the remote has fresh batteries and is in SAT mode.
2Press SYSTEM INFO on the receiver front panel to display the System Information screen on the nearby TV.
3Press RECORD on the remote control:
•Remote Control
•Remote Control
4Select Done to close the System Information screen.
5Press POWER on the remote control to turn the receiver on or off.
73