Flicker12
Trend
Trend
To access Flicker Trend screen:
g | F4 |
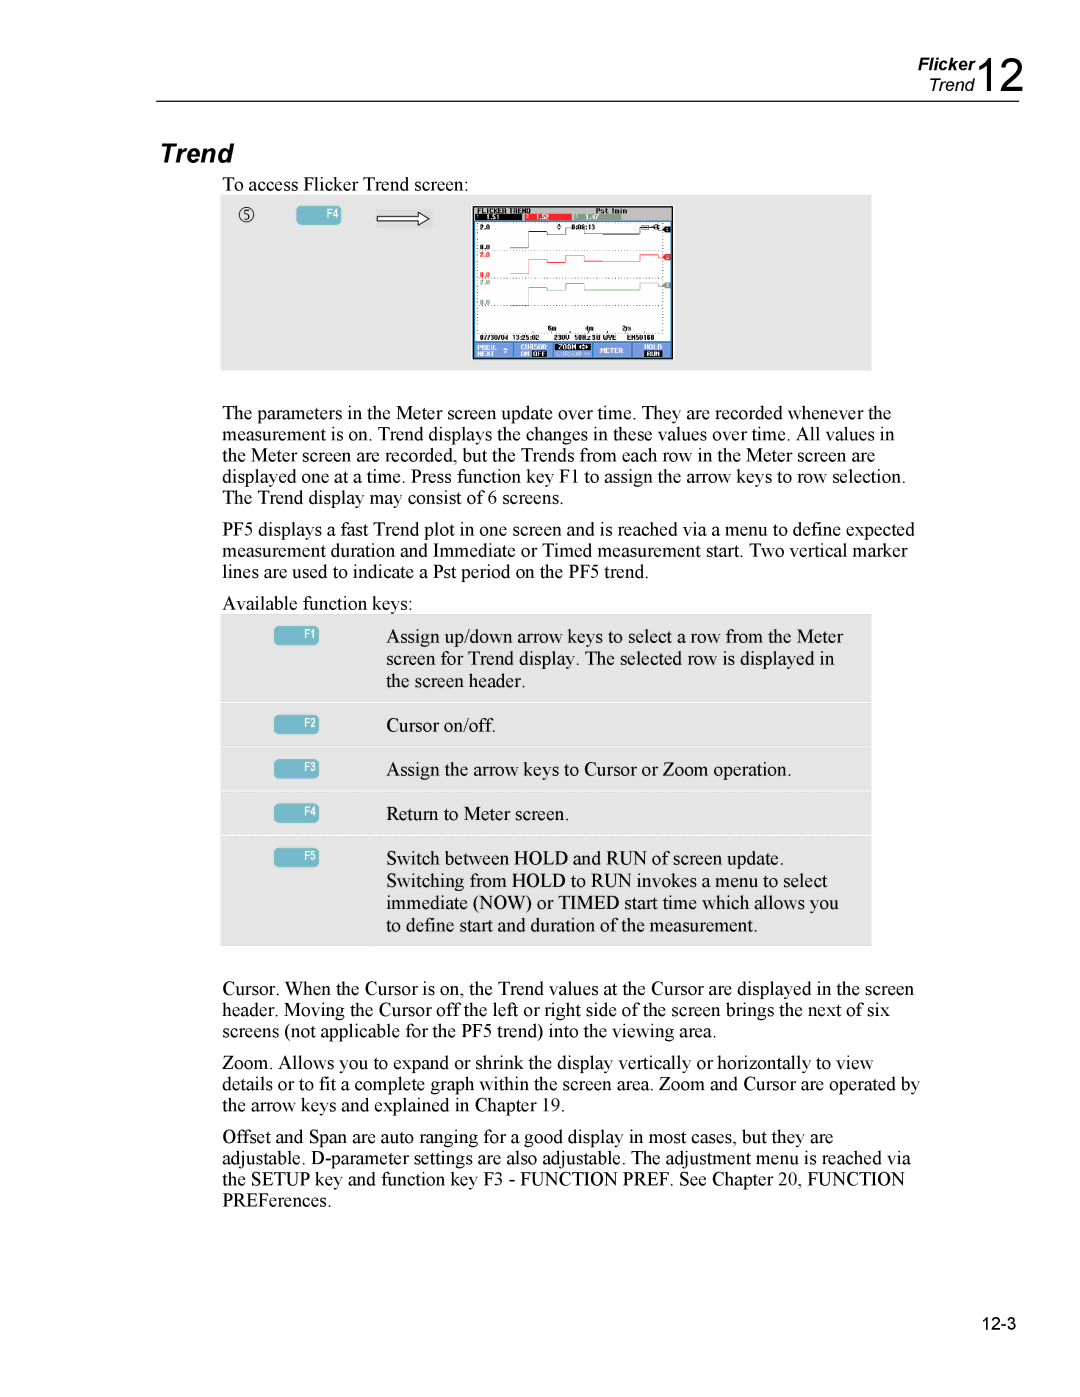
The parameters in the Meter screen update over time. They are recorded whenever the measurement is on. Trend displays the changes in these values over time. All values in the Meter screen are recorded, but the Trends from each row in the Meter screen are displayed one at a time. Press function key F1 to assign the arrow keys to row selection. The Trend display may consist of 6 screens.
PF5 displays a fast Trend plot in one screen and is reached via a menu to define expected measurement duration and Immediate or Timed measurement start. Two vertical marker lines are used to indicate a Pst period on the PF5 trend.
Available function keys:
|
|
|
| Assign up/down arrow keys to select a row from the Meter |
| F1 |
| ||
|
|
|
| screen for Trend display. The selected row is displayed in |
|
|
|
| the screen header. |
|
|
|
|
|
F2
F3
F4
F5
Cursor on/off.
Assign the arrow keys to Cursor or Zoom operation.
Return to Meter screen.
Switch between HOLD and RUN of screen update. Switching from HOLD to RUN invokes a menu to select immediate (NOW) or TIMED start time which allows you to define start and duration of the measurement.
Cursor. When the Cursor is on, the Trend values at the Cursor are displayed in the screen header. Moving the Cursor off the left or right side of the screen brings the next of six screens (not applicable for the PF5 trend) into the viewing area.
Zoom. Allows you to expand or shrink the display vertically or horizontally to view details or to fit a complete graph within the screen area. Zoom and Cursor are operated by the arrow keys and explained in Chapter 19.
Offset and Span are auto ranging for a good display in most cases, but they are adjustable.
