Setting up the Analyzer20
General Settings
General Settings
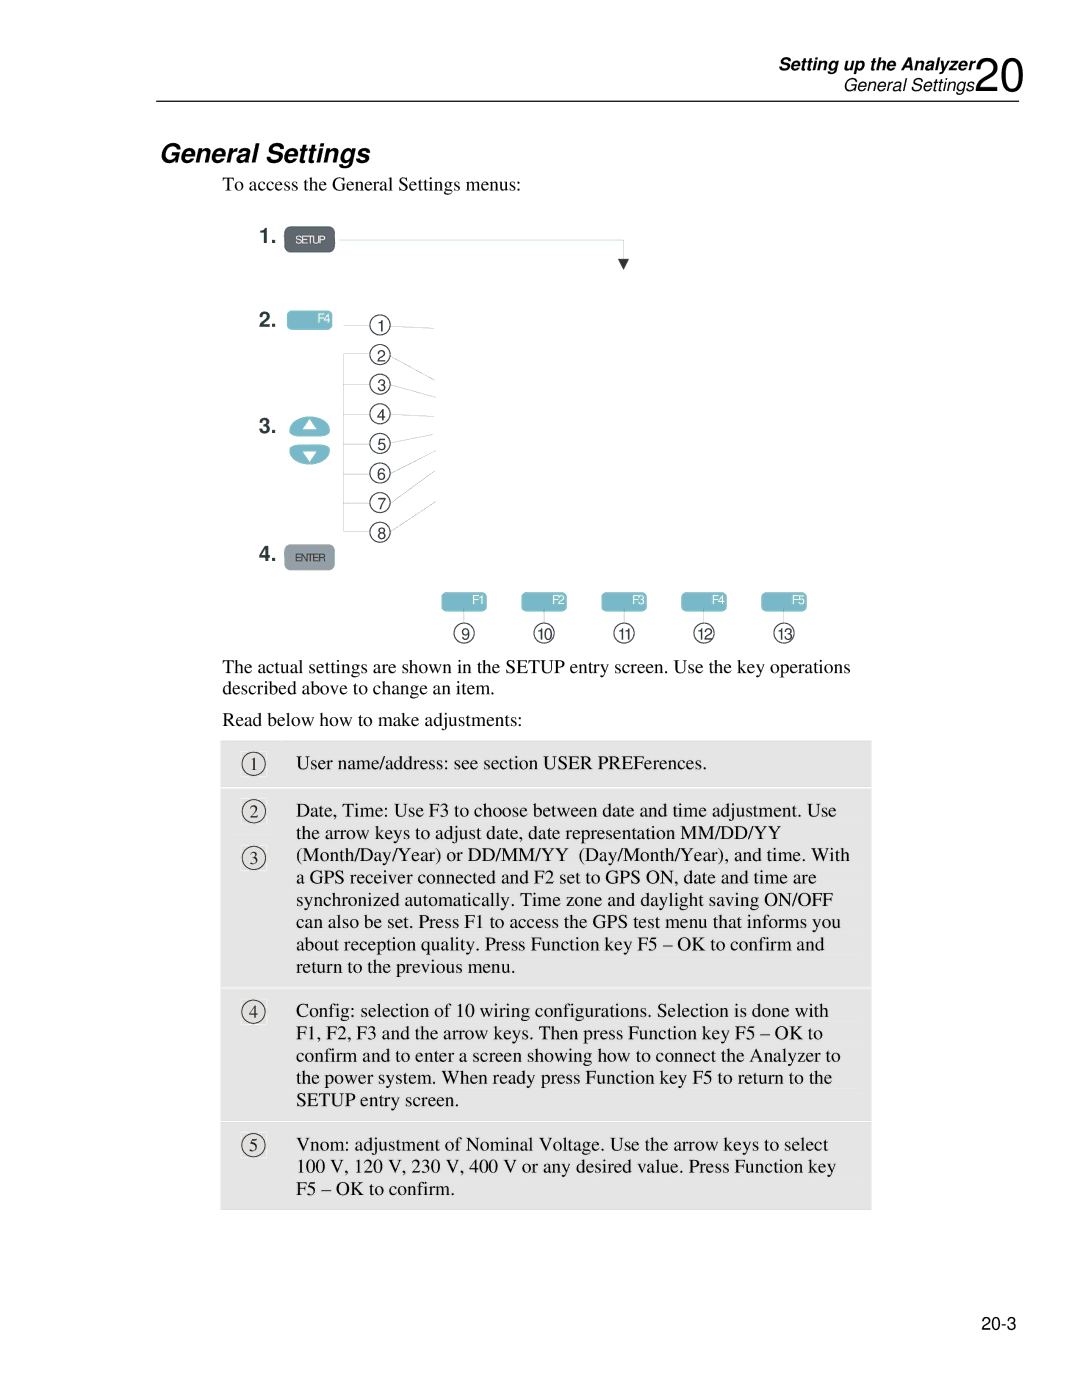
To access the General Settings menus:
1. SETUP
2. F4
3.
4. ENTER
1
2
3
4
5
6
7
8
F1 | F2 | F3 | F4 | F5 |
9 | 10 | 11 | 12 | 13 |
The actual settings are shown in the SETUP entry screen. Use the key operations described above to change an item.
Read below how to make adjustments:
1
2
3
User name/address: see section USER PREFerences.
Date, Time: Use F3 to choose between date and time adjustment. Use the arrow keys to adjust date, date representation MM/DD/YY (Month/Day/Year) or DD/MM/YY (Day/Month/Year), and time. With a GPS receiver connected and F2 set to GPS ON, date and time are synchronized automatically. Time zone and daylight saving ON/OFF can also be set. Press F1 to access the GPS test menu that informs you about reception quality. Press Function key F5 – OK to confirm and return to the previous menu.
4
Config: selection of 10 wiring configurations. Selection is done with F1, F2, F3 and the arrow keys. Then press Function key F5 – OK to confirm and to enter a screen showing how to connect the Analyzer to the power system. When ready press Function key F5 to return to the SETUP entry screen.
5
Vnom: adjustment of Nominal Voltage. Use the arrow keys to select 100 V, 120 V, 230 V, 400 V or any desired value. Press Function key F5 – OK to confirm.