7. Other Functions
7.4 Command Control via the Network (continued)
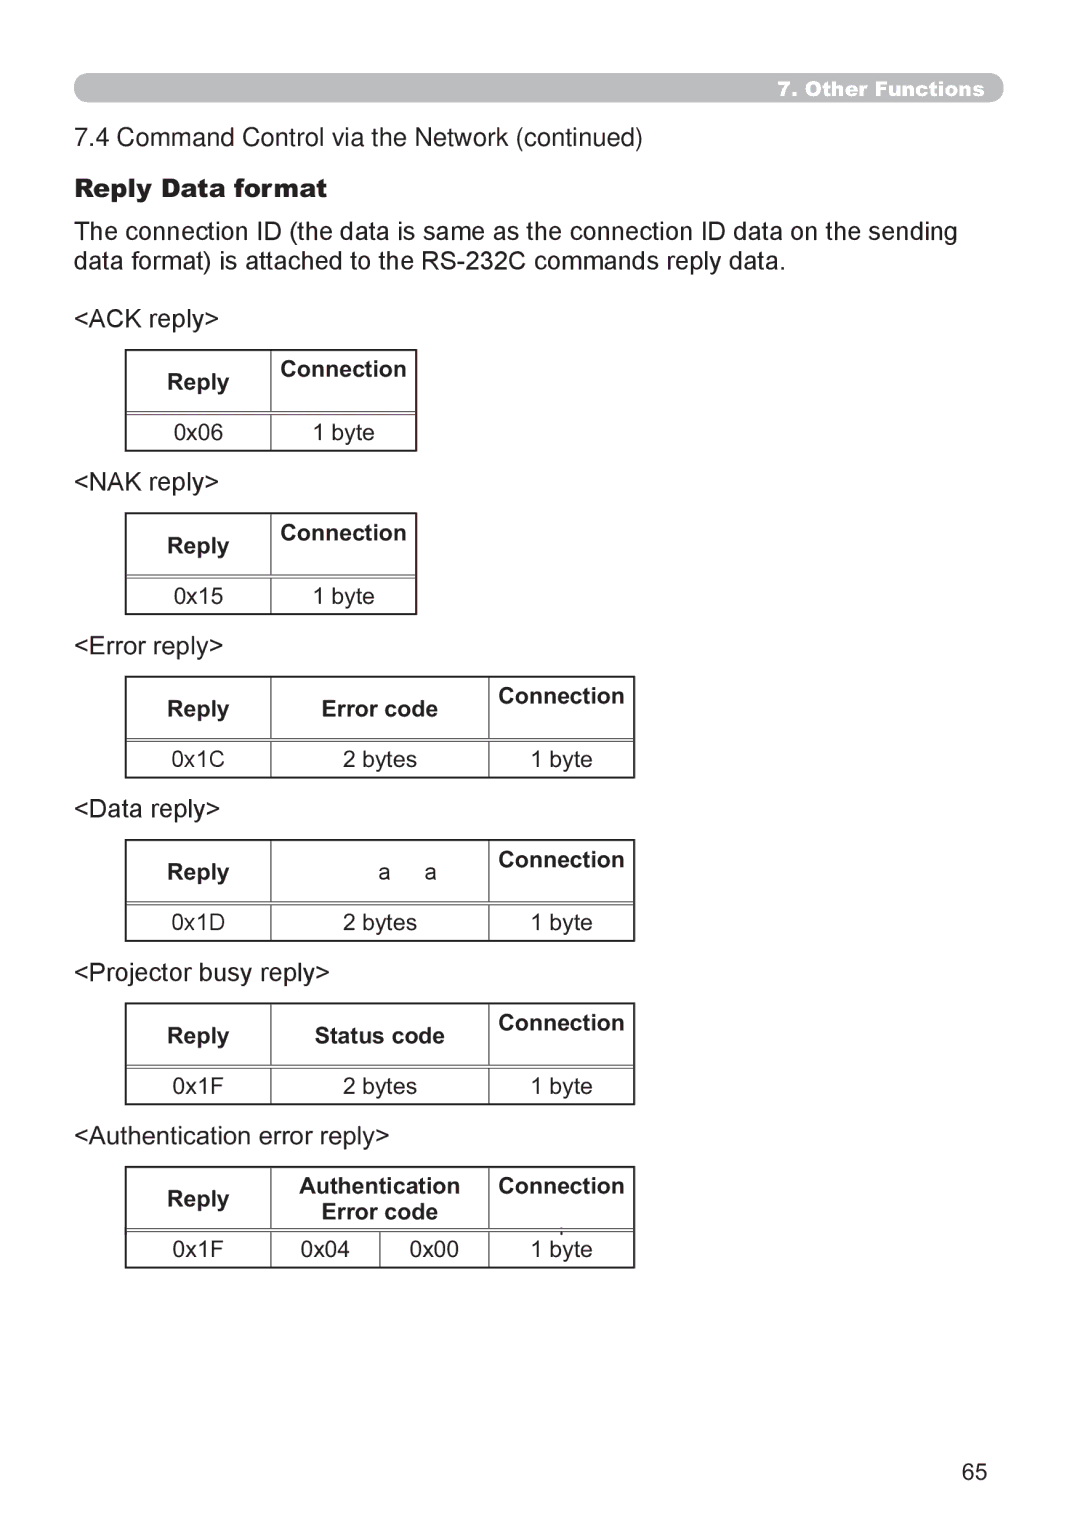
Reply Data format
The connection ID (the data is same as the connection ID data on the sending data format) is attached to the
<ACK reply>
Reply
Connection
ID
0x06
1 byte
<NAK reply>
Reply
Connection
ID
0x15
1 byte
<Error reply>
Reply
Error code
Connection
ID
0x1C
2 bytes
1 byte
<Data reply>
Reply
Data
Connection
ID
0x1D
2 bytes
1 byte
<Projector busy reply>
Reply
Status code
Connection
ID
0x1F
2 bytes
1 byte
<Authentication error reply>
Reply
Authentication | Connection |
Error code | ID |
0x1F
0x04
0x00
1 byte
65