Command Control via the Network
Command Control via the Network
When the projector connects network, the projector can be controlled with RS- 232C commands from the computer with web browser.
For details of ![]() 17).
17).
NOTE • If data is transferred via wireless and wired LAN at the same time, the projector may not be able to process the data correctly.
Connection
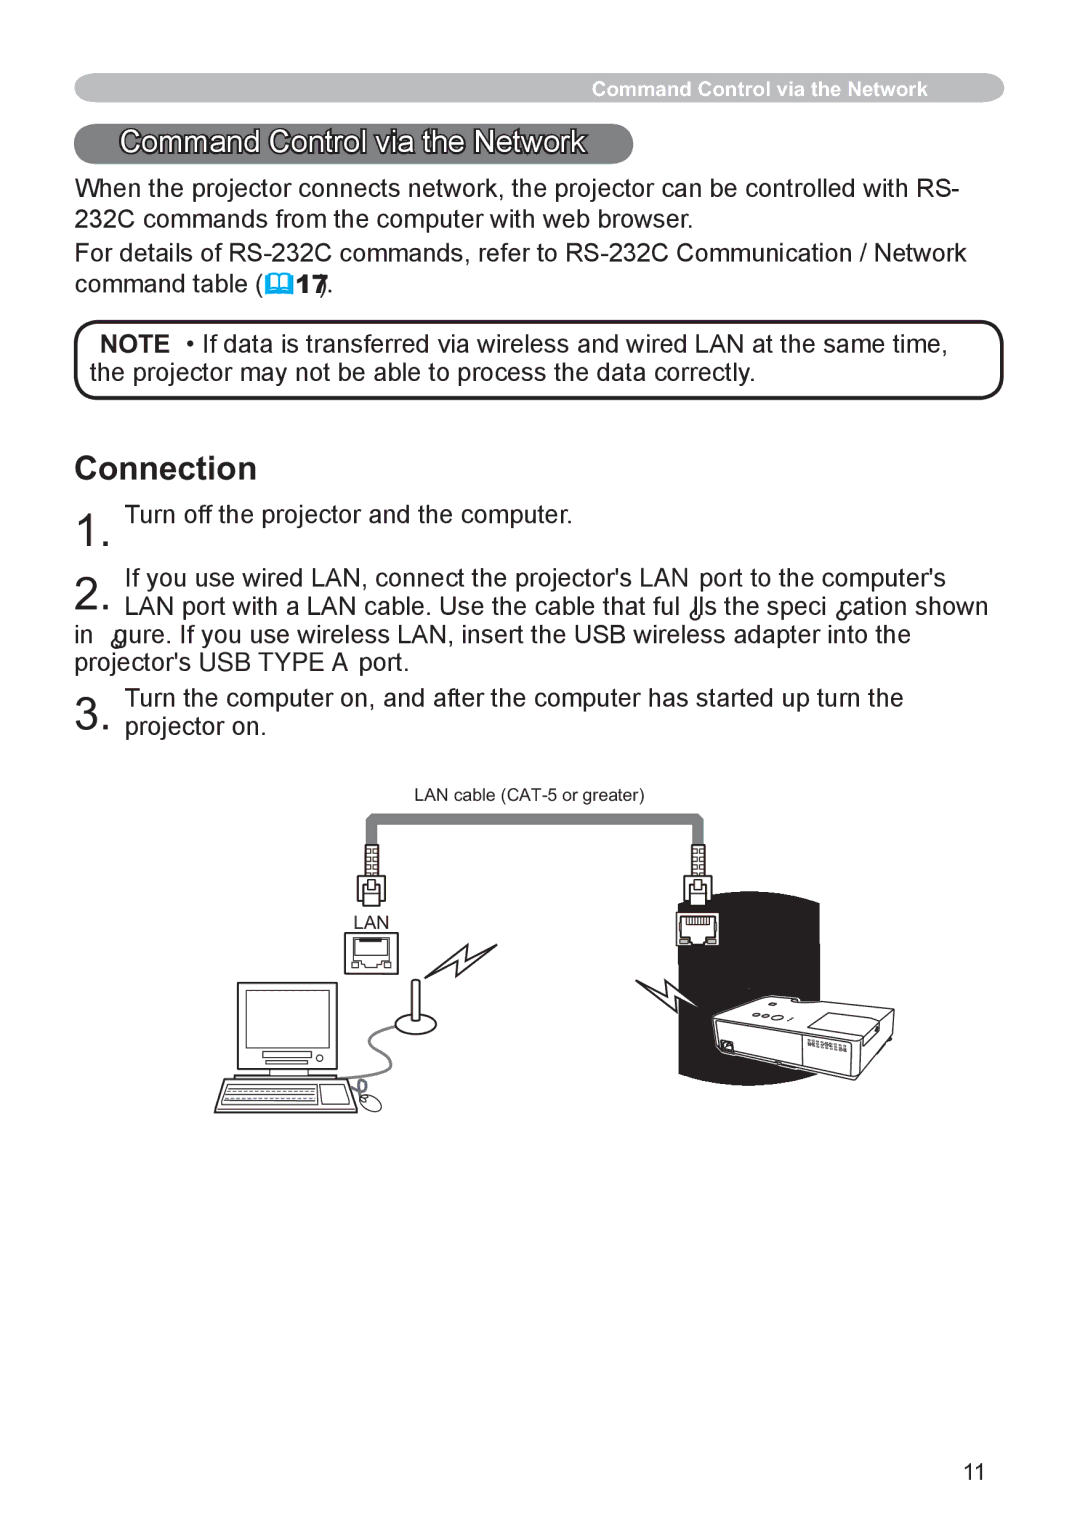
1. Turn off the projector and the computer.
If you use wired LAN, connect the projector's LAN port to the computer's
2. LAN port with a LAN cable. Use the cable that fullls the specication shown in gure. If you use wireless LAN, insert the USB wireless adapter into the projector's USB TYPE A port.
Turn the computer on, and after the computer has started up turn the
3. projector on.
LAN cable
LAN
LAN
11