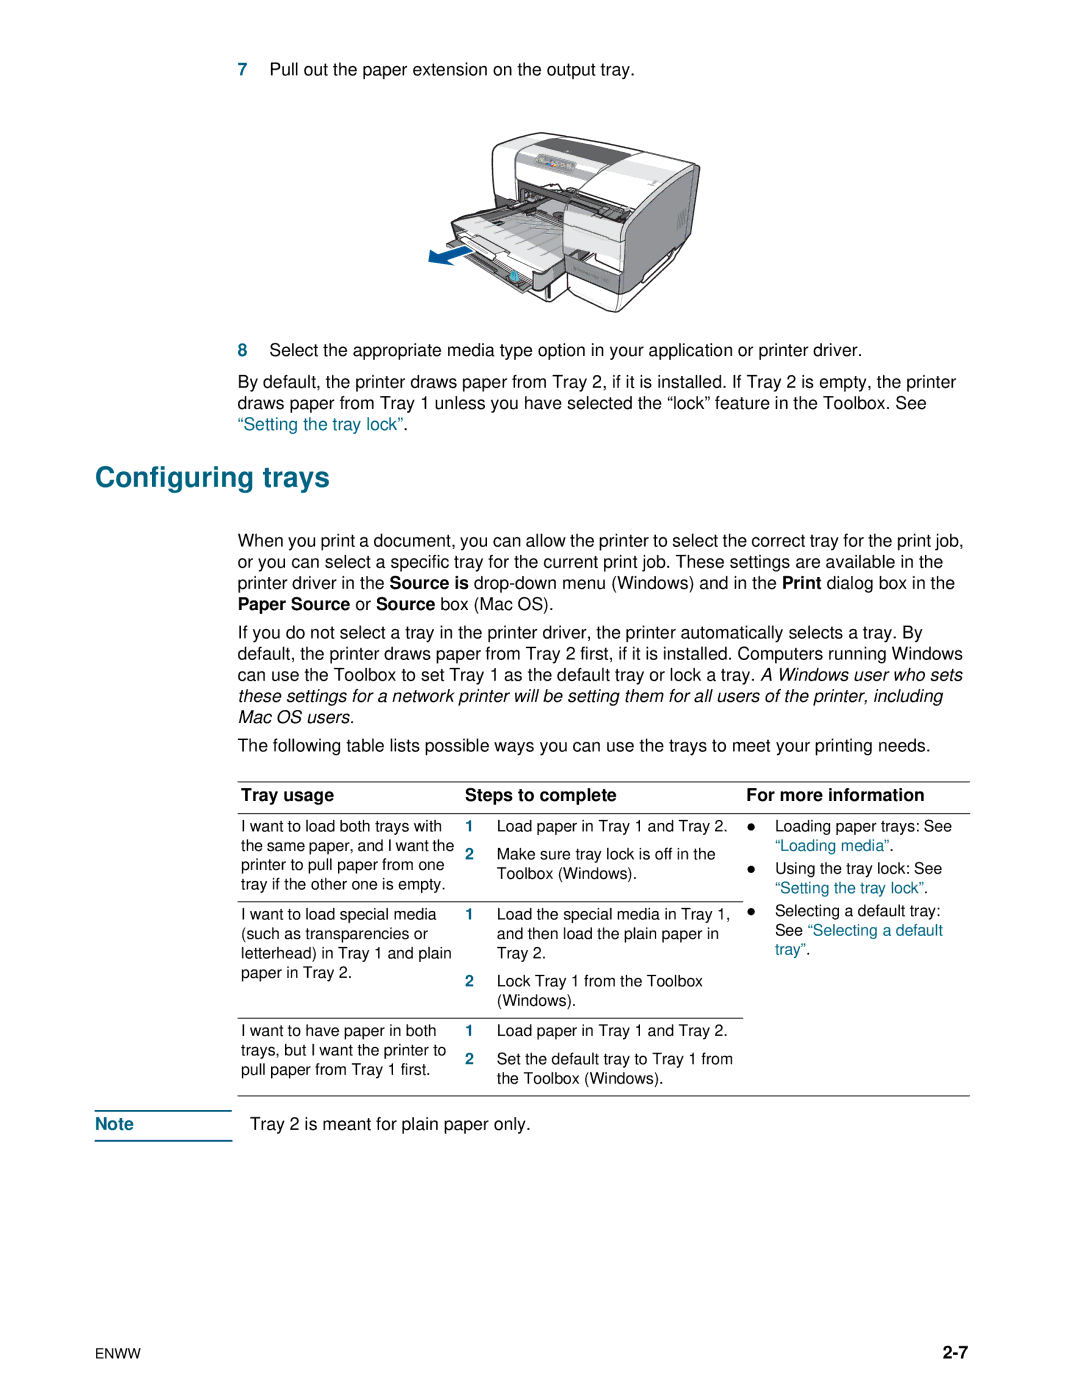
7Pull out the paper extension on the output tray.
8Select the appropriate media type option in your application or printer driver.
By default, the printer draws paper from Tray 2, if it is installed. If Tray 2 is empty, the printer draws paper from Tray 1 unless you have selected the “lock” feature in the Toolbox. See “Setting the tray lock”.
Configuring trays
When you print a document, you can allow the printer to select the correct tray for the print job, or you can select a specific tray for the current print job. These settings are available in the printer driver in the Source is
If you do not select a tray in the printer driver, the printer automatically selects a tray. By default, the printer draws paper from Tray 2 first, if it is installed. Computers running Windows can use the Toolbox to set Tray 1 as the default tray or lock a tray. A Windows user who sets these settings for a network printer will be setting them for all users of the printer, including Mac OS users.
The following table lists possible ways you can use the trays to meet your printing needs.
Tray usage | Steps to complete | For more information |
I want to load both trays with | 1 | Load paper in Tray 1 and Tray 2. |
the same paper, and I want the | 2 | Make sure tray lock is off in the |
printer to pull paper from one |
| Toolbox (Windows). |
tray if the other one is empty. |
| |
|
| |
|
|
|
I want to load special media | 1 | Load the special media in Tray 1, |
(such as transparencies or |
| and then load the plain paper in |
letterhead) in Tray 1 and plain |
| Tray 2. |
paper in Tray 2. | 2 | Lock Tray 1 from the Toolbox |
|
(Windows).
zLoading paper trays: See “Loading media”.
zUsing the tray lock: See “Setting the tray lock”.
zSelecting a default tray: See “Selecting a default tray”.
I want to have paper in both trays, but I want the printer to pull paper from Tray 1 first.
1Load paper in Tray 1 and Tray 2.
2Set the default tray to Tray 1 from the Toolbox (Windows).
Note | Tray 2 is meant for plain paper only. |
|
|
ENWW |
