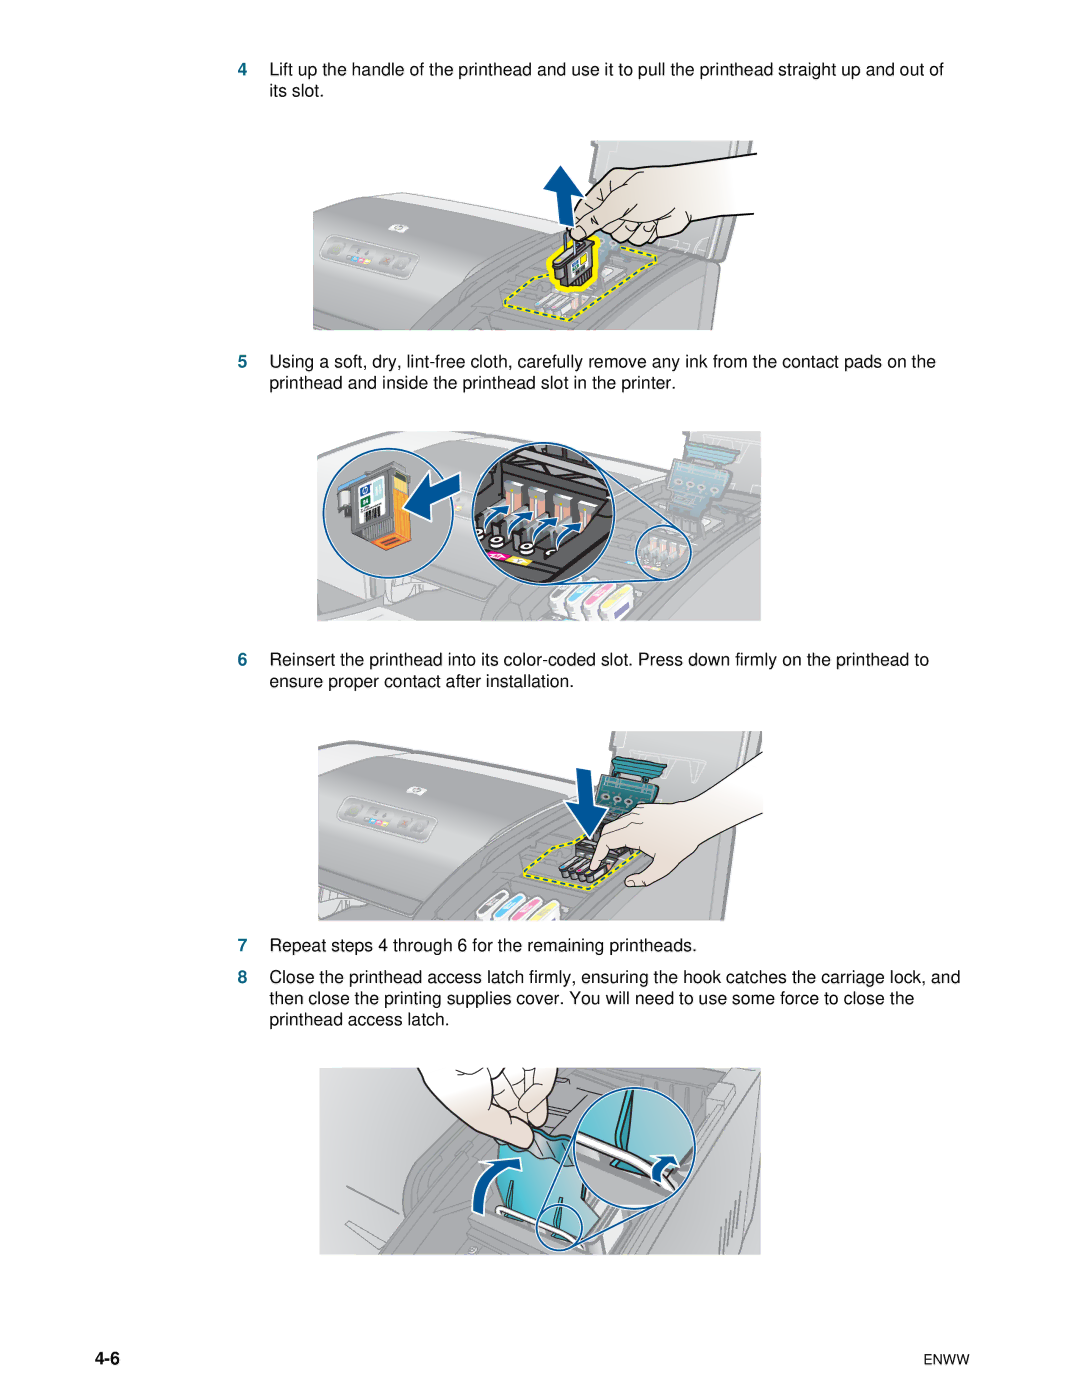
4Lift up the handle of the printhead and use it to pull the printhead straight up and out of its slot.
5Using a soft, dry,
6Reinsert the printhead into its
7Repeat steps 4 through 6 for the remaining printheads.
8Close the printhead access latch firmly, ensuring the hook catches the carriage lock, and then close the printing supplies cover. You will need to use some force to close the printhead access latch.
ENWW |