3 | Maintaining and |
| troubleshooting |
Replacing the ink cartridges
CAUTION
You can check the ink levels from the Toolbox (Windows), the HP Inkjet Toolbox (Mac OS), or the embedded Web server. For information about using these tools, see Overview of printer management tools.
After removing a cartridge from its package, install it right away. Do not remove a cartridge from the printer for long periods of time.
HP recognizes customer’s choice, but cannot guarantee the quality or reliability of
Note | To find out which ink cartridges work with your printer, see Supplies. |
|
|
To replace an ink cartridge
1Ensure the printer is turned on.
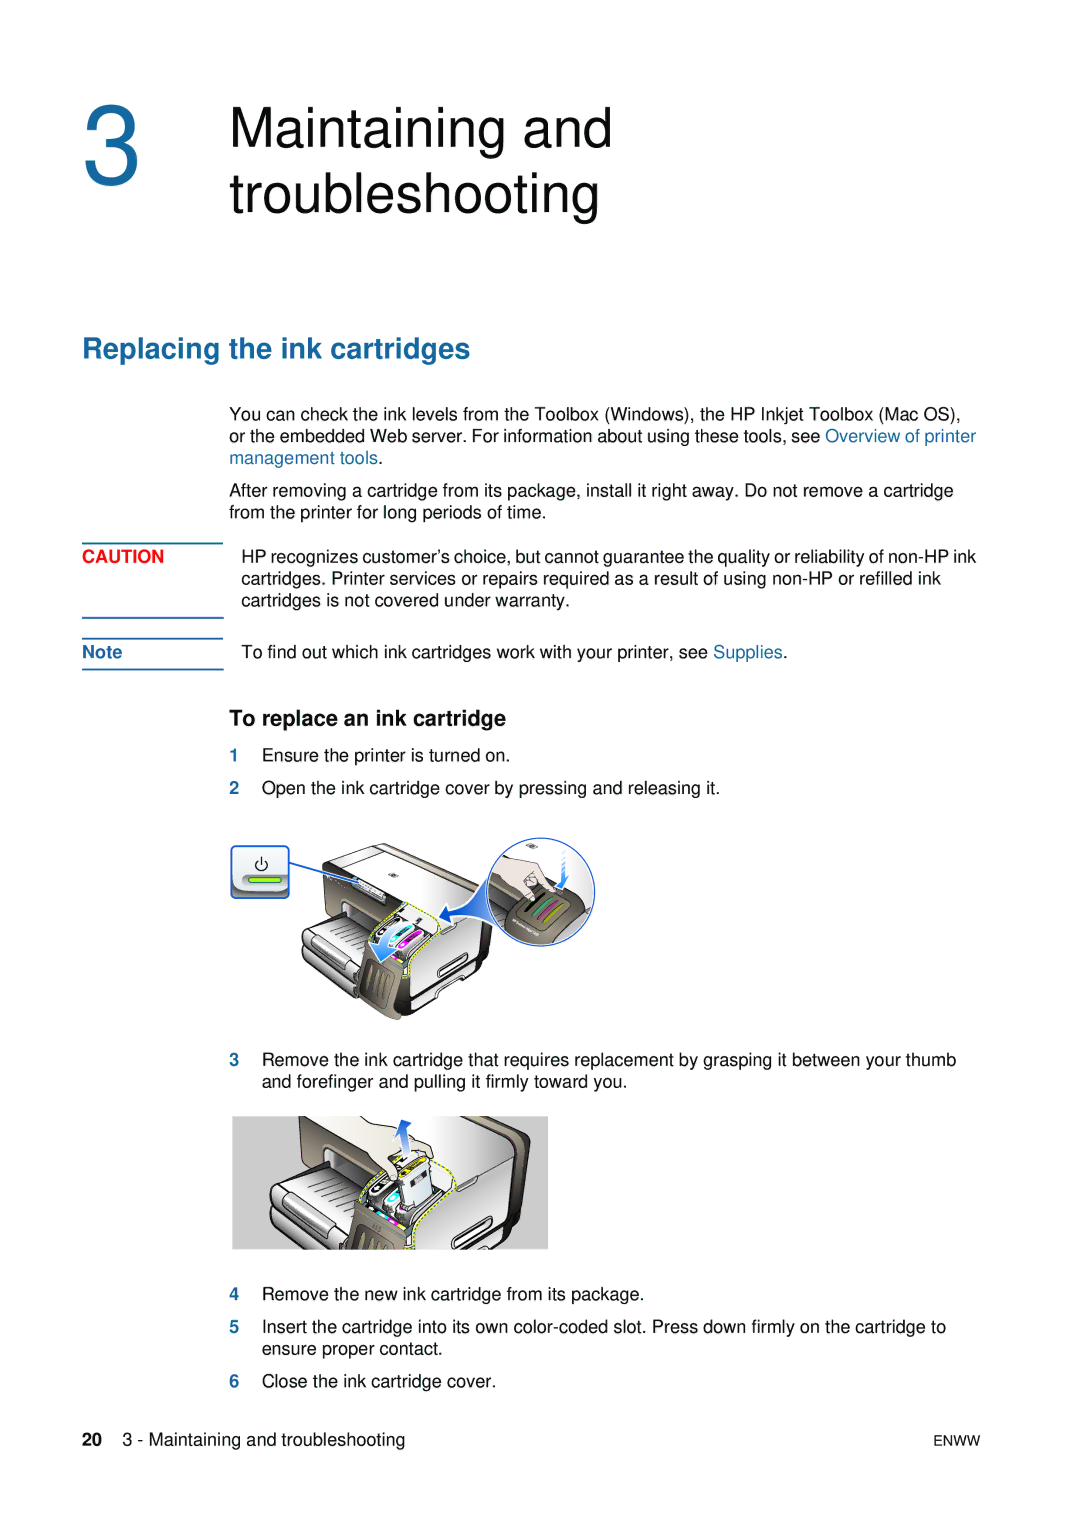
2Open the ink cartridge cover by pressing and releasing it.
3Remove the ink cartridge that requires replacement by grasping it between your thumb and forefinger and pulling it firmly toward you.
4Remove the new ink cartridge from its package.
5Insert the cartridge into its own
6Close the ink cartridge cover.
20 3 - Maintaining and troubleshooting | ENWW |
