CAUTION
CAUTION
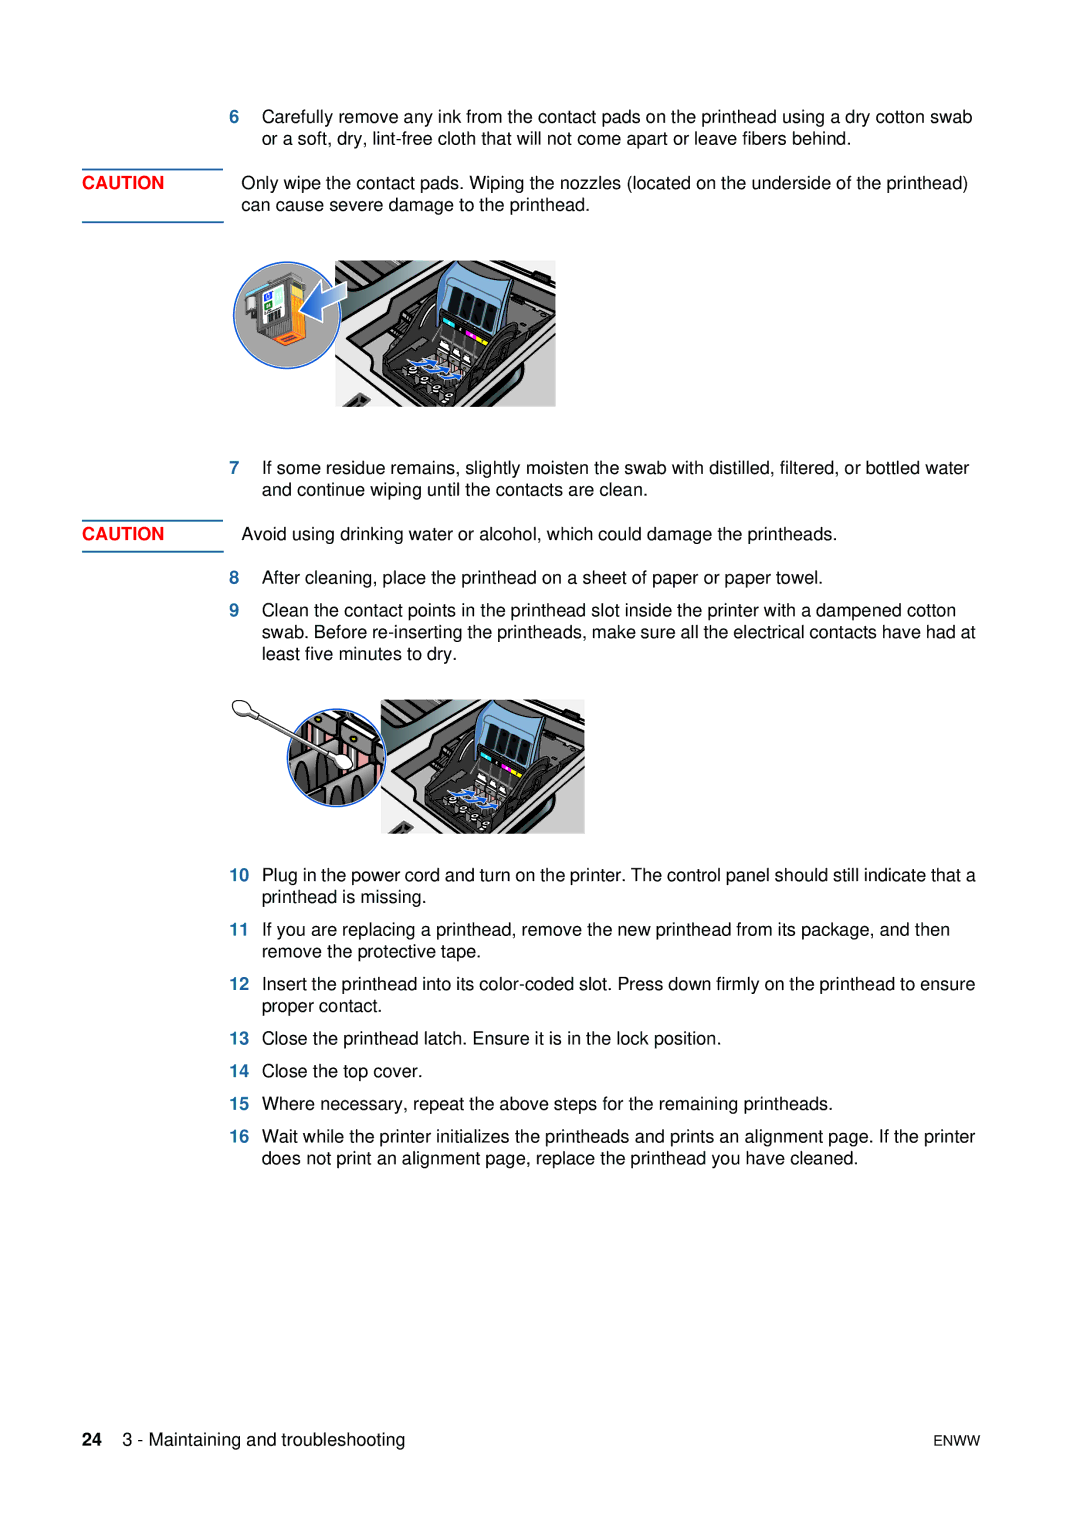
6Carefully remove any ink from the contact pads on the printhead using a dry cotton swab or a soft, dry,
Only wipe the contact pads. Wiping the nozzles (located on the underside of the printhead) can cause severe damage to the printhead.
7If some residue remains, slightly moisten the swab with distilled, filtered, or bottled water and continue wiping until the contacts are clean.
Avoid using drinking water or alcohol, which could damage the printheads.
8After cleaning, place the printhead on a sheet of paper or paper towel.
9Clean the contact points in the printhead slot inside the printer with a dampened cotton swab. Before
10Plug in the power cord and turn on the printer. The control panel should still indicate that a printhead is missing.
11If you are replacing a printhead, remove the new printhead from its package, and then remove the protective tape.
12Insert the printhead into its
13Close the printhead latch. Ensure it is in the lock position.
14Close the top cover.
15Where necessary, repeat the above steps for the remaining printheads.
16Wait while the printer initializes the printheads and prints an alignment page. If the printer does not print an alignment page, replace the printhead you have cleaned.
24 3 - Maintaining and troubleshooting | ENWW |