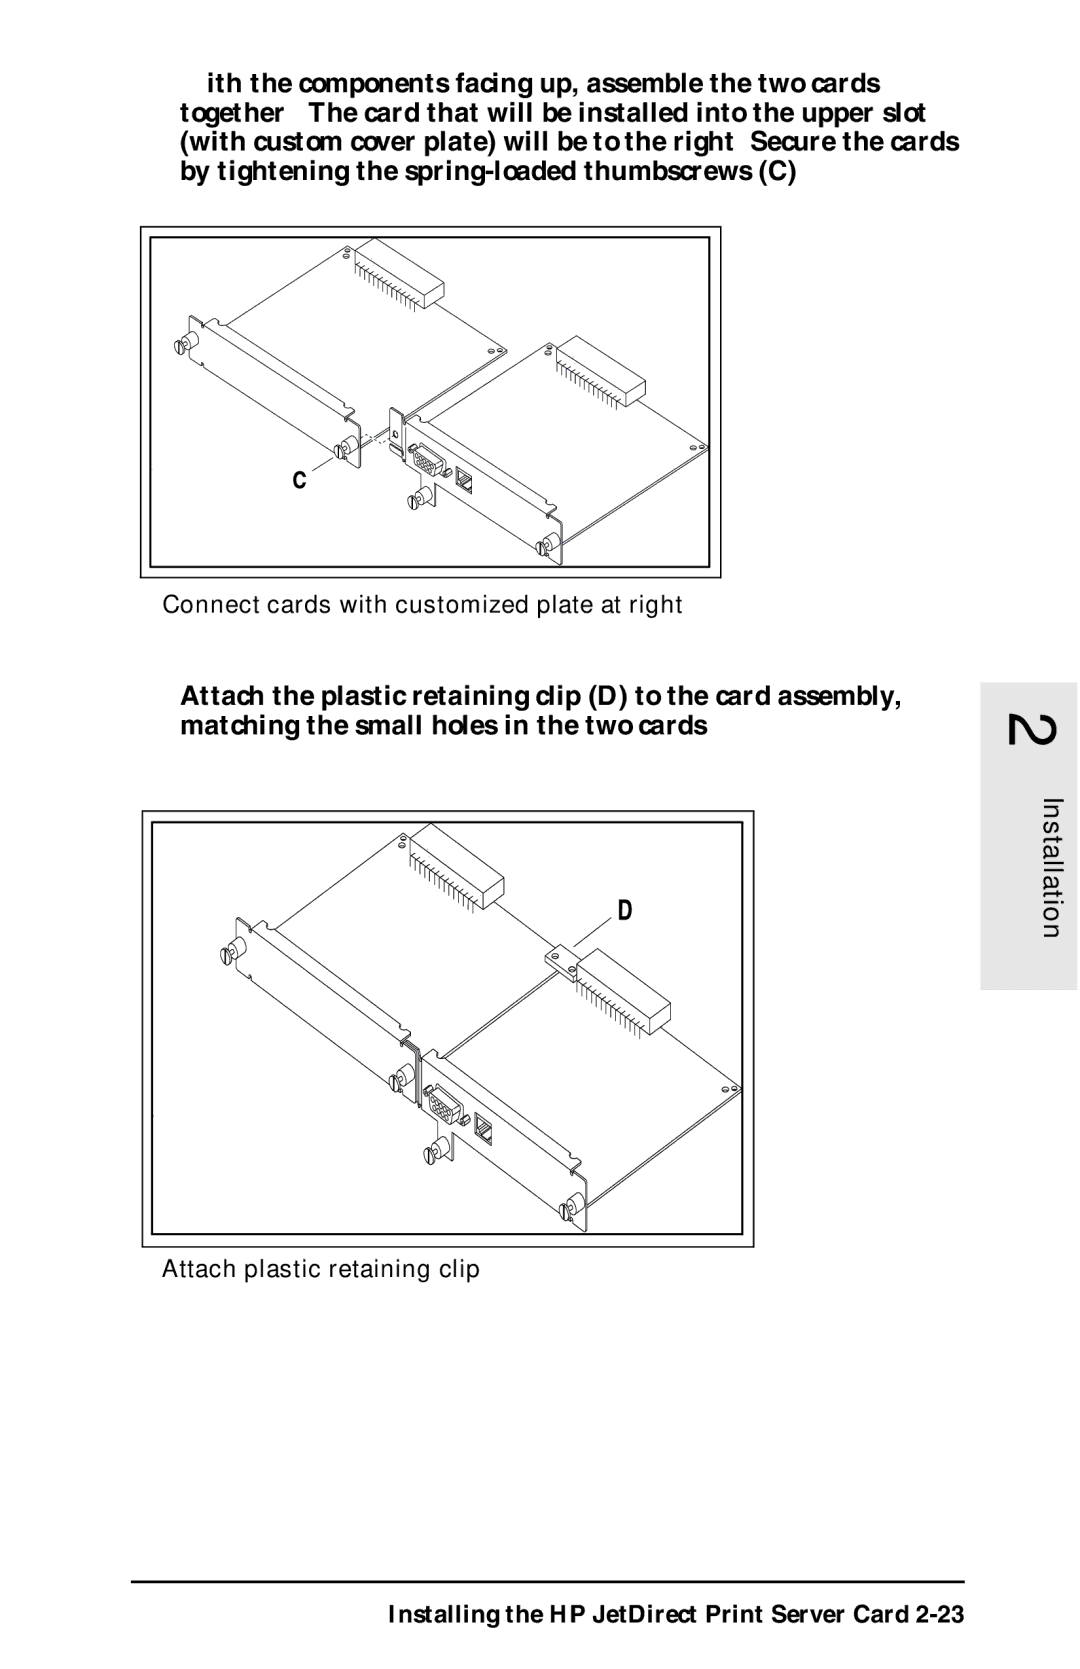
8.With the components facing up, assemble the two cards together. The card that will be installed into the upper slot (with custom cover plate) will be to the right. Secure the cards by tightening the
Connect cards with customized plate at right
9.Attach the plastic retaining clip (D) to the card assembly, matching the small holes in the two cards.
Installation 2
Attach plastic retaining clip
