computer. Make sure to remove them properly using the uninstall utility provided when you installed the software that came with the HP
To uninstall from a Windows computer
![]() NOTE: Use this method if Uninstall is not available in the Windows Start menu (click Programs or All Programs, HP, Deskjet F2200
NOTE: Use this method if Uninstall is not available in the Windows Start menu (click Programs or All Programs, HP, Deskjet F2200
1.Open the Windows control panel and
![]() NOTE: The procedure to open the control panel varies by operating system. If you are not sure how to do this, see the Windows Help.
NOTE: The procedure to open the control panel varies by operating system. If you are not sure how to do this, see the Windows Help.
2.Select HP Deskjet
3.Disconnect the product from your computer.
4.Restart your computer.
![]() NOTE: It is important that you disconnect the product before restarting your computer. Do not connect the product to your computer until after you have reinstalled the software.
NOTE: It is important that you disconnect the product before restarting your computer. Do not connect the product to your computer until after you have reinstalled the software.
5.Insert the product
6.Follow the onscreen instructions and the instructions provided in the Setup Guide that came with the product.
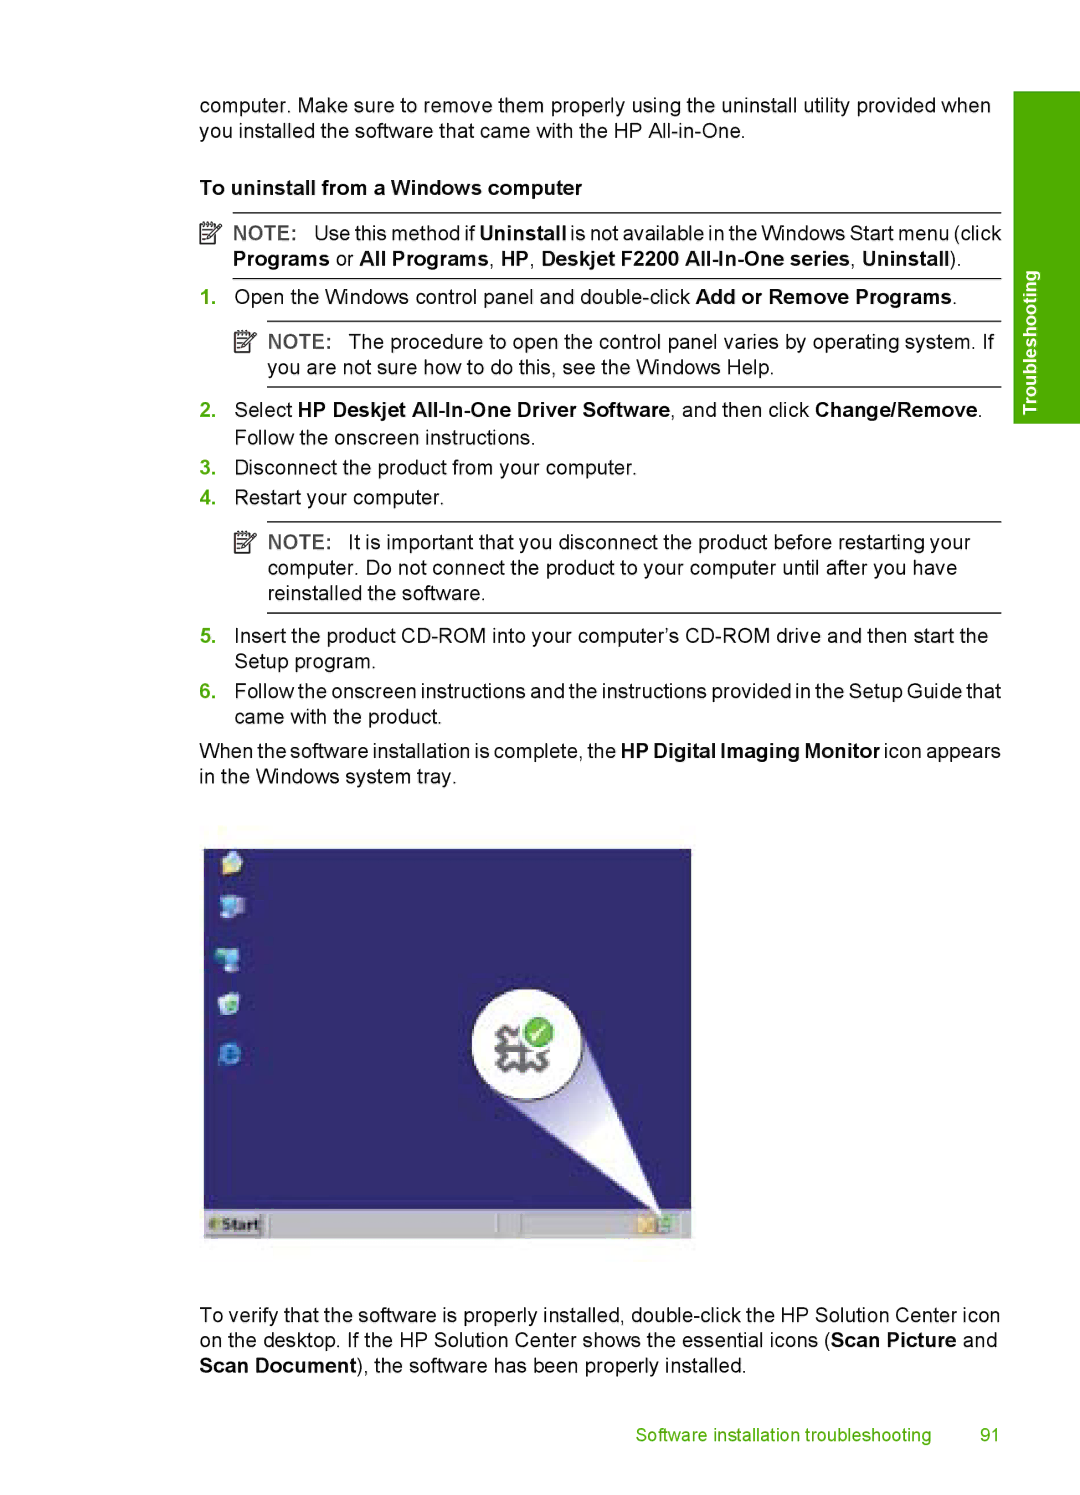
When the software installation is complete, the HP Digital Imaging Monitor icon appears in the Windows system tray.
To verify that the software is properly installed,
Troubleshooting
Software installation troubleshooting | 91 |