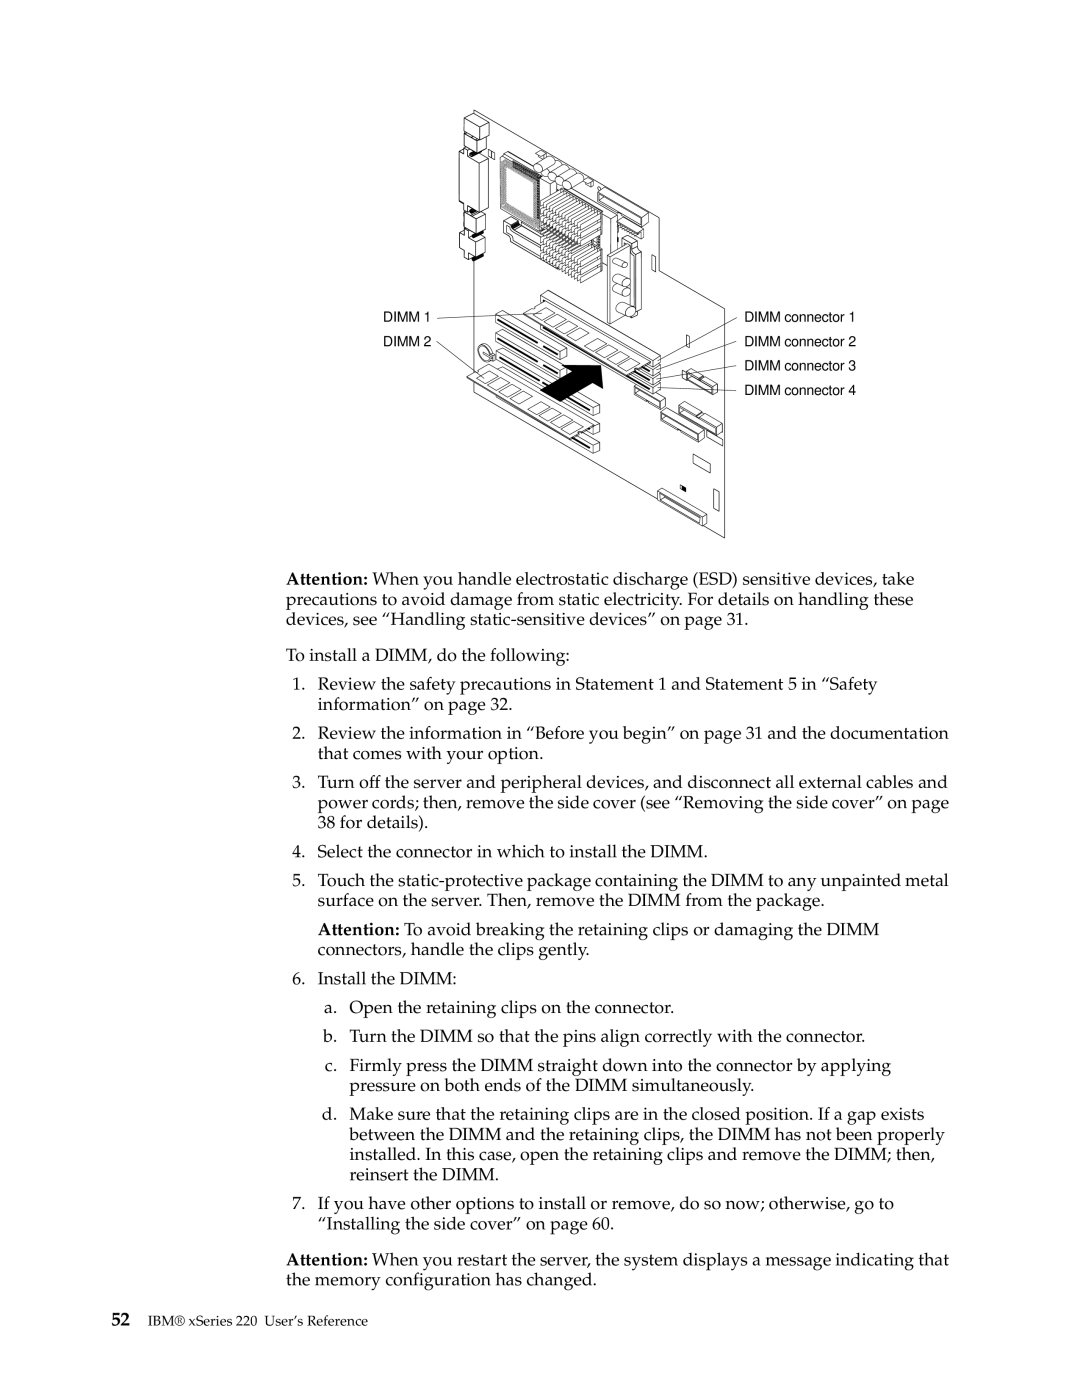
DIMM 1 | DIMM connector 1 |
DIMM 2 | DIMM connector 2 |
| DIMM connector 3 |
| DIMM connector 4 |
Attention: When you handle electrostatic discharge (ESD) sensitive devices, take precautions to avoid damage from static electricity. For details on handling these devices, see “Handling
To install a DIMM, do the following:
1.Review the safety precautions in Statement 1 and Statement 5 in “Safety information” on page 32.
2.Review the information in “Before you begin” on page 31 and the documentation that comes with your option.
3.Turn off the server and peripheral devices, and disconnect all external cables and power cords; then, remove the side cover (see “Removing the side cover” on page 38 for details).
4.Select the connector in which to install the DIMM.
5.Touch the
Attention: To avoid breaking the retaining clips or damaging the DIMM connectors, handle the clips gently.
6.Install the DIMM:
a.Open the retaining clips on the connector.
b.Turn the DIMM so that the pins align correctly with the connector.
c.Firmly press the DIMM straight down into the connector by applying pressure on both ends of the DIMM simultaneously.
d.Make sure that the retaining clips are in the closed position. If a gap exists between the DIMM and the retaining clips, the DIMM has not been properly installed. In this case, open the retaining clips and remove the DIMM; then, reinsert the DIMM.
7.If you have other options to install or remove, do so now; otherwise, go to “Installing the side cover” on page 60.
Attention: When you restart the server, the system displays a message indicating that the memory configuration has changed.