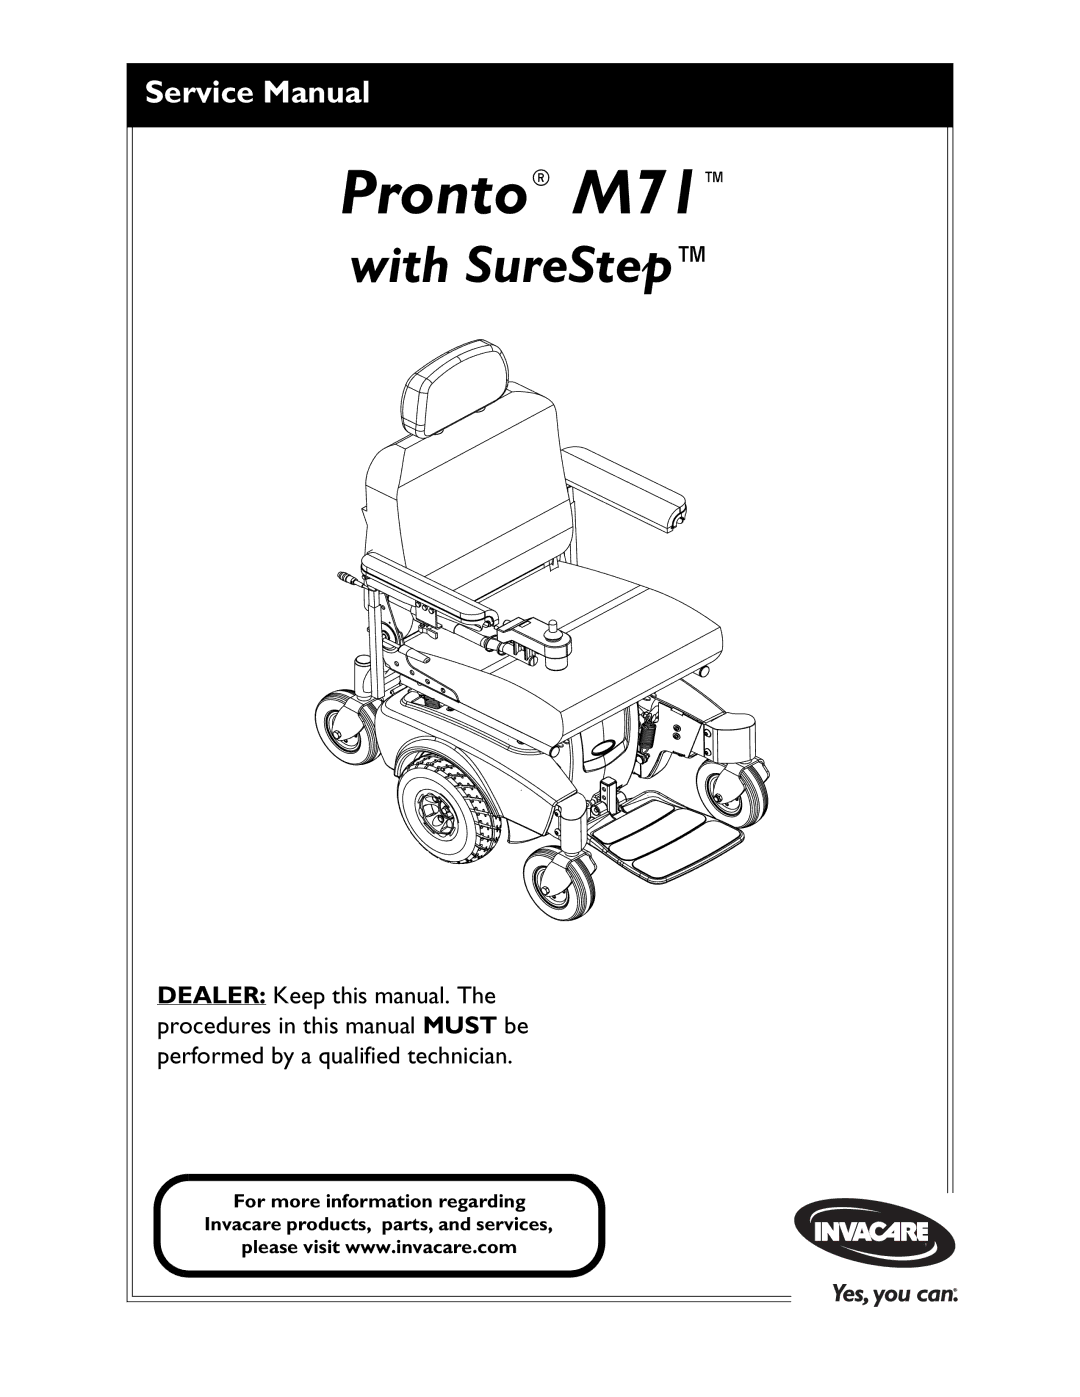
Manuals
/
Brands
/
Personal Care
/
Mobility Aid
/
Invacare
/
Personal Care
/
Mobility Aid
Invacare
M71 service manual
1
1
116
116
Download
116 pages, 6.48 Mb
Service Manual
DEALER:
Keep this manual. The
procedures in this manual
MUST
be
performed by a qualified technician.
For more information regarding
Invacare products, parts, and services,
please visit www.invacare.com
Pronto
®
M71
™
with SureStep™
Contents
Main
Pronto M71
with SureStep
WARNING
REFERENCE DOCUMENTS
Page
Page
Page
Page
Page
SPECIAL NOTES
NOTICE
TRRO AND TRBKTS WARNINGS
Page
Page
LABEL LOCATIONS
M71 with PTO+ Labels
TYPICAL PRODUCT PARAMETERS
SECTION 1GENERAL GUIDELINES
Repair or Service Information
Operation Information
Tire Pressure
Electrical
Grounding Instructions
Batteries
DANGER
SECTION 2EMI INFORMATION
Page
SECTION 3SAFETY INSPECTION/ TROUBLESHOOTING
Safety Inspection Checklists
Inspect/Adjust
Troubleshooting
Troubleshooting - Electrical
Page
Page
MPJ+, PSR+, PSF+ Joysticks or Displays
DIAGNOSTICS CODE
NUMBER OF FLASHES
ERROR CODE DESCRIPTION
SUB CODE* DETAILS OF ERROR CODE
POSSIBLE SOLUTION
Wheels
Troubleshooting - Common
Troubleshooting - Motor/Gearbox/Brake
Page
Troubleshooting - Battery
Troubleshooting - Battery Charger
Checking Battery Charge Level
The following Dos and Donts are provided for your convenience and safety.
DO DONT
Field Load Test
Motor Testing
SECTION 4SEAT ASSEMBLY
Removing/Installing the Seat Assembly
Removing Seat
Installing Seat
Adjusting the Seat Height
Page
Removing/Installing the Adjustable Height Tubes
Page
Adjustable ASBA Seat Service Procedures
Removing/Installing the Seat Pan
Adjusting the Seat Width
Adjusting the Seat Depth
Page
Removing/Installing Side Rails
Page
Replacing the Seat Frame
Removing/Installing the Back Canes
Replacing Seat Positioning Strap
Page
ASBA Seat Service Procedures
Removing/Installing the Seat Pan
Changing the Seat Width/Depth
Replacing the Seat Frame
Replacing the Seat Positioning Strap
Removing/Installing the Back Upholstery
Removing/Installing/Changing the Back Cane Height
Page
Page
Page
Page
Van Seat Service Procedures
Adjusting the Seat Position on Van Seat Frame
SECTION 4SEAT ASSEMBLY
FIGURE 4.18 Adjusting the Seat Position on Van Seat Frame
Adjusting the Van Seat Back Depth
SECTION 5ARMS
Arm Service Procedures for Van Seat
Removing/Installing Van Seat Arm
Adjusting Van Seat Arm Width
Adjusting Van Seat Arm Angle
Adjusting Van Seat Arm Height
Replacing Van Seat Armrest Pads (Wheelchairs Built before October 2003)
Replacing Van Seat Armrest Plate (Wheelchairs Built before October 2003)
Replacing Van Seat Armrest Pad Assembly (Wheelchairs Built After October 2003)
Arm Service Procedures for ASBA or Adjustable ASBA Seat
Removing/Installing Flip Back Armrest
Adjusting the Flip Back Armrest
Page
SECTION 6WHEELS
Replacing the Front/Rear Casters
Adjusting Caster Assembly
Removing/Installing the Front/Rear Caster Assemblies
Removing/Installing the Front Headtube Assembly
Removing/Installing the Drive Wheel
Removing the Drive Wheel
Installing the Drive Wheel
Replacing the 2-Piece Wheel Rim and/or the Foam Filled or Pneumatic Tires
Page
SECTION 7FRONT RIGGINGS/ FOOTBOARD
Installing/Removing Front Riggings
Adjusting Footrest Height
Model PHWH93 Front Riggings
Model PH904A and PHAL4A Front Riggings
Replacing Heel Loops
Raising/Lowering Elevating Front Riggings
Adjusting/Replacing Telescoping Front Rigging Supports
Van Seat
Page
ASBA Seat
Adjustable ASBA Seat
Removing/Installing the Footboard Assembly
Angle/Depth/Height Adjustment of the Footboard Assembly
Angle Adjustment
Depth Adjustment
Height Adjustment
SECTION 8SHROUDS/FRAME
Removing/Installing the Shrouds
SECTION 8SHROUDS/FRAME
NOTE: Rear Shroud Before 7/14/03. NOTE: Rear Shroud After 7/14/03.
FIGURE 8.1 Removing/Installing the Shrouds
Disassembling/Reassembling the Side Frame Assembly
Removing/Installing the Pivot Tube
Removing/Installing the Walking Beam
Replacing the Side Frame
Removing/Installing the SureStep Springs
SECTION 8SHROUDS/FRAME
FIGURE 8.3 Removing/Installing the SureStep Springs
SECTION 9MOTORS
Removing/Installing the Motor
Removing/Installing the Motor Release Lever
Replacing Internal Motor Brushes
Page
Inspecting/Replacing External Motor Brushes
Electro-Mechanical Parking Brake Testing
SECTION 10BATTERIES/CHARGER
Warnings For Handling and Replacing Batteries
Using the Proper Batteries
Removing/Installing Batteries From/Into Battery Tray
Removing Batteries
Installing Batteries
SECTION 10BATTERIES/CHARGER
NOTE: Seat not shown for clarity.
FIGURE 10.2 Removing/Installing Batteries From/Into Battery Tray
Connecting/Disconnecting Battery Cables
Connecting Battery Cables
Page
Disconnecting Battery Cables
Replacing the On-Board Battery Charger Fuse
Replacing the On-Board Battery Charger
Page
SECTION 11CONTROLLER AND JOYSTICK
Disconnecting/Connecting the Joystick
Disconnecting
Connecting
Removing/Installing the Joystick
Van Seat Models
ASBA and Adjustable ASBA Models
Replacing the MKIV RII Controller
Page
Replacing the MK5-NX or MK660 ACC Controller
SECTION 12DISASSEMBLING/ ASSEMBLING THE M71
Disassembling/Assembling the Wheelchair
Disassembling the Wheelchair
Page
SECTION 12DISASSEMBLING/ASSEMBLING THE M71
FIGURE 12.1 Disassembling the Wheelchair
NOTE: View is from inside of LEFT side frame assembly.
NOTE: View is from inside of RIGHT side frame assembly.
Assembling the Wheelchair
SECTION 12DISASSEMBLING/ASSEMBLING THE M71
FIGURE 12.2 Assembling the Wheelchair
NOTE: View is from inside of LEFT side frame assembly.
NOTE: View is from inside of RIGHT side frame assembly.
Page
SECTION 13TRANSPORT READY PACKAGE
About Transport Ready Packages
Compliance Information
Specifications
Securing the Wheelchair to the Vehicle
Positioning the Wheelchair in the Vehicle
Securement Points
Securing the Wheelchair
Securing the Occupant
Wheelchair-Anchored Belts
Vehicle-Anchored Belts
Seating System
Positioning Belts
LIMITED WARRANTY