GS716Tv2 and GS724Tv3 Software Administration Manual
2.To modify information about an existing SNMP recipient, select the check box next to the recipient, change the desired fields, and then click Apply. Configuration changes take effect immediately.
3.To delete a recipient, select the check box next to the recipient and click Delete.
4.Click Cancel to cancel the configuration on the screen and reset the data on the screen to the latest value of the switch.
Trap Flags
The pages in the Trap Manager folder allow you to view and configure information about SNMP traps the system generates.
Use the Trap Flags page to enable or disable traps the switch can send to an SNMP manager. When the condition identified by an active trap is encountered by the switch, a trap message is sent to any enabled SNMP Trap Receivers, and a message is written to the trap log.
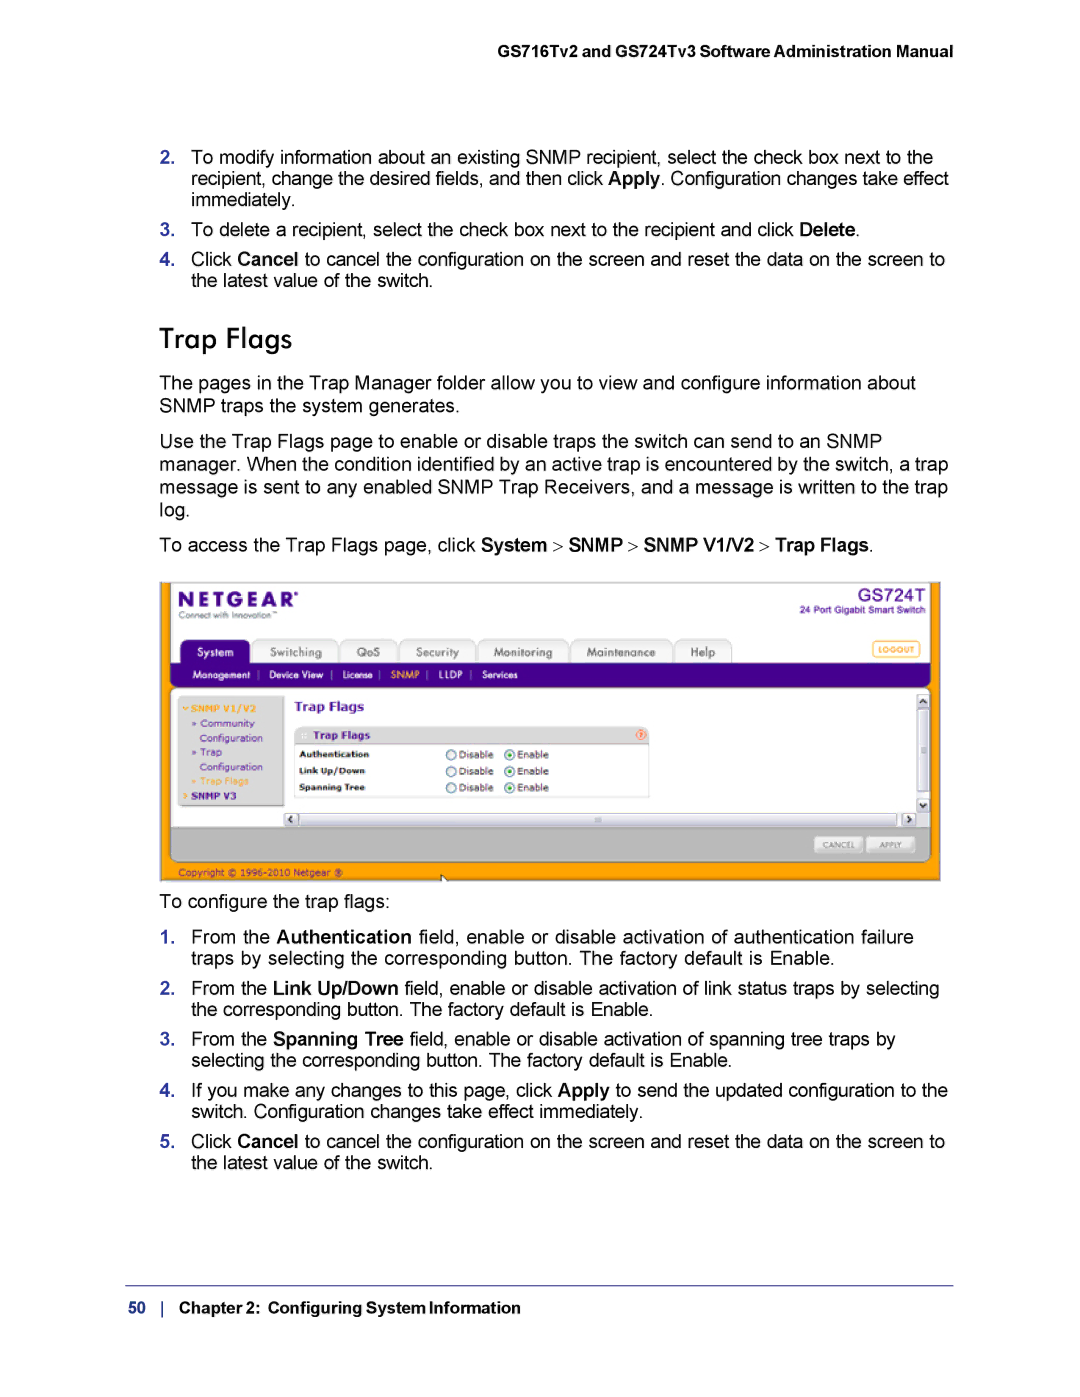
To access the Trap Flags page, click System > SNMP > SNMP V1/V2 > Trap Flags.
To configure the trap flags:
1.From the Authentication field, enable or disable activation of authentication failure traps by selecting the corresponding button. The factory default is Enable.
2.From the Link Up/Down field, enable or disable activation of link status traps by selecting the corresponding button. The factory default is Enable.
3.From the Spanning Tree field, enable or disable activation of spanning tree traps by selecting the corresponding button. The factory default is Enable.
4.If you make any changes to this page, click Apply to send the updated configuration to the switch. Configuration changes take effect immediately.
5.Click Cancel to cancel the configuration on the screen and reset the data on the screen to the latest value of the switch.
50 Chapter 2: Configuring System Information