3 • DA500/DA550 Basics
Setting Up A Job (continued)
9.Print a Test Piece
1.Make sure material is loaded properly. (Or you can use a single test piece if you'd like to check your setup adjustments.)
2.Turn the printer ON. The On/Off switch is located on the interface panel at the rear of the machine. Wait for the printer to finish its startup routine and for the "ON LINE" screen to appear on the LCD.
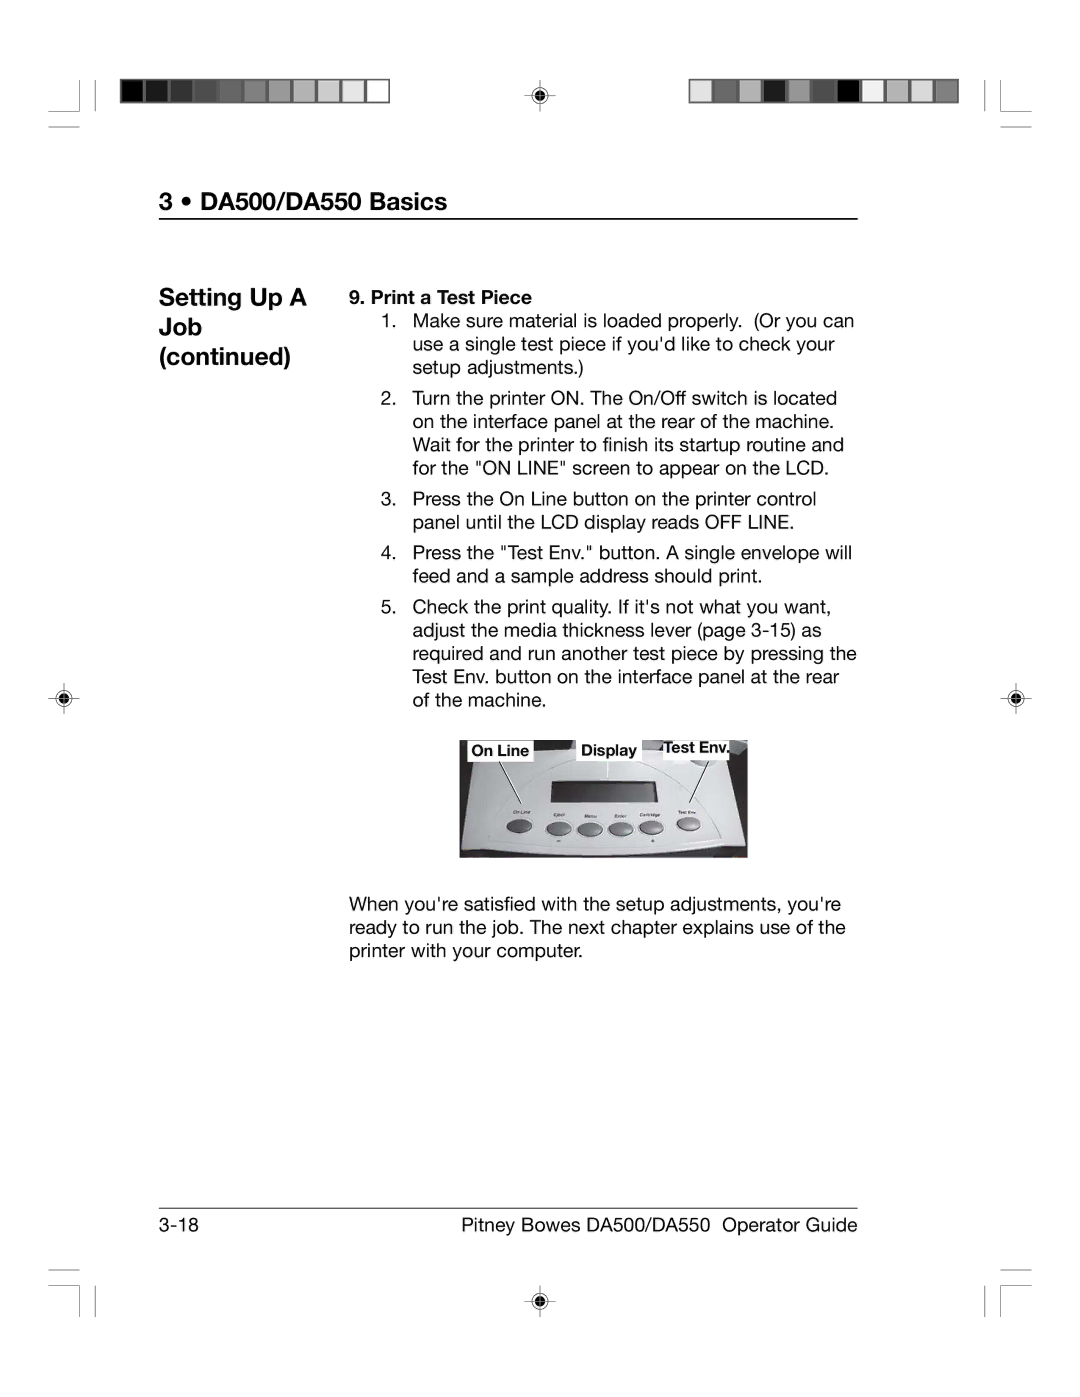
3.Press the On Line button on the printer control panel until the LCD display reads OFF LINE.
4.Press the "Test Env." button. A single envelope will feed and a sample address should print.
5.Check the print quality. If it's not what you want, adjust the media thickness lever (page
On Line | Display | Test Env. |
When you're satisfied with the setup adjustments, you're ready to run the job. The next chapter explains use of the printer with your computer.
Pitney Bowes DA500/DA550 Operator Guide |