Setting Up the DA500/DA550 Printer • 2
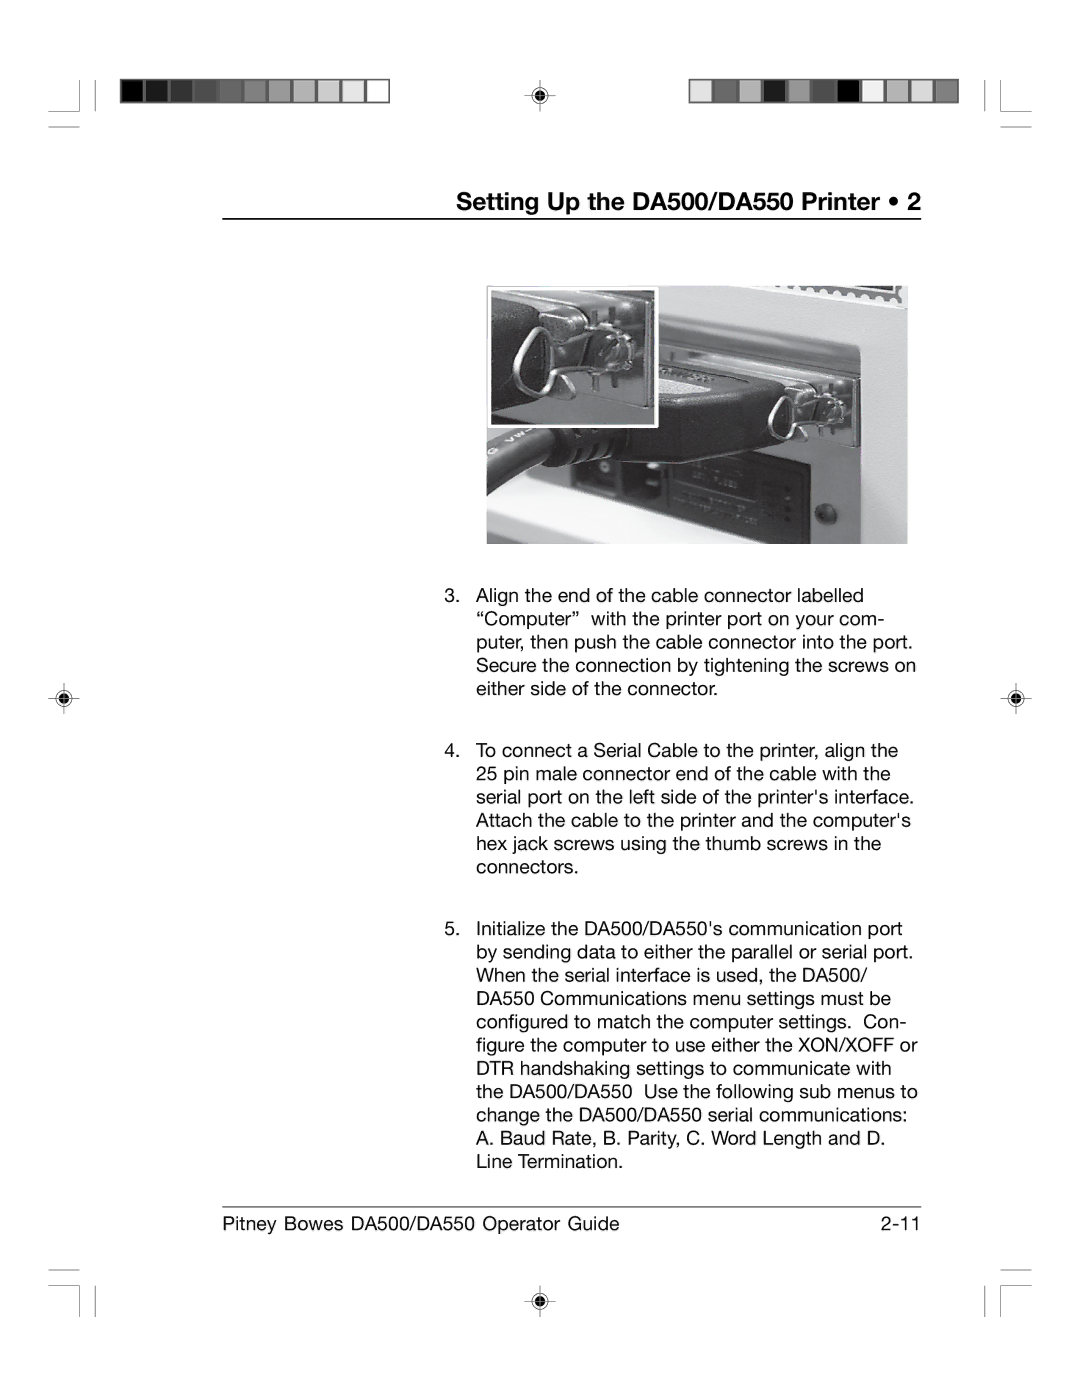
3.Align the end of the cable connector labelled “Computer” with the printer port on your com- puter, then push the cable connector into the port. Secure the connection by tightening the screws on either side of the connector.
4.To connect a Serial Cable to the printer, align the 25 pin male connector end of the cable with the serial port on the left side of the printer's interface. Attach the cable to the printer and the computer's hex jack screws using the thumb screws in the connectors.
5.Initialize the DA500/DA550's communication port by sending data to either the parallel or serial port. When the serial interface is used, the DA500/ DA550 Communications menu settings must be configured to match the computer settings. Con- figure the computer to use either the XON/XOFF or DTR handshaking settings to communicate with the DA500/DA550 Use the following sub menus to change the DA500/DA550 serial communications: A. Baud Rate, B. Parity, C. Word Length and D. Line Termination.
Pitney Bowes DA500/DA550 Operator Guide |