Chapter 4 Management from a Terminal | |
|
|
Date & Time Update
1.Set Time (hh:mm)... (13:23)
2.Set Date (dd/mm/yyyy)... (4/2/2002)
@ - Db Update; # - Db Undo
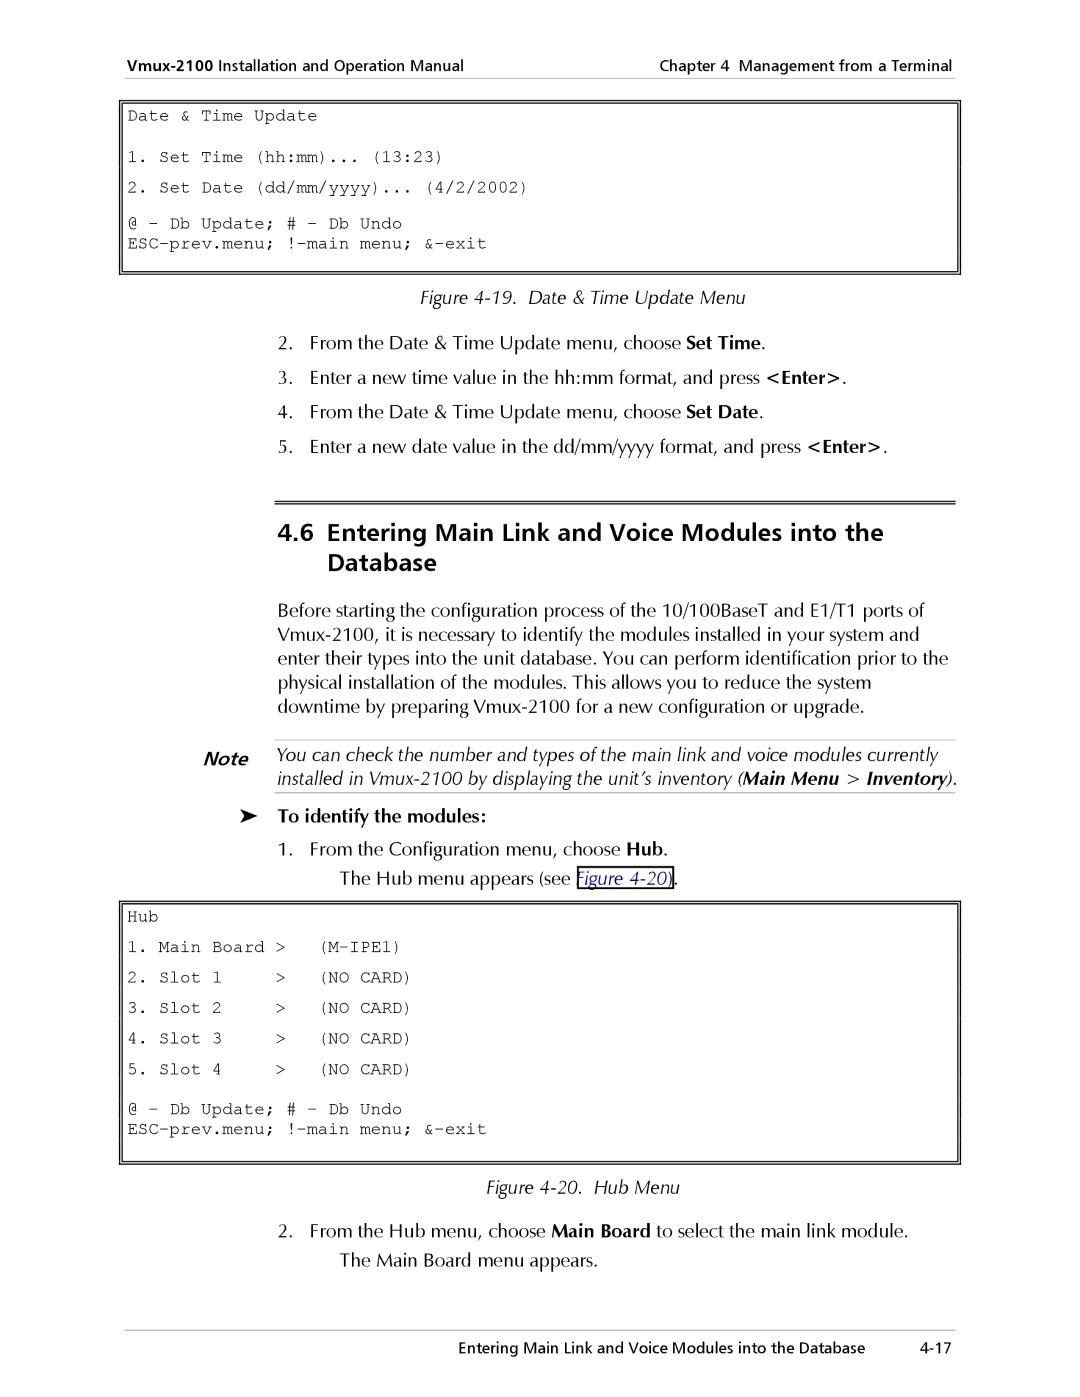
Figure 4-19. Date & Time Update Menu
2.From the Date & Time Update menu, choose Set Time.
3.Enter a new time value in the hh:mm format, and press <Enter>.
4.From the Date & Time Update menu, choose Set Date.
5.Enter a new date value in the dd/mm/yyyy format, and press <Enter>.
4.6Entering Main Link and Voice Modules into the Database
Before starting the configuration process of the 10/100BaseT and E1/T1 ports of
Note You can check the number and types of the main link and voice modules currently installed in
To identify the modules:
1.From the Configuration menu, choose Hub. The Hub menu appears (see Figure
Hub |
|
|
|
1. | Main Board > | ||
2. | Slot 1 | > | (NO CARD) |
3. | Slot 2 | > | (NO CARD) |
4. | Slot 3 | > | (NO CARD) |
5. | Slot 4 | > | (NO CARD) |
@ - Db Update; # - Db Undo
Figure 4-20. Hub Menu
2.From the Hub menu, choose Main Board to select the main link module. The Main Board menu appears.
Entering Main Link and Voice Modules into the Database |
