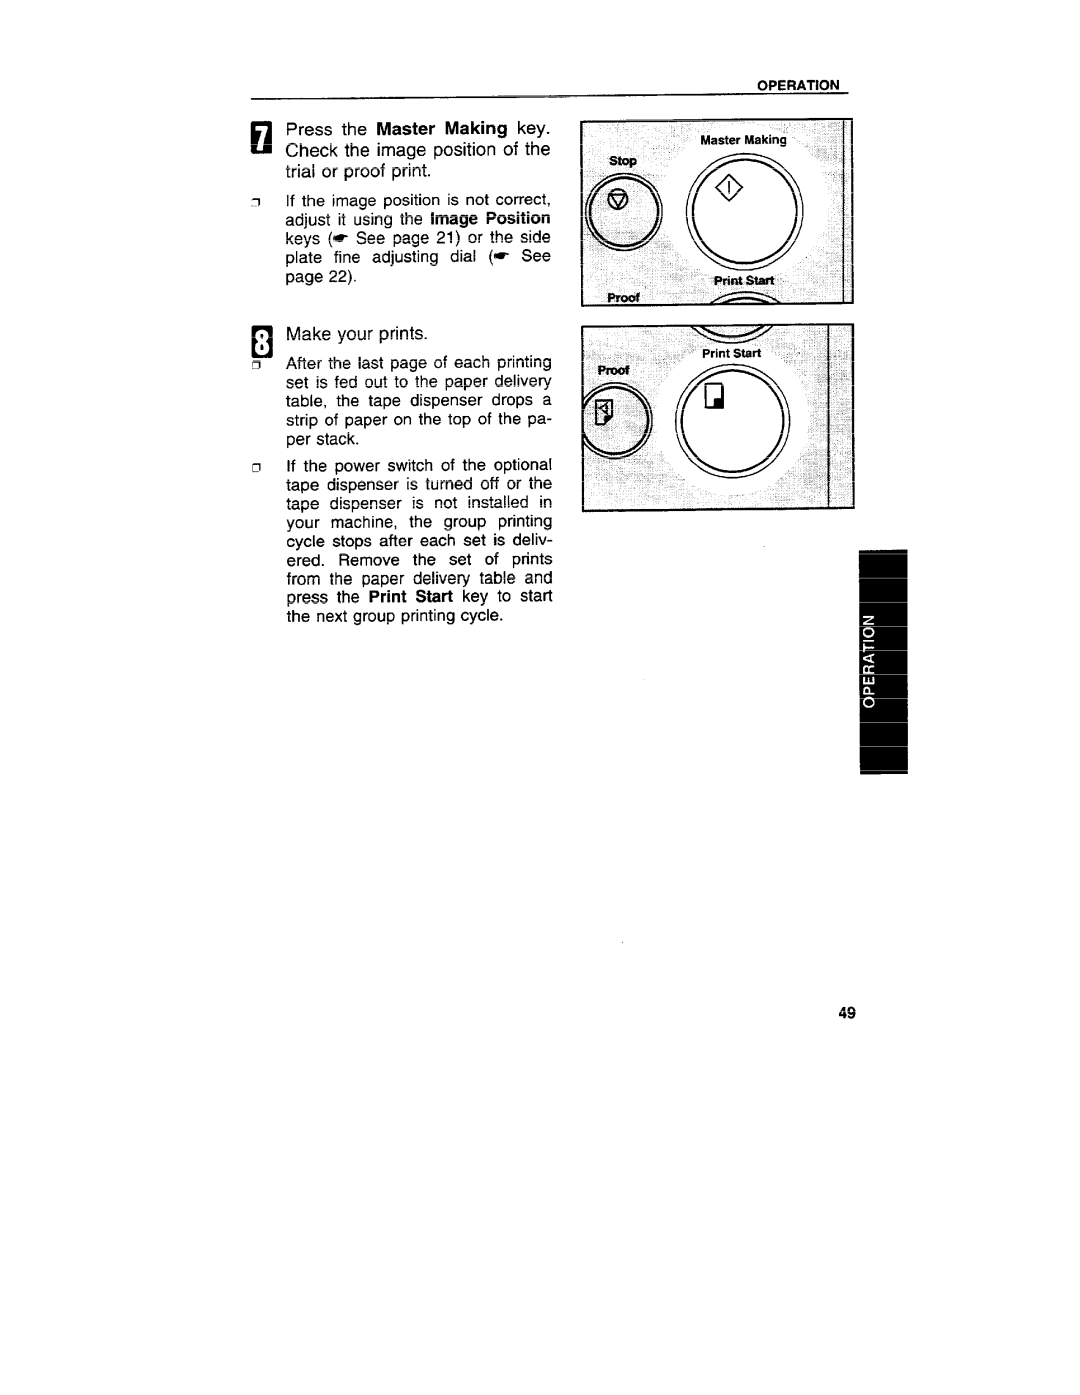
Main
o
INTRODUCTION
SAFETY INFORMATION
Safety During Operation
Multi Copy key
Image Mode key
General Safety Information
Page
Machine Exterior
GUIDE TO COMPONENTS
I
J \/
/4
10. 11.
Machine Interior
)
10
11. 12.
Options
Operation Panel
Keys
11(91
9
o
u IJlle Cx!x3
Indicators
L
INSTALLATION REQUIREMENTS
d-k%
Optimum Environmental Conditions J
Environments To Avoid
Access To The Machine
r-k
Section
1
OPERATION
Printing Paper
Originals
Page
mlb
o
Setting up
.
the paper delivery table
tructions
IWI
Operating
In!
Setting the small size end plate prop
d
Standard Printing
El
fl
*
Page
El
o
1--
1~-L I
Adjusting The Image Position
Shifting the image position forward or backward
Shifting the image to the right or left @
K1
T -+
Adjusting The Image Density
nnl
Before making amaster n
ing
After making amaster n
m
Changing The Printing Speed
Stopping The Machine During APrint Run
When you want to stop the machine during aprint run and print the next original
n
El
When you want to change the number of prints en- tered or check the completed prints
n
H
Reduction/Enlargement Printing
Reduction
Metric version
87
n
sx*_ta**9*ss5\*
z
Enlargement
!ii!i
1
up/down
Page
Zoom
Directional Magnification Printing
When you enter the reproduction ratios
cation
El
a
Print
Entering the lengths of the original and print paper
El
n
El
a
-s:
-:
9
L
El
Ii
1?
3
@
E
.,
*
+!g
E
!2
Erasing Margins
n
El
Zoom
1
Printing On Thick Or Thin Paper
Printing on thick paper
Printing on thin paper
H
Photo Mode Printing
El
O(-J ,
I
H
62 I
Ink Saving (Economy Mode)
c1
Printing From Several Originals At Once
b
Group Printing From The Same Original (Class Mode)
Plates
El
tape dispenser. of the
13. Directional Magnification
8.
Group Printing From Different Originals (Memory Mode)
Machine Exterior
t
M
Page
Multi Copy
1------
Combine 2originals D+B *!!IH ~+~lq!Qj3q
,afj& 1 5Q 15D D
I B4D II
I A4 D II 710/0 I 820/o i1000/0 I I 85 w II 6170 I 7170 I I II 5070 I 5770 I 71% I82!X0 I
I50% I7770
I
Notes for multi copy mode ~
How to make prints in multi copy mode
3~
@I
t
Skip Feed Printing (Skip Feed Mode)
E
User Programs
How to input auser program
El
,Press the Enter key.
How to access auser program
i
H
How to protect aprogram
II
c1
How to remove user program protection
u
Printing Of Secret Documents (Security Mode)
OPTIONAL FUNCTIONS
Printing Using The Optional 20 Originals Or 50
Guide to document feeder components
Originals
Setting originals into the document feeder o
U
Page
Multi copy with the document feeder D I= see
s,,
n!
El
Page
Group printing from different originals with the docu- ment feeder (Memory mode) 3
-1
4
El
& -!3
I I
z
Printing Using The Optional Sorter Stapler
Guide to 20-bin sorter stapler components
il
When not making prints in Sort, Staple, or Class Sort mode
D
El
.
El
P
c)~
@
Page
t
Print
m
K1
El
la
B
General Safdy Information
Stapling prints (Staple Sort mode)
la
Page
n
El
El
u
Page
Group printing from the same original with the sorter stapler (Class Sort mode)
z.
El
El
---E-
Page
Printing Using The Optional Large Capacity
T--
Tray (lCT)
Guide to large capacity tray components D
Loading paper
n
El
El
Page
c1
El
E!
m
M
D
II
Printing using the paper cassette for LCT
c1 El
H
I
Page
El
Remove the end plate
Page
0
I
El
I
Color Printing Using The Optional Color Drum
Making color prints
Changing the color drum unit
z -----g-
G
Page
m
Printing in two colors
Page
Changing The Drum Size
Printing area (at 230C/730F, 65V0 RH):
Master cut length:
CHANGING DEFAULT SETTINGS (SERVICE PROGRAM MODE)
How To Access Service Programs
-4-
1
How To Change The Settings Of Service Programs 1
d CI
Procedure 1E. .
Page
Procedure 2
SP
u
-WARNING -
Changing The Drum Size
El
Printing area (at 230C/730F, 65!10 RH):
Page
Page
EI
II[=7 [1 IIFl
1
El
fl
@
Page
El
0
Page
Page
El
Service Program Menu
Printing using the paper cassette for LCT
..............200
20
40
50
r
SP
Loading paper
n
SP
;.
--4?-- -
Mode ~Function
User codes
382, 191, 182, 173, M4, 155, 146, 137, 128, 119,482, 291, 282, 273, 264, 255, 246,237, 228, 219
How to enable user code mode (# 120)
n
(2)
H
[2
c
How to use user code mode
H El
Clear
J
How to check the user code counter (# 121) n
Continue pressing the Enter
Set the stack of paper you want
(2) Clear key
How to clear the user code counter (#l 122) D
El
How to check the total number of masters and prints made under all user codes (#l 123)
1
How c1
o
c)
c
to clear the user code
total counter (# 124)
REPLENISHING SUPPLIES
Loading Paper On The Paper Feed Table
of paper. a
Replenishing paper
Press the Stop key.
Page
Changing the paper size
h
w
wm
,
Q!!9
H B
Master Roll Replacement
la
unit
Changing the color drum
*
Printing Using The Optional Large Capacity Tray (lCT)
Guide to large capacity tray components D
u
Q
Placing ANew Roll Of Tape In The Tape Dispenser (Option) rI
El
I
Adding Staples
i
G IJ
DAILY MAINTENANCE
Exposure Glass
Platen Cover
Separation Roller (Optional Document Feeder)
Sheet (Optional Document Feeder)
Paper Size Detection Table)
Sensors (Paper Feed
Paper End Sensor (Paper Feed Table)
El
TROUBLESHOOTING
If amalfunction or amisfeed occurs within the machine, the following
Stapling prints (Staple Sort mode)
When the misfeed indicator (:+) blinks
ACautbn: Donotturnoffthemainswitchwhile@movin9 themisfed items.
II
When the open cover/unit indicator (~) blinks
l-h
When the supply/exchange indicators blink
A~
H
n
have finished loading paper.
m
B
When one of the following messages is displayed on the guidance display:
I
REDUCTION
I
Page
When The Misfeed Indicator (8+)Blinks
After clearing misfeeds
I%++A original misfeed occurs when using the OP- tional document feeder
n
El
Page
1~~+B Paper misfeed in the paper feed section
H
~
Cl
El
El
H
H
Originals
B
~~+C Master misfeed in the master feed section
Open the original table.
H El
remove it.
OPTIONAL
nals Or 50
JNCTIONS
Page
~~+E Paper wrapped around the drum
El
C!
El
Ikll b
1.U2-ILJLI
1~~+E+B Misfeed in the paper feed section Paper wrapped around the drum
N
H
Zoom
Master wrapped around the drum
El
ti
D
Page
1~~+H Paper Misfeed In The Optional Sorter Stapler
When The ODen Cover/Unit Indicator (~) Blinks
UMake sure that the following door/units are closed.
CI For Stapling, the following limitationsapply:
Page
n
~+H Close thenon-sort tray Close the stapler unit cover Remove obstacles from the non-sort tray
El
When The Supply/Exchange Indicators Blink la
a+Reset
&J+Reset
n
El
[ -t-
-1
---1 +,-
When Other Indicators Blink
MThe Master is not wrapped around the drum
111+,@
(3
~Set the key counter
H
down, push the knob to your
r3
El
m -----
El
w
El
Poor Printing
Background
B
El
Page
Black line/stain
Q!6L &
*incomplete prints
u
OPERATION NOTES
General Cautions
Page
Print Paper
Originals
Misfed Paper
Optional Sorter Stapler
Optional Large Capacity Tray
COMBINATION CHART
-H--
0
-1-
SPECIFICATIONS
Main Frame
I
Standard Printing
20 Originals Document Feeder
50
Large Capacity Tray (LCT)
20-Bin Sorter Stapler
in Staple mode 164-82 g/m2, 17.1 -21.8 lb
7
n
# ~
%T b=5*2.5 mm, 0.2 *0.1
I
Consumables
Page
WHAT IS IMAGE MAKE-UP
functions allow you to quickly
Main Features
and easily customize your prints.
Practical Examples Of Image Make-up Functions
AT THE
TELEVISION I
STUDIO
ISALE,
Image Make-up modes for designated areas
!3AWiTYINFORMATION
Image Make-up modes for outside designated areas
Background Patterns
PREPARING IMAGE MAKE-UP
Outline
Command sheet
How To Make ACommand Sheet
When using the diagonal line method
Page
When using the closed area method CI
@o
-to
Page
Page
Features
Original Command sheets
ml
IEE3!du D
AD
/
n You cannot use
o0x
EIz
AT THE GARAGE
HOW TO USE IMAGE MAKE-UP MODE
Saving And Deleting Modes (One Command
Page
Outline Mode (One Command Sheet)
Page
Photo Mode (One Command Sheet)
El
B
!30C/730F, 65% RH):
Printing area (at:
Master cd lengtt
command sheet is scanned. Set the original face down on the exposure glass and press the
Erase Margins Adjustment Area
Pattern Modes (One Command Sheet)
El
Printing in two colors
H
-----1
n
Using More Than
n
One Command Sheets
rl
n
i
m
t
III
I
fIl
F
Make-up Printing With The Optional Document Feeder
How to make prints in Make-up mode with the op- tional document feeder
15
II
HSet the desired Fn No. and press the Enter key.
Set the command sheets and original face down into the
MAKE-UP SAMPLES
LUNCH I
BIRTHDAY PARTY
-- *q
lNIHEMORNING