•Second Image Position: LEFT, TOP :
BOTTOM:
•Third Image Position: LEFT, TOP :
BOTTOM:
•Forth Image Position: LEFT, TOP :
BOTTOM:
7Press OK, the template you have saved will be shown in the template list table.
8Press ![]() and select Copy.
and select Copy.
9Press the Advanced tab > ID Copy > Mamual ID Copy Setup.
10Press the template you have saved from the template list.
11Press the Start button on the control panel. now follow the instruction on display to finish the ID copy for four images
2-up or 4-up copying (N-up)
The machine reduces the size of the original images and prints 2 or 4 pages onto one sheet of paper.
2 or
1 | 2 |
2 |
|
3 | 4 |
1 |
|
1.Place the originals face up in the DADF. Or place a single original face down on the scanner glass. (See "Loading originals" on page 31.)
2.Press Copy from the Main screen.
3.Select the tray in Paper Supply.
4.Press the Advanced tab >
5.Select Off, 2Up, or 4Up.
•Off: Copies an original onto one sheet of paper.
•2Up: Copies two separate originals onto one page.
•4Up: Copies four separate originals onto one page.
6.Press Start on the control panel.
You cannot adjust the copy size using the Reduce/Enlarge for the N- Up feature.
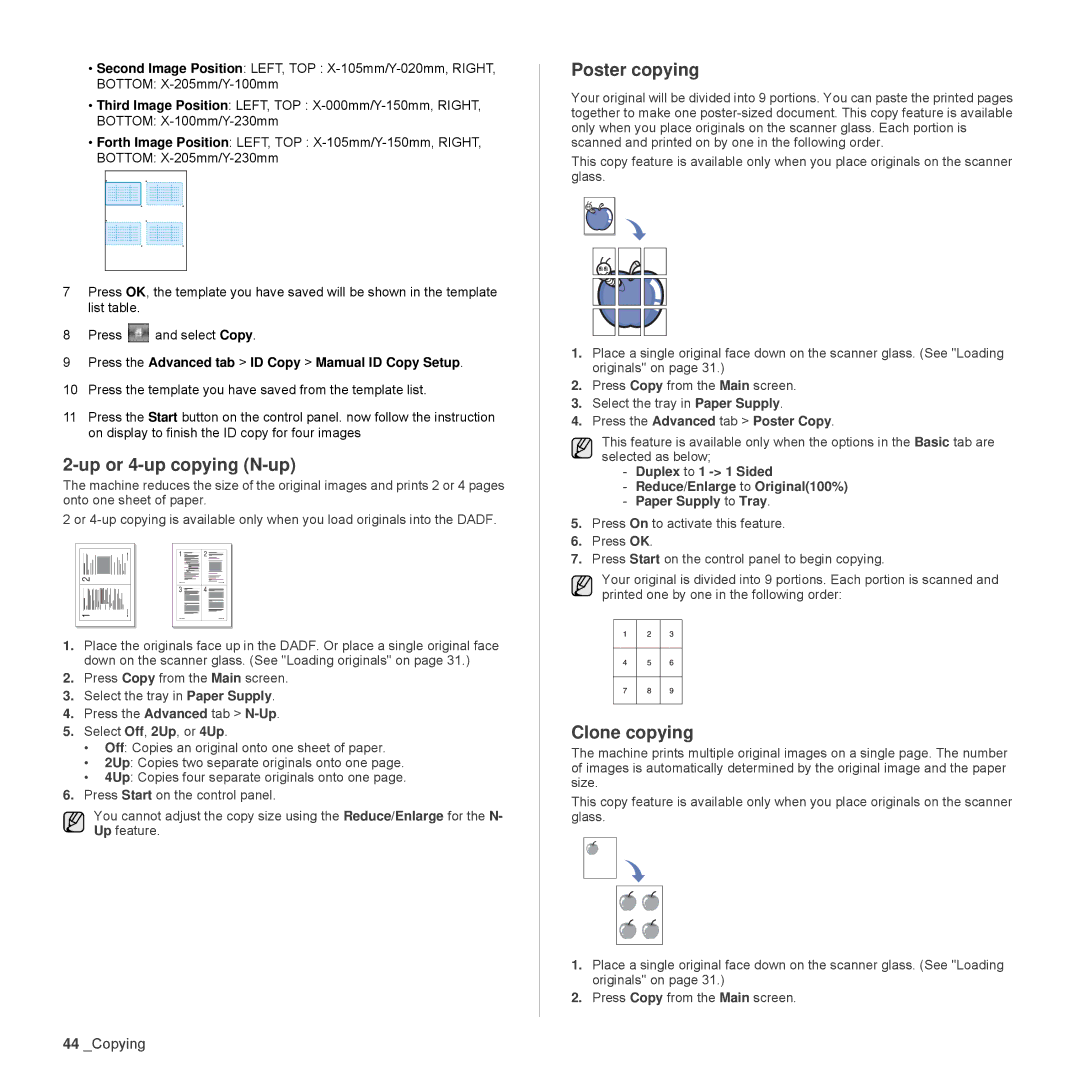
Poster copying
Your original will be divided into 9 portions. You can paste the printed pages together to make one
This copy feature is available only when you place originals on the scanner glass.
1.Place a single original face down on the scanner glass. (See "Loading originals" on page 31.)
2.Press Copy from the Main screen.
3.Select the tray in Paper Supply.
4.Press the Advanced tab > Poster Copy.
This feature is available only when the options in the Basic tab are selected as below;
-Duplex to 1
-Reduce/Enlarge to Original(100%)
-Paper Supply to Tray.
5.Press On to activate this feature.
6.Press OK.
7.Press Start on the control panel to begin copying.
Your original is divided into 9 portions. Each portion is scanned and printed one by one in the following order:
Clone copying
The machine prints multiple original images on a single page. The number of images is automatically determined by the original image and the paper size.
This copy feature is available only when you place originals on the scanner glass.
1.Place a single original face down on the scanner glass. (See "Loading originals" on page 31.)
2.Press Copy from the Main screen.
44_Copying