using USB memory device
This chapter explains how to use a USB memory device with your machine.
This chapter includes:
•About USB memory
•Understanding the USB screen
•Plugging in a USB memory device
•Scanning to an USB memory device
ABOUT USB MEMORY
USB memory devices are available with a variety of memory capacities to give you more room for storing documents, presentations, downloaded music and videos, high resolution photographs, or whatever other files you want to store or move.
You can do the following on your machine using a USB memory device:
•Scan documents and save them on a USB memory device.
•Print data stored on a USB memory device.
•Format the USB memory device.
UNDERSTANDING THE USB SCREEN
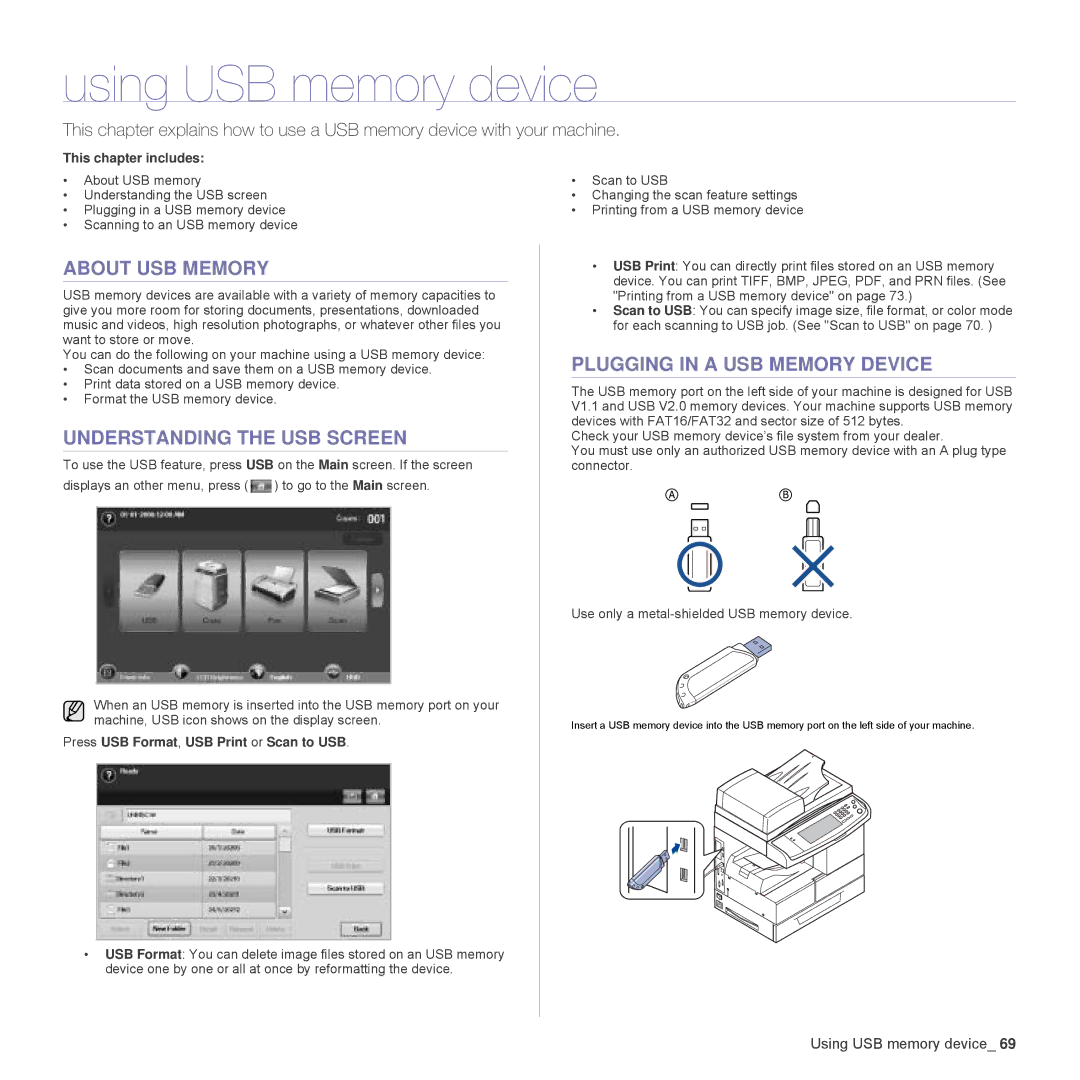
To use the USB feature, press USB on the Main screen. If the screen displays an other menu, press ( ![]() ) to go to the Main screen.
) to go to the Main screen.
When an USB memory is inserted into the USB memory port on your machine, USB icon shows on the display screen.
Press USB Format, USB Print or Scan to USB.
•Scan to USB
•Changing the scan feature settings
•Printing from a USB memory device
•USB Print: You can directly print files stored on an USB memory device. You can print TIFF, BMP, JPEG, PDF, and PRN files. (See "Printing from a USB memory device" on page 73.)
•Scan to USB: You can specify image size, file format, or color mode for each scanning to USB job. (See "Scan to USB" on page 70. )
PLUGGING IN A USB MEMORY DEVICE
The USB memory port on the left side of your machine is designed for USB V1.1 and USB V2.0 memory devices. Your machine supports USB memory devices with FAT16/FAT32 and sector size of 512 bytes.
Check your USB memory device’s file system from your dealer.
You must use only an authorized USB memory device with an A plug type connector.
Use only a
Insert a USB memory device into the USB memory port on the left side of your machine.
•USB Format: You can delete image files stored on an USB memory device one by one or all at once by reformatting the device.
