scanning
Scanning with your machine lets you turn pictures and text into digital files that can be stored on your computer. Then you can fax or email the files, upload them to your website, or use them to create projects that you can print.
This chapter gives you information about the scanning method and the different ways to send the scanned file to the destination.
This chapter includes
•Scanning basics
•Understanding the Scan screen
•Scanning originals and sending through email (Scan to Email)
The maximum resolution that can be achieved depends upon various factors, including computer speed, available disk space, memory, the size of the image being scanned, and bit depth settings. Thus, depending on your system and what you are scanning, you may not be able to scan at certain resolutions, especially using enhanced resolution.
SCANNING BASICS
Scanning with your machine lets you turn hard copy originals into digital files.
There are two ways to scan originals, one is using the USB cable to directly connect the machine with your computer, and the other is using the network scan feature which scans and sends the document to a specific destination via the network.
•Network Scan: Sends the document to your networked computer via the Network Scan program. You can scan an image from the machine if it is connected to the network and send it to the computer where Network Scan is running.
•TWAIN: TWAIN is the one of preset imaging applications. Scanning an image launches the selected application, enabling you to control the scanning process. See Software section. This feature can be used via the local connection or the network connection. See Software section.
•Samsung SmarThru Office: This feature is the accompanying software for your machine. You can use this program to scan images or documents, and this feature can be used via the local connection or the network connection. See Software section.
•WIA: WIA stands for Windows Images Acquisition. To use this feature your computer must be connected directly to the machine with a USB cable. See Software section.
•Email: You can send the scanned image as an attachment to an email. (See "Scanning originals and sending through email (Scan to Email)" on page 50.)
•FTP: You can scan an image and upload it to an FTP server. (See "Scanning originals and sending via SMB/FTP (Scan to Server)" on page 53.)
•SMB: You can scan an image and send it to a shared folder on an SMB server. (See "Scanning originals and sending via SMB/FTP (Scan to Server)" on page 53.)
•Scanning originals and sending via Samsung Network Scan Manager (NetScan)
•Scanning originals and sending via SMB/FTP (Scan to Server)
•Changing the scan feature settings
UNDERSTANDING THE SCAN SCREEN
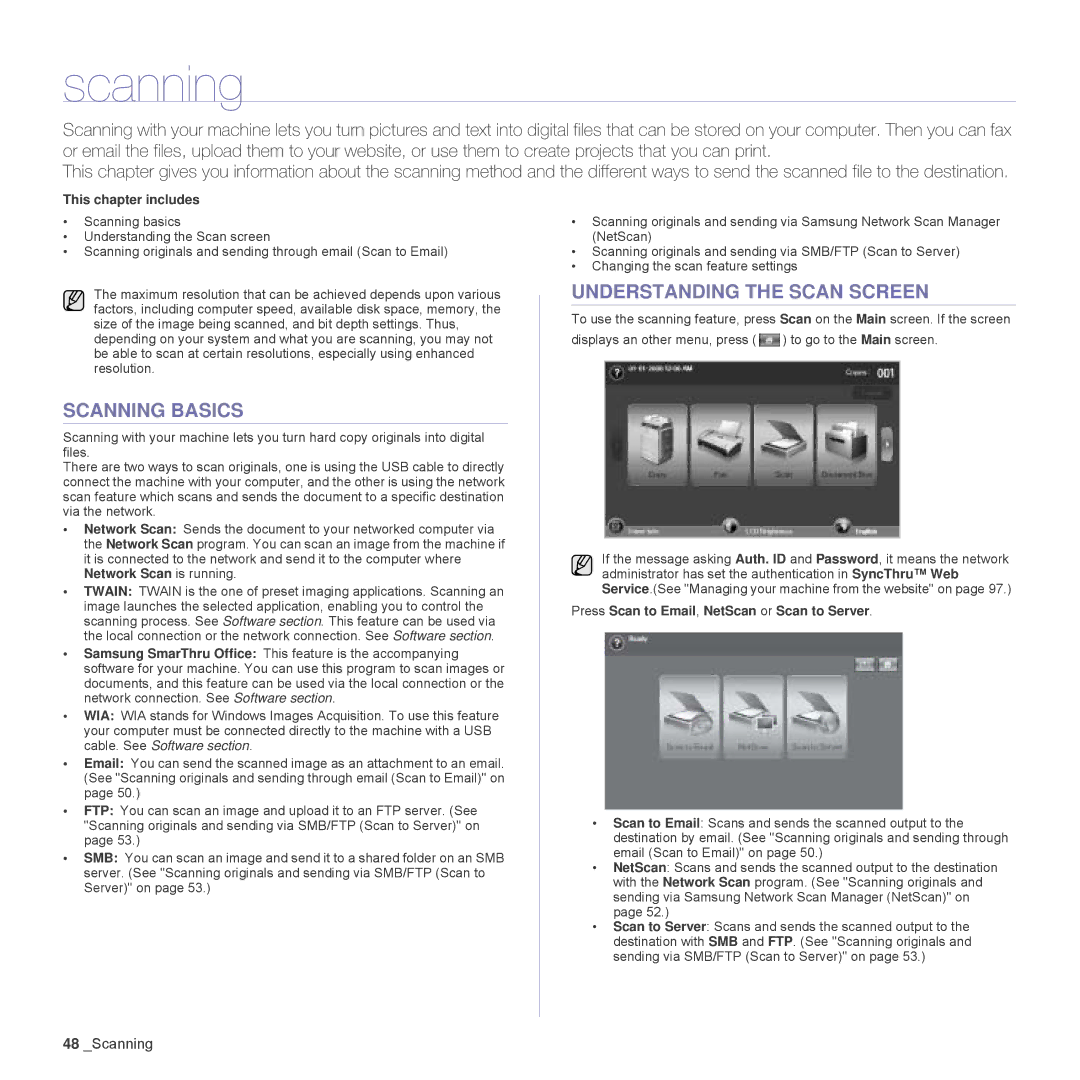
To use the scanning feature, press Scan on the Main screen. If the screen displays an other menu, press ( ![]() ) to go to the Main screen.
) to go to the Main screen.
If the message asking Auth. ID and Password, it means the network administrator has set the authentication in SyncThru™ Web Service.(See "Managing your machine from the website" on page 97.)
Press Scan to Email, NetScan or Scan to Server.
•Scan to Email: Scans and sends the scanned output to the destination by email. (See "Scanning originals and sending through email (Scan to Email)" on page 50.)
•NetScan: Scans and sends the scanned output to the destination with the Network Scan program. (See "Scanning originals and sending via Samsung Network Scan Manager (NetScan)" on page 52.)
•Scan to Server: Scans and sends the scanned output to the destination with SMB and FTP. (See "Scanning originals and sending via SMB/FTP (Scan to Server)" on page 53.)
48_Scanning