Preparations for Use as a Network Scanner
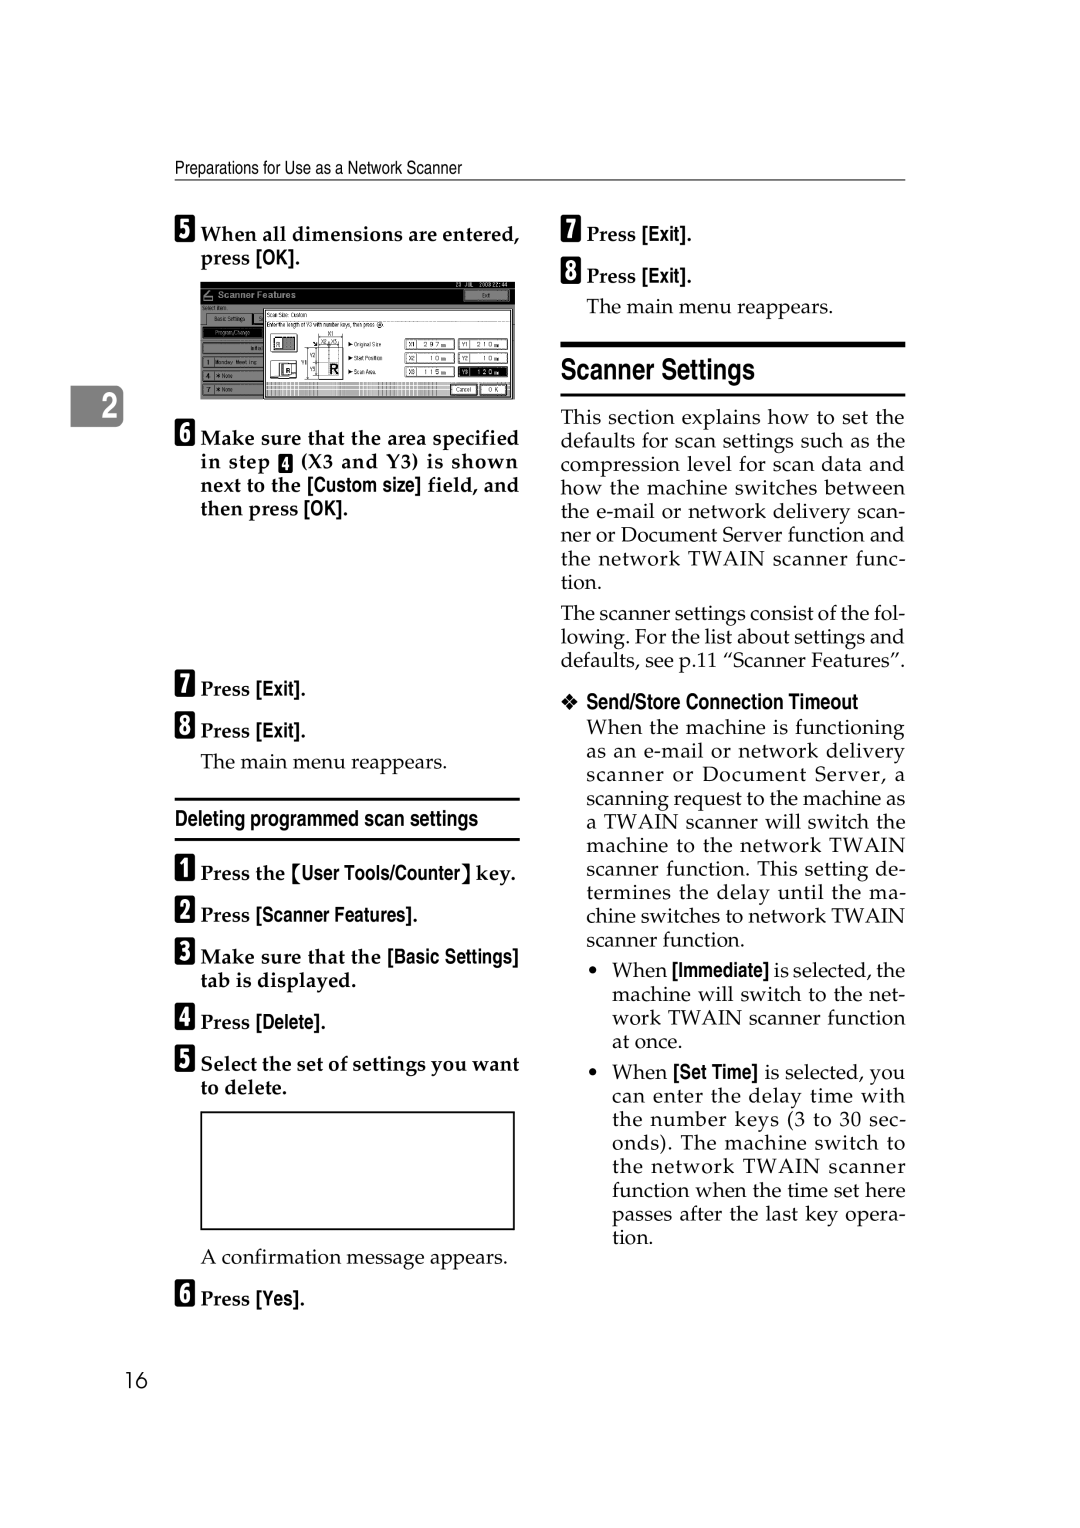
E When all dimensions are entered, press [OK].
2
F Make sure that the area specified in step D (X3 and Y3) is shown next to the [Custom size] field, and then press [OK].
G Press [Exit].
H Press [Exit].
The main menu reappears.
Deleting programmed scan settings
A Press the {User Tools/Counter} key. B Press [Scanner Features].
C Make sure that the [Basic Settings] tab is displayed.
D Press [Delete].
E Select the set of settings you want to delete.
A confirmation message appears.
F Press [Yes].
G Press [Exit].
H Press [Exit].
The main menu reappears.
Scanner Settings
This section explains how to set the defaults for scan settings such as the compression level for scan data and how the machine switches between the
The scanner settings consist of the fol- lowing. For the list about settings and defaults, see p.11 “Scanner Features”.
❖Send/Store Connection Timeout
When the machine is functioning as an
•When [Immediate] is selected, the machine will switch to the net- work TWAIN scanner function at once.
•When [Set Time] is selected, you can enter the delay time with the number keys (3 to 30 sec- onds). The machine switch to the network TWAIN scanner function when the time set here passes after the last key opera- tion.
16