Setting Originals
One-sided original/Two-sided original selection
AWhen scanning
BWhen scanning
Sided Orig.: T to B] according to
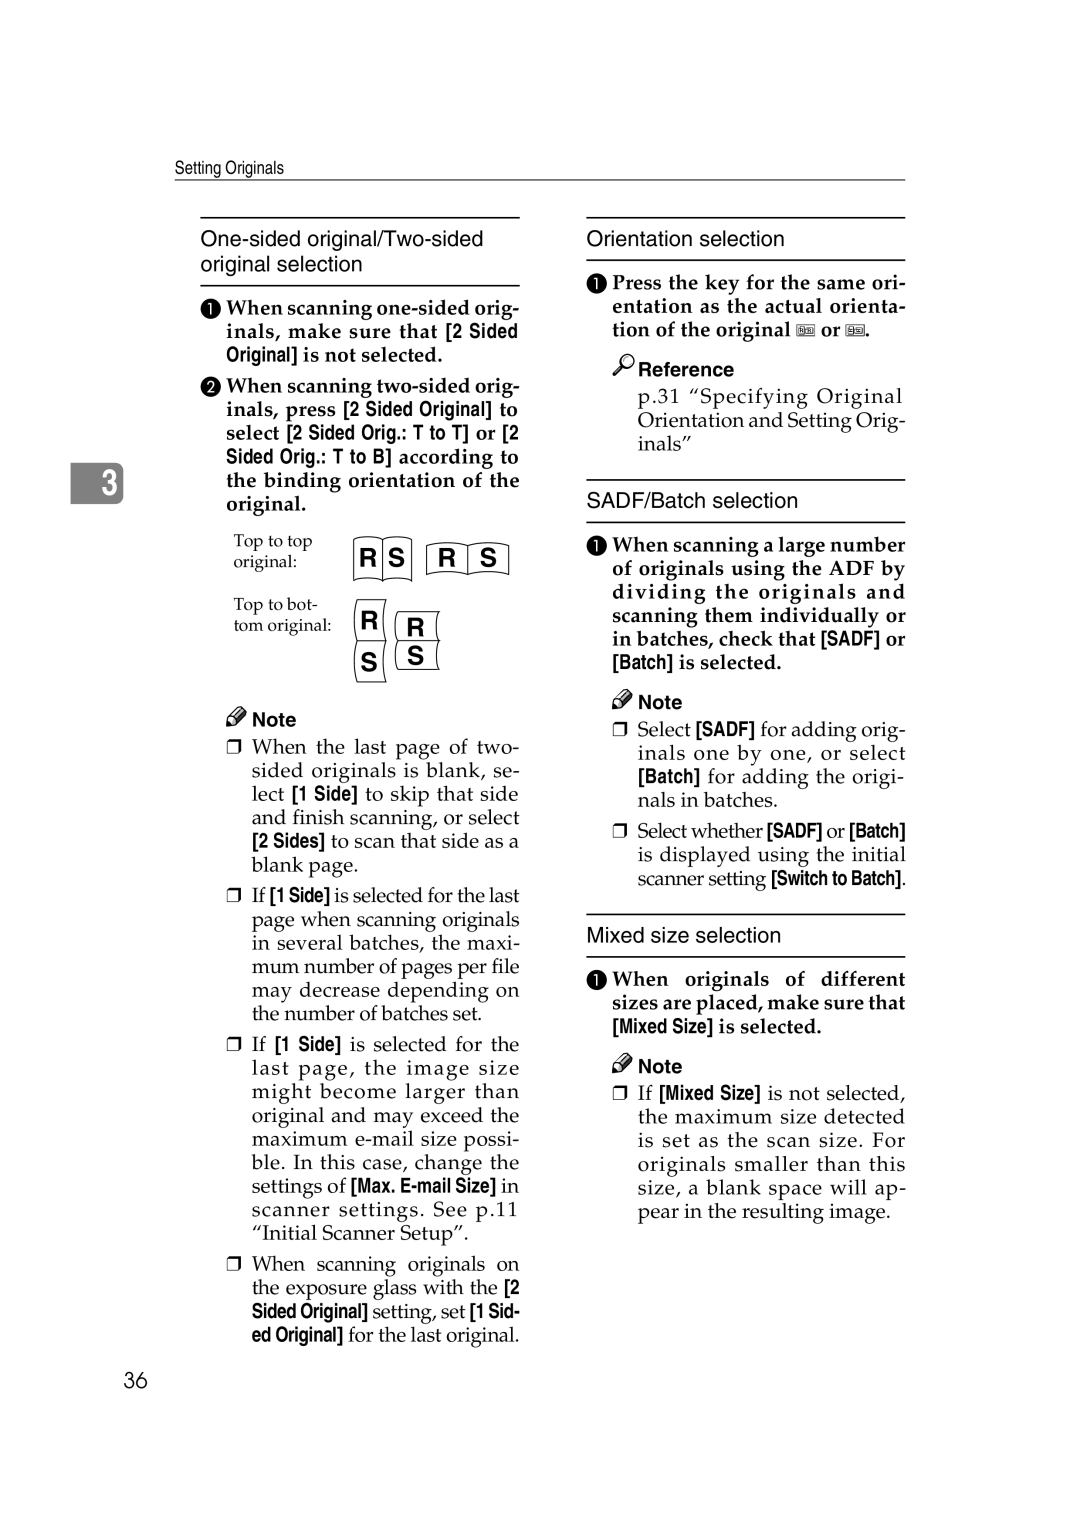
3 the binding orientation of the original.
Top to top
original: R S R S
Top to bot-
tom original: R R
S S
![]()
![]() Note
Note
❒When the last page of two- sided originals is blank, se- lect [1 Side] to skip that side and finish scanning, or select [2 Sides] to scan that side as a blank page.
❒If [1 Side] is selected for the last page when scanning originals in several batches, the maxi- mum number of pages per file may decrease depending on the number of batches set.
❒If [1 Side] is selected for the last page, the image size might become larger than original and may exceed the maximum
❒When scanning originals on the exposure glass with the [2 Sided Original] setting, set [1 Sid- ed Original] for the last original.
Orientation selection
A Press the key for the same ori- entation as the actual orienta- tion of the original ![]() or
or ![]() .
.

 Reference
p.31 “Specifying Original Orientation and Setting Orig- inals”
SADF/Batch selection
A When scanning a large number of originals using the ADF by dividing the originals and scanning them individually or in batches, check that [SADF] or [Batch] is selected.
![]()
![]() Note
Note
❒Select [SADF] for adding orig- inals one by one, or select [Batch] for adding the origi- nals in batches.
❒Select whether [SADF] or [Batch] is displayed using the initial scanner setting [Switch to Batch].
Mixed size selection
A When originals of different sizes are placed, make sure that [Mixed Size] is selected.
![]()
![]() Note
Note
❒If [Mixed Size] is not selected, the maximum size detected is set as the scan size. For originals smaller than this size, a blank space will ap- pear in the resulting image.
36