Setting Originals
A Select [On] in [Job Reset Time in Add- ing Original], and then specify a job reset time in seconds.

 Reference
p.18 “Job Reset Time in Adding
Original”
B Place the originals.

 Reference
3 | p.31 “Placing Originals” |
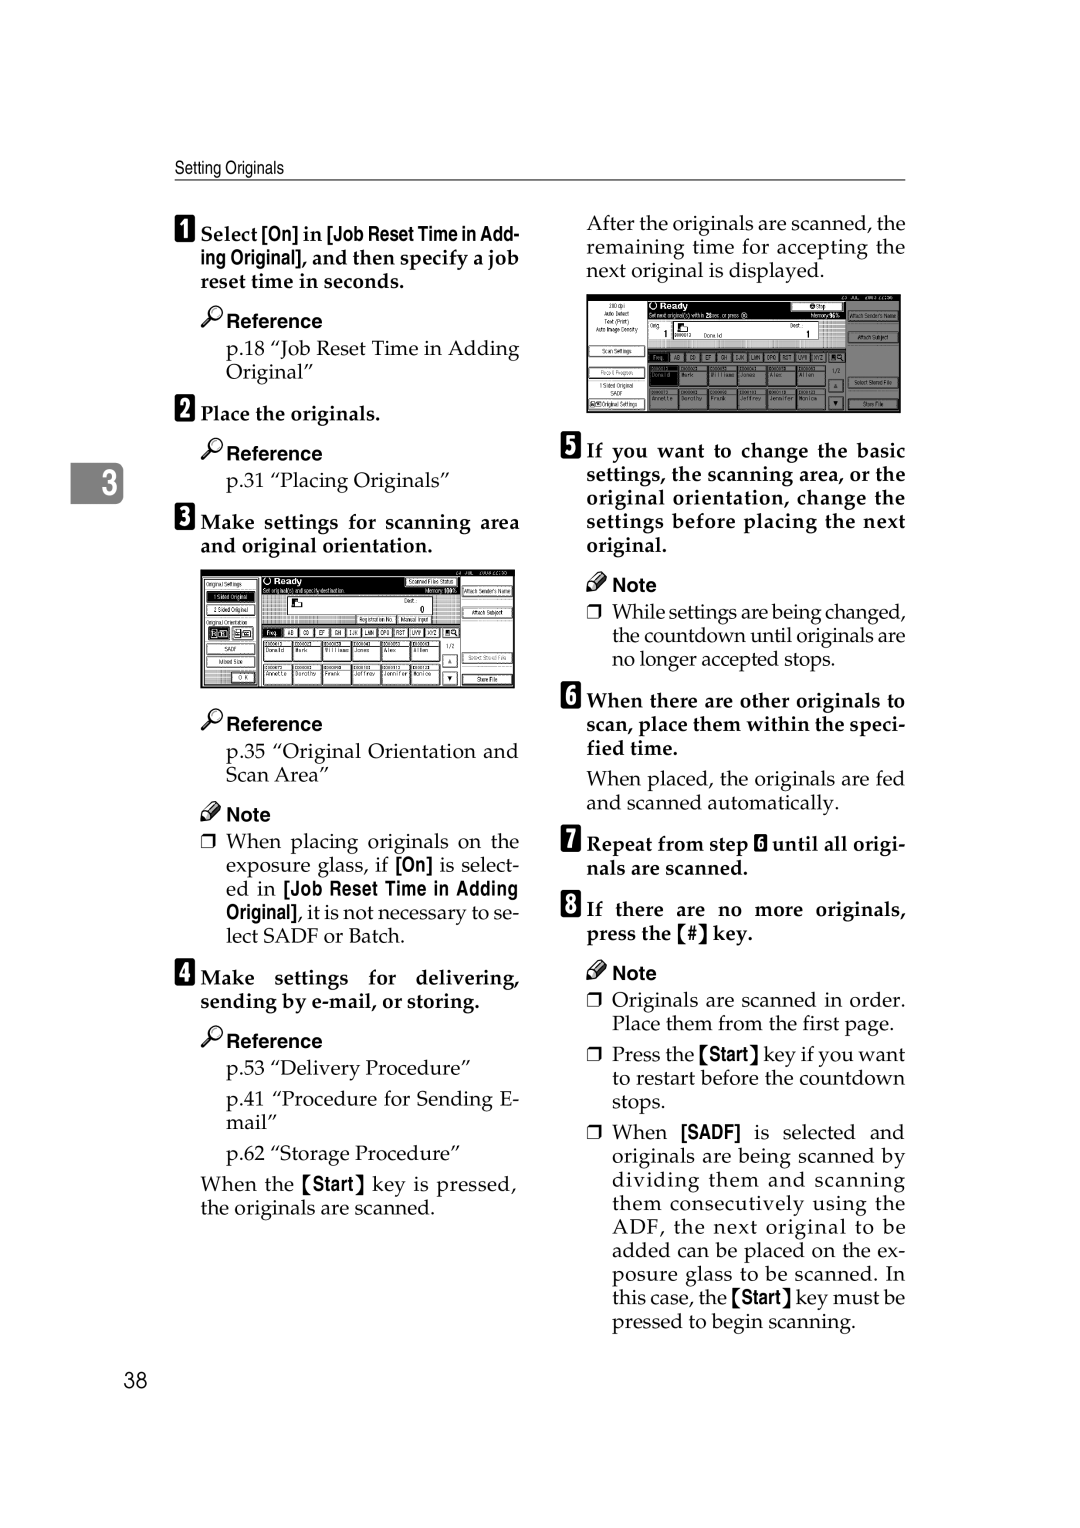
C Make settings for scanning area and original orientation.

 Reference
p.35 “Original Orientation and
Scan Area”
![]()
![]() Note
Note
❒When placing originals on the exposure glass, if [On] is select- ed in [Job Reset Time in Adding Original], it is not necessary to se- lect SADF or Batch.
D Make settings for delivering, sending by e-mail, or storing.

 Reference
p.53 “Delivery Procedure”
p.41 “Procedure for Sending E- mail”
p.62 “Storage Procedure”
When the {Start} key is pressed, the originals are scanned.
After the originals are scanned, the remaining time for accepting the next original is displayed.
E If you want to change the basic settings, the scanning area, or the original orientation, change the settings before placing the next original.
![]()
![]() Note
Note
❒While settings are being changed, the countdown until originals are no longer accepted stops.
F When there are other originals to scan, place them within the speci- fied time.
When placed, the originals are fed and scanned automatically.
G Repeat from step F until all origi- nals are scanned.
H If there are no more originals, press the {#} key.
![]()
![]() Note
Note
❒Originals are scanned in order. Place them from the first page.
❒Press the {Start} key if you want to restart before the countdown stops.
❒When [SADF] is selected and originals are being scanned by dividing them and scanning them consecutively using the ADF, the next original to be added can be placed on the ex- posure glass to be scanned. In this case, the {Start} key must be pressed to begin scanning.
38