Using the Network Delivery Scanner Function
Checking selected destinations
A Use the destination field at the top of the screen to check which destinations are select- ed.
![]()
![]() Note
Note
❒When multiple destinations are selected, the selected des- tinations are displayed in the order they were selected by pressing [UPrev.] or [TNext].
❒Pressing the {Check Modes} key on the control panel lets you check the list of selected destinations.
5 | G Make the basic settings. |
|
To make the basic settings, recall stored settings or make the settings individually.

 Reference
p.13 “Basic Settings”
Recalling stored scan settings
APress [Recall Program].
BSelect a user program of scan settings.
CPress [OK].
Making the settings individually
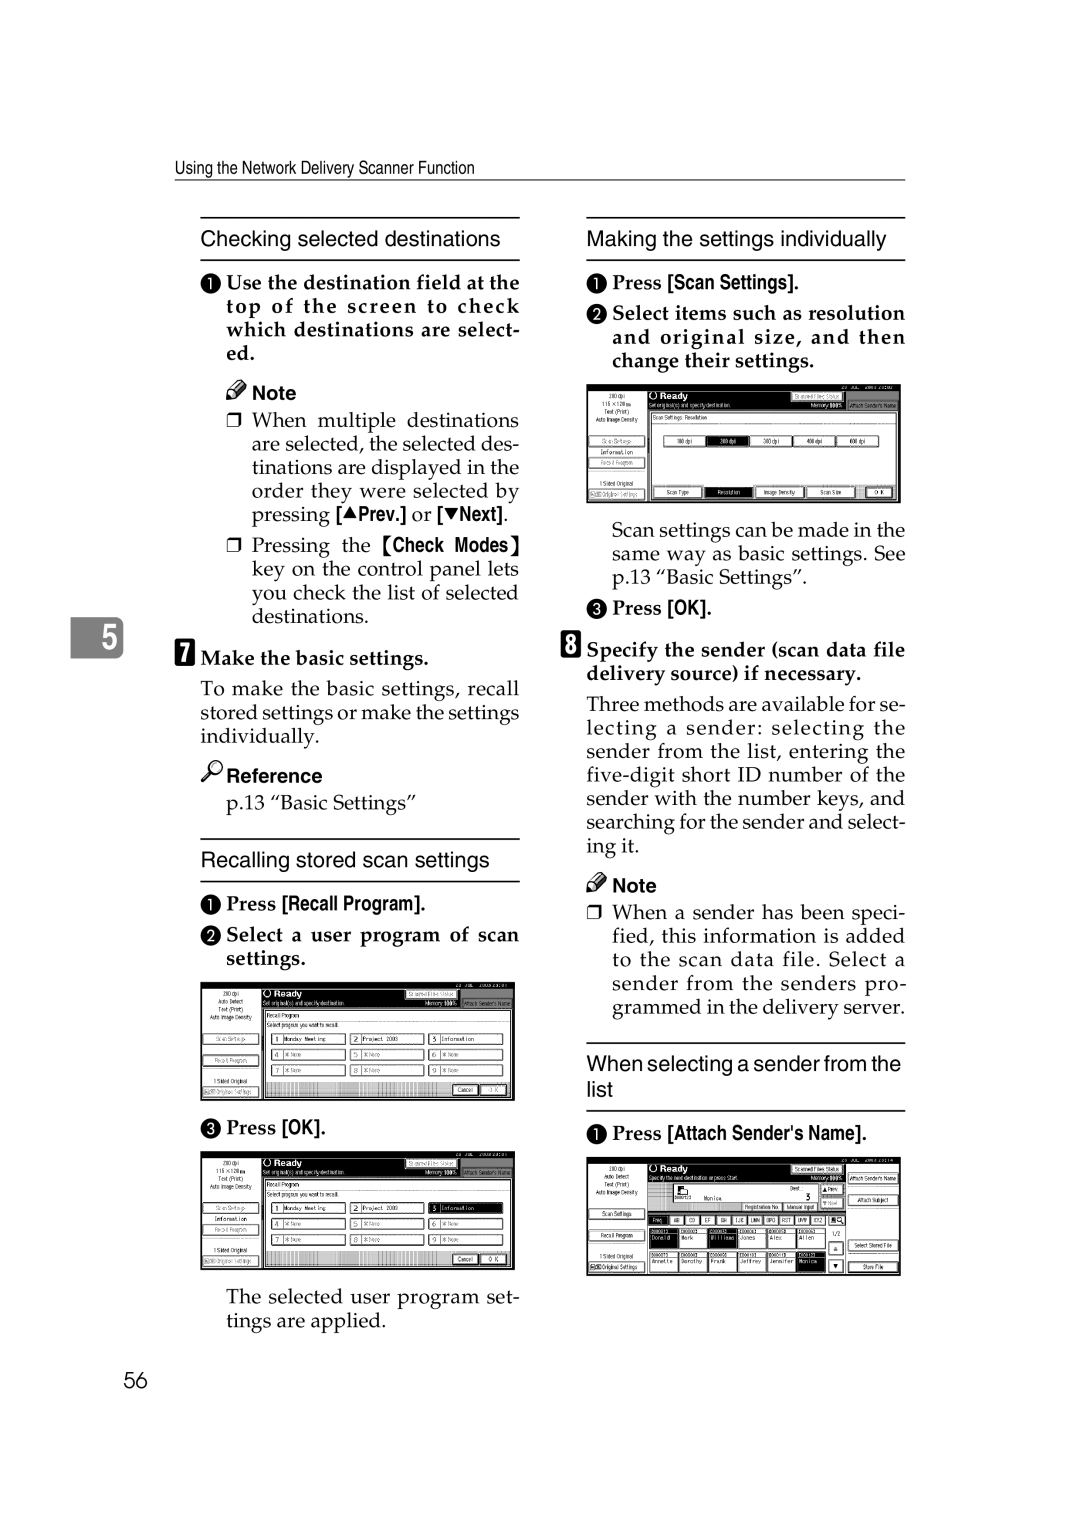
APress [Scan Settings].
BSelect items such as resolution and original size, and then change their settings.
Scan settings can be made in the same way as basic settings. See p.13 “Basic Settings”.
CPress [OK].
H Specify the sender (scan data file delivery source) if necessary.
Three methods are available for se- lecting a sender: selecting the sender from the list, entering the
![]()
![]() Note
Note
❒When a sender has been speci- fied, this information is added to the scan data file. Select a sender from the senders pro- grammed in the delivery server.
When selecting a sender from the list
APress [Attach Sender's Name].
The selected user program set- tings are applied.
56