User Interface
3
The Trip LED is illuminated until the Target Reset key is depressed. Reset the Trip LED by momentarily depressing the Target Reset key.
Note: If the Trip LED is on and power is removed, it will still be set to on when power is restored.
3.2.2LCD
The
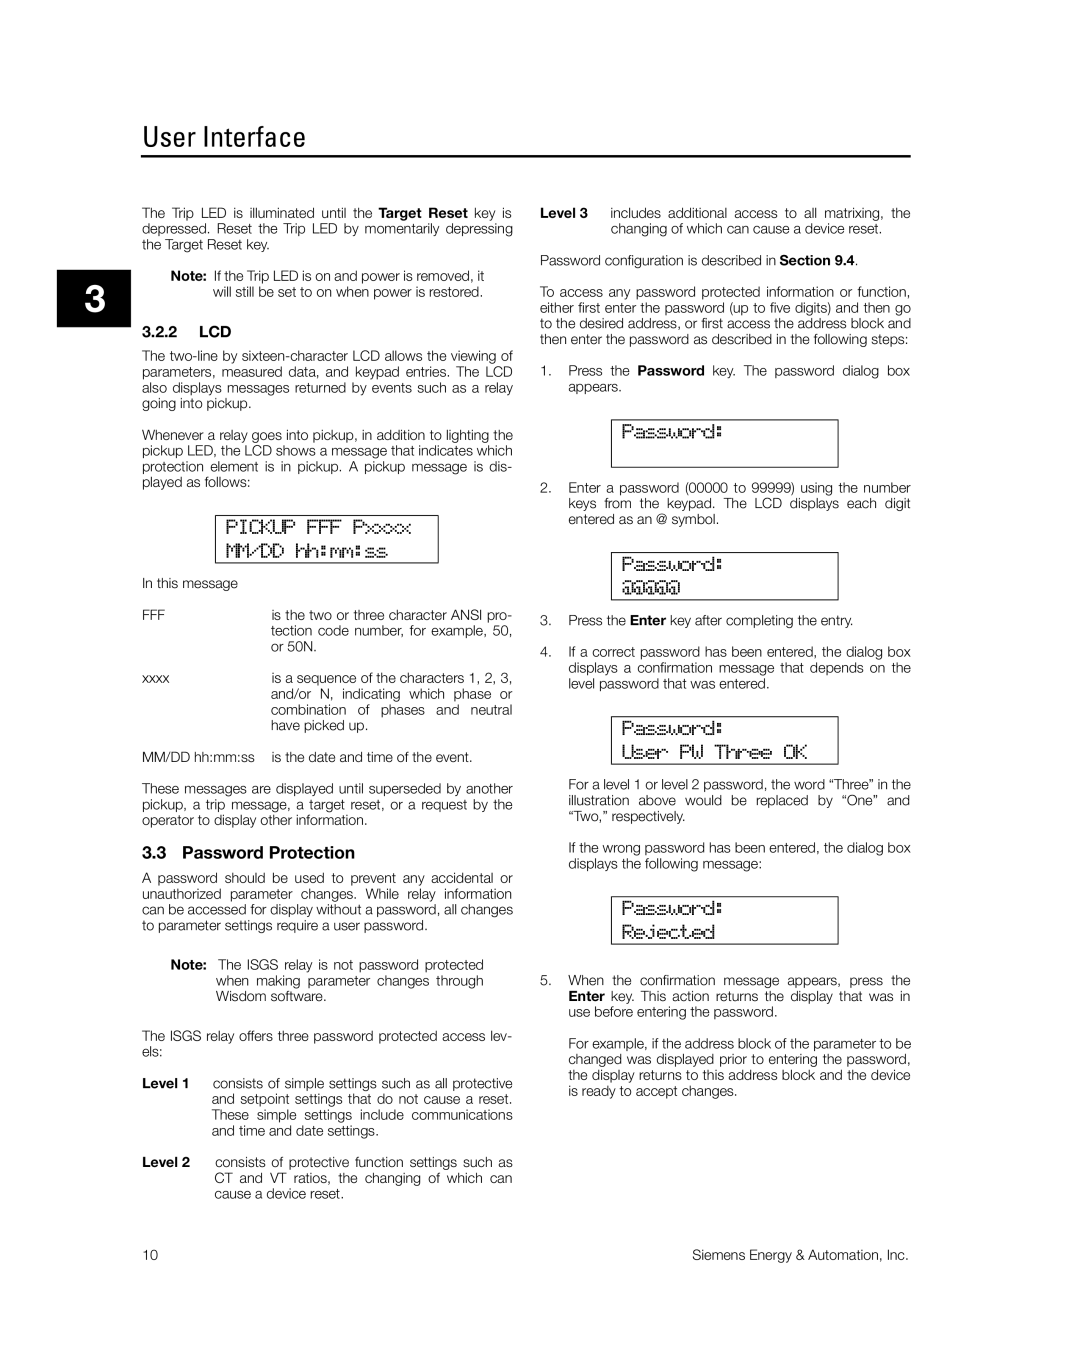
Whenever a relay goes into pickup, in addition to lighting the pickup LED, the LCD shows a message that indicates which protection element is in pickup. A pickup message is dis- played as follows:
PICKUP FFF Pxxxx
MM/DD hh:mm:ss
In this message |
|
FFF | is the two or three character ANSI pro- |
| tection code number, for example, 50, |
| or 50N. |
xxxxis a sequence of the characters 1, 2, 3, and/or N, indicating which phase or combination of phases and neutral have picked up.
MM/DD hh:mm:ss is the date and time of the event.
These messages are displayed until superseded by another pickup, a trip message, a target reset, or a request by the operator to display other information.
3.3 Password Protection
A password should be used to prevent any accidental or unauthorized parameter changes. While relay information can be accessed for display without a password, all changes to parameter settings require a user password.
Note: The ISGS relay is not password protected when making parameter changes through Wisdom software.
The ISGS relay offers three password protected access lev- els:
Level 1 consists of simple settings such as all protective and setpoint settings that do not cause a reset. These simple settings include communications and time and date settings.
Level 2 consists of protective function settings such as CT and VT ratios, the changing of which can cause a device reset.
Level 3 includes additional access to all matrixing, the changing of which can cause a device reset.
Password configuration is described in Section 9.4.
To access any password protected information or function, either first enter the password (up to five digits) and then go to the desired address, or first access the address block and then enter the password as described in the following steps:
1.Press the Password key. The password dialog box appears.
Password:
2.Enter a password (00000 to 99999) using the number keys from the keypad. The LCD displays each digit entered as an @ symbol.
Password:
@@@@@
3.Press the Enter key after completing the entry.
4.If a correct password has been entered, the dialog box displays a confirmation message that depends on the level password that was entered.
Password:
User PW Three OK
For a level 1 or level 2 password, the word “Three” in the illustration above would be replaced by “One” and “Two,” respectively.
If the wrong password has been entered, the dialog box displays the following message:
Password:
Rejected
5.When the confirmation message appears, press the Enter key. This action returns the display that was in use before entering the password.
For example, if the address block of the parameter to be changed was displayed prior to entering the password, the display returns to this address block and the device is ready to accept changes.
10 | Siemens Energy & Automation, Inc. |
