Section 4 | Novell NetWare Network Configuration |
Configuring the Workstation
Configuring the Workstation (Windows 95/98/ME)
Configuring the Workstation (Windows 2000/XP)
The final step is to configure the workstation(s) to print to the TROY PocketPro 100S. The TROY print server can be used with any workstation that supports either the Novell or Microsoft client software.
To use a NetWare print queue from a Windows 9X/ME workstation, first make sure that the appropriate NetWare drivers are installed. Then go to the Start button, choose Settings, and then select Printers.
1.Click on Next, select Network Printer, and then click on Next again.
2.Select Browse,
3.Select the desired printer manufacturer and model (click on Have Disk if your printer is not listed), and then click on Next.
4.If the driver already exists, select Keep Existing Driver (if it does not, this step will be skipped), and then click on Next.
5.If desired, change the name of the printer and/or make it the default, and then click on Next.
6.Select Yes when you are asked "Would you like to print a test page?" Click on Finish.
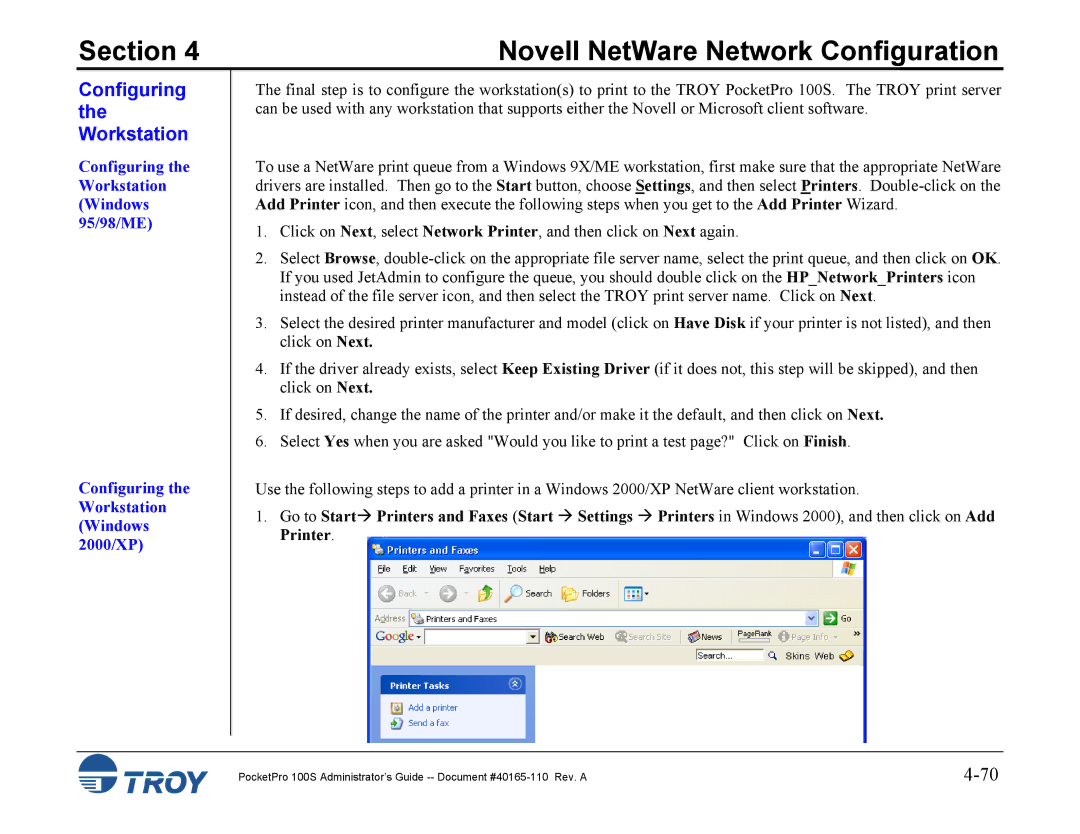
Use the following steps to add a printer in a Windows 2000/XP NetWare client workstation.
1. Go to Start Printers and Faxes (Start Settings Printers in Windows 2000), and then click on Add Printer.
PocketPro 100S Administrator’s Guide |