Section 4 | Novell NetWare Network Configuration |
Configuring the
Print Server
Using
WebXAdmin
Configuring the
Print Server in
NDS Queue
Server Mode
Using
WebXAdmin
1.Enter the IP address of the print server as the destination address in your browser, and then press ENTER or
RETURN.
2.Enter the configuration password (ACCESS is the default), and then press Submit.
3.Click on Configure NetWare. You will see one enabled service (the default service names are listed in the Default Print Server Names section at the beginning of this chapter). Click on the service.
If you are using NDS, type in the tree and context (the context may be entered in either the form printers.mytree or OU=printers.O=mytree. Click Submit and exit the browser. Proceed to the next section, Adding NetWare Print Queues using NWAdmin.
If you are using bindery mode with WebXAdmin, click on Configure Bindery File Servers from the main menu, type in the name of the file server where the print queue will reside, and then click on Add. Proceed to the next section, Configuring NetWare Print Queues using NWAdmin.
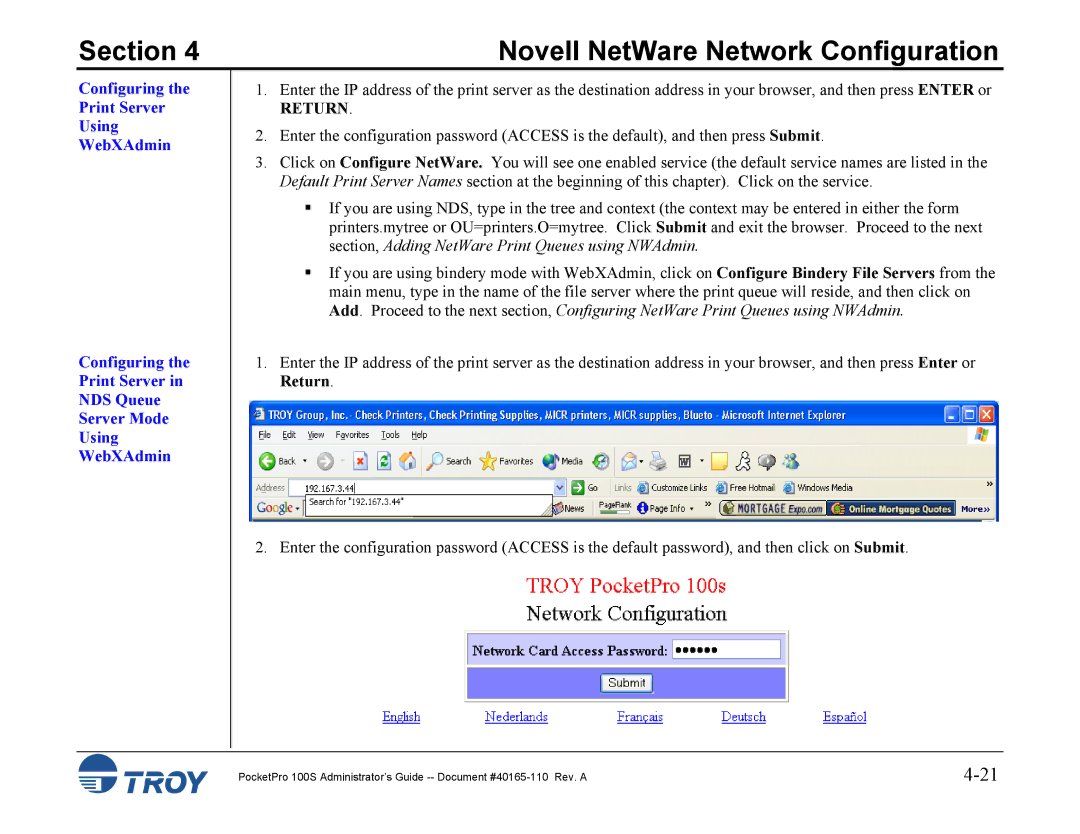
1.Enter the IP address of the print server as the destination address in your browser, and then press Enter or Return.
2. Enter the configuration password (ACCESS is the default password), and then click on Submit.
PocketPro 100S Administrator’s Guide |