SELECTING NEW ONETOUCH SCAN SETTINGS 119
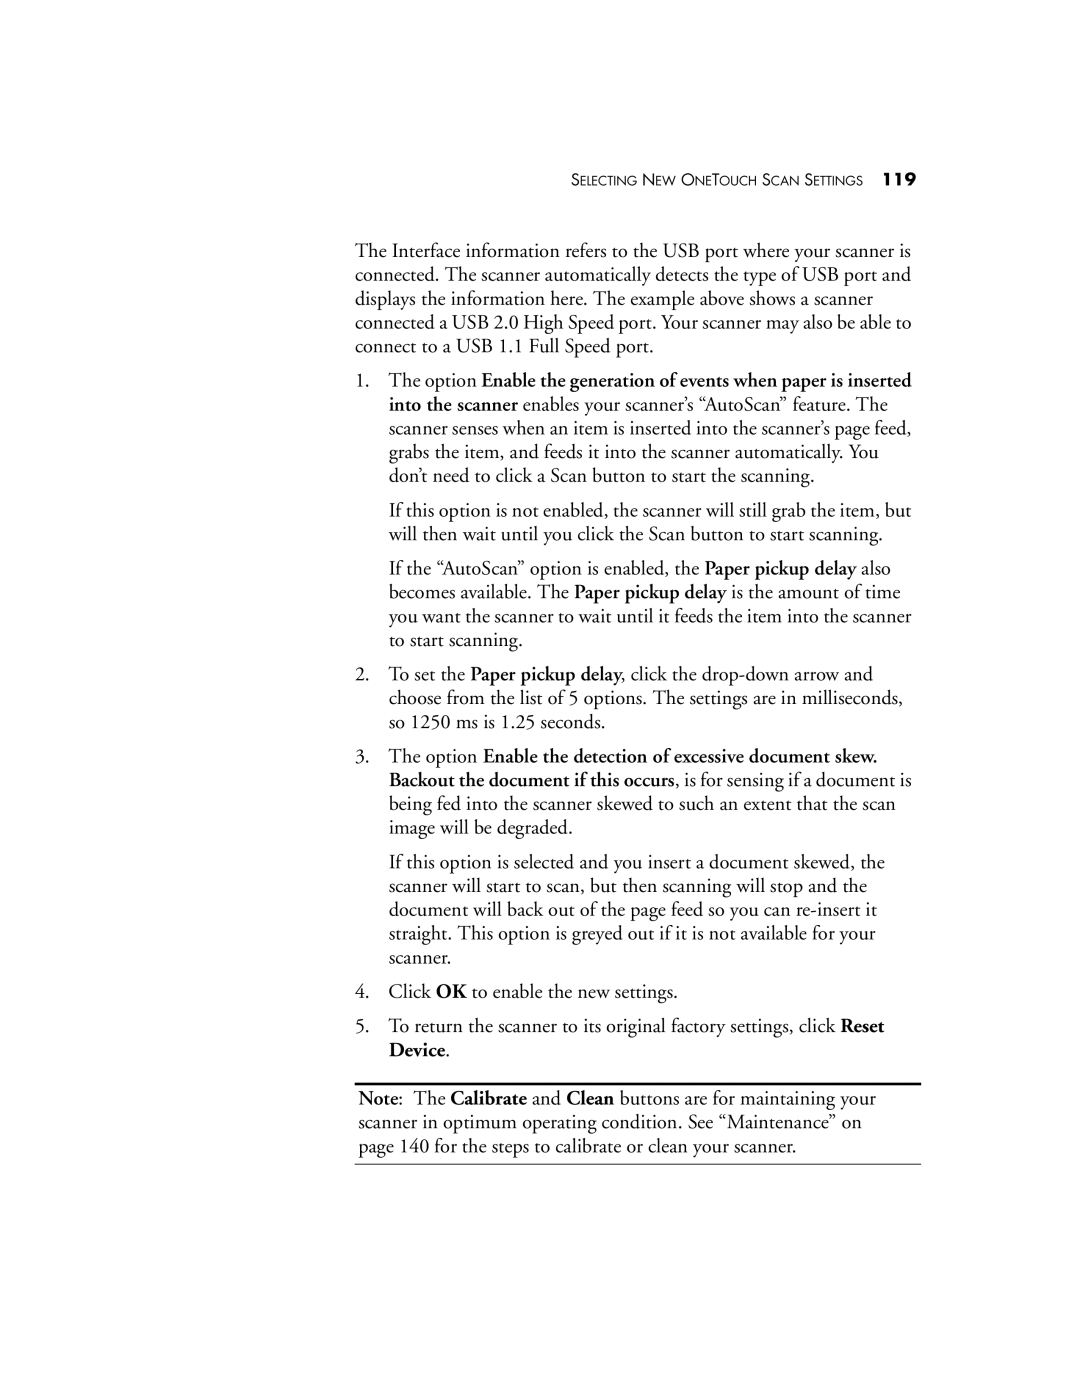
The Interface information refers to the USB port where your scanner is connected. The scanner automatically detects the type of USB port and displays the information here. The example above shows a scanner connected a USB 2.0 High Speed port. Your scanner may also be able to connect to a USB 1.1 Full Speed port.
1.The option Enable the generation of events when paper is inserted into the scanner enables your scanner’s “AutoScan” feature. The scanner senses when an item is inserted into the scanner’s page feed, grabs the item, and feeds it into the scanner automatically. You don’t need to click a Scan button to start the scanning.
If this option is not enabled, the scanner will still grab the item, but will then wait until you click the Scan button to start scanning.
If the “AutoScan” option is enabled, the Paper pickup delay also becomes available. The Paper pickup delay is the amount of time you want the scanner to wait until it feeds the item into the scanner to start scanning.
2.To set the Paper pickup delay, click the
3.The option Enable the detection of excessive document skew. Backout the document if this occurs, is for sensing if a document is being fed into the scanner skewed to such an extent that the scan image will be degraded.
If this option is selected and you insert a document skewed, the scanner will start to scan, but then scanning will stop and the document will back out of the page feed so you can
4.Click OK to enable the new settings.
5.To return the scanner to its original factory settings, click Reset Device.
Note: The Calibrate and Clean buttons are for maintaining your scanner in optimum operating condition. See “Maintenance” on page 140 for the steps to calibrate or clean your scanner.