SELECTING NEW ONETOUCH SCAN SETTINGS 67
3.Choose the file size/image quality option for your scanned images. Minimize
Your selection pertains only to the Destination Application currently selected on the OneTouch Properties window. Other Destination Applications that have JPG or PDF selected as the Page Format are not affected, so you can set the JPEG or PDF file size/ image quality independently of Destination Applications.
4.Click OK or Apply on the OneTouch Properties window.
TEXT FORMATS
Selecting the text format option also selects OCR processing as an automatic step for scanning. Therefore, when you scan a document with the text format selected, the text portions of the document are automatically converted to editable text. For additional OCR processing features, see “Using OmniPage OCR Options” on page 89.
Select a text format for documents with text or numbers, such as a business letter, report, or spreadsheet. The text format icon has several file formats available, depending on the Destination Application you select.
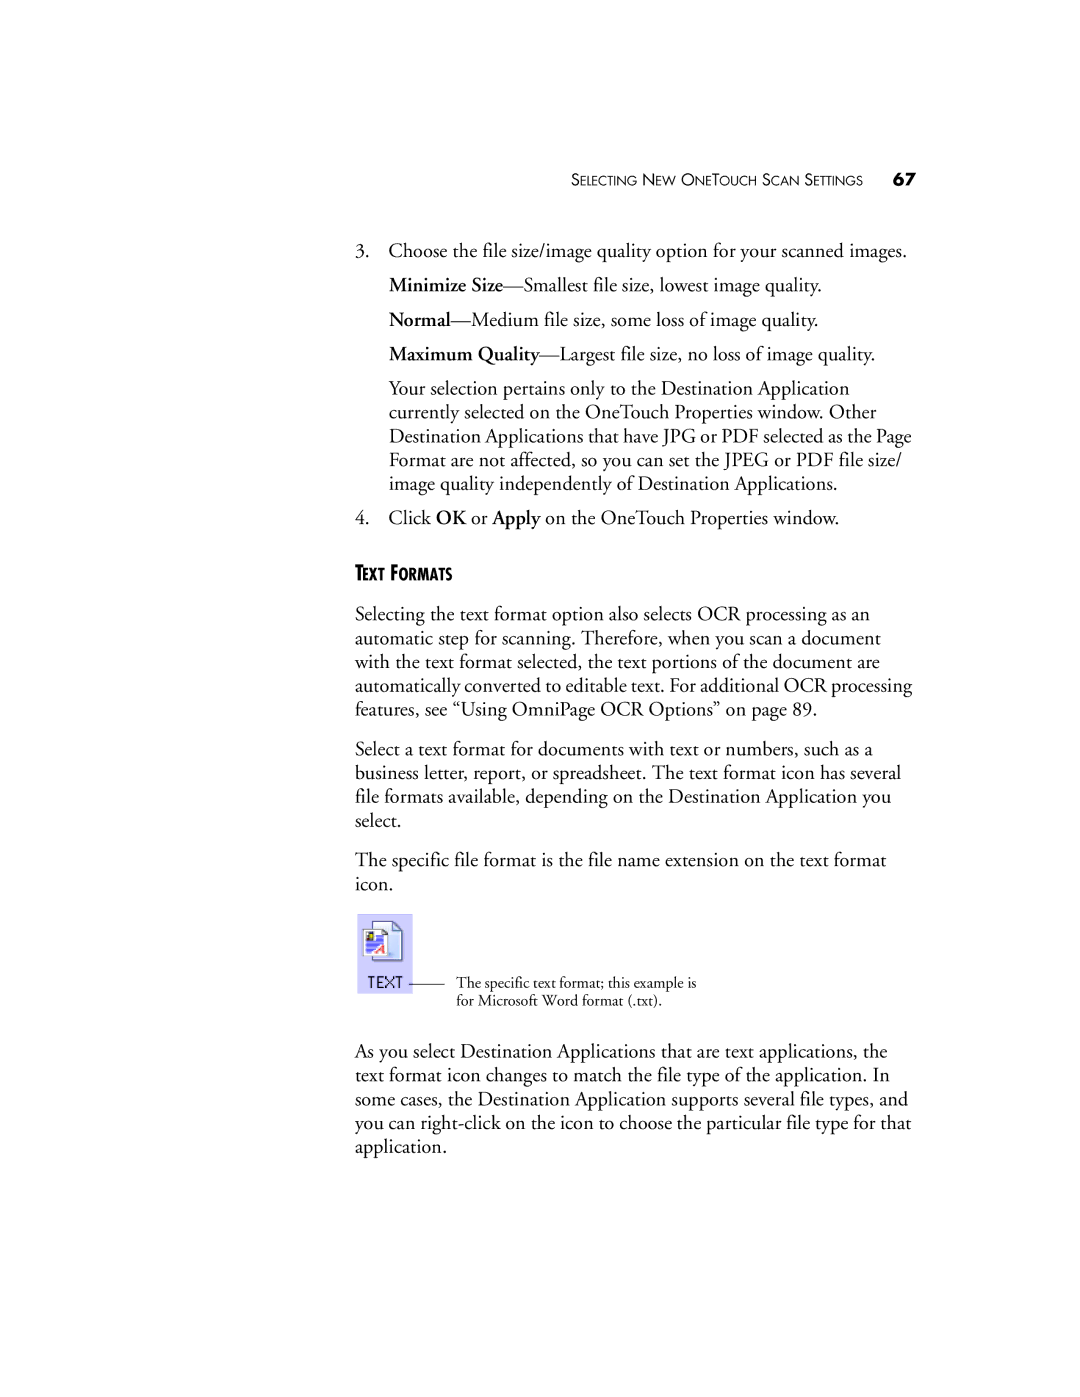
The specific file format is the file name extension on the text format icon.
The specific text format; this example is for Microsoft Word format (.txt).
As you select Destination Applications that are text applications, the text format icon changes to match the file type of the application. In some cases, the Destination Application supports several file types, and you can