Option Card Installation
Closing the System Board from the Right
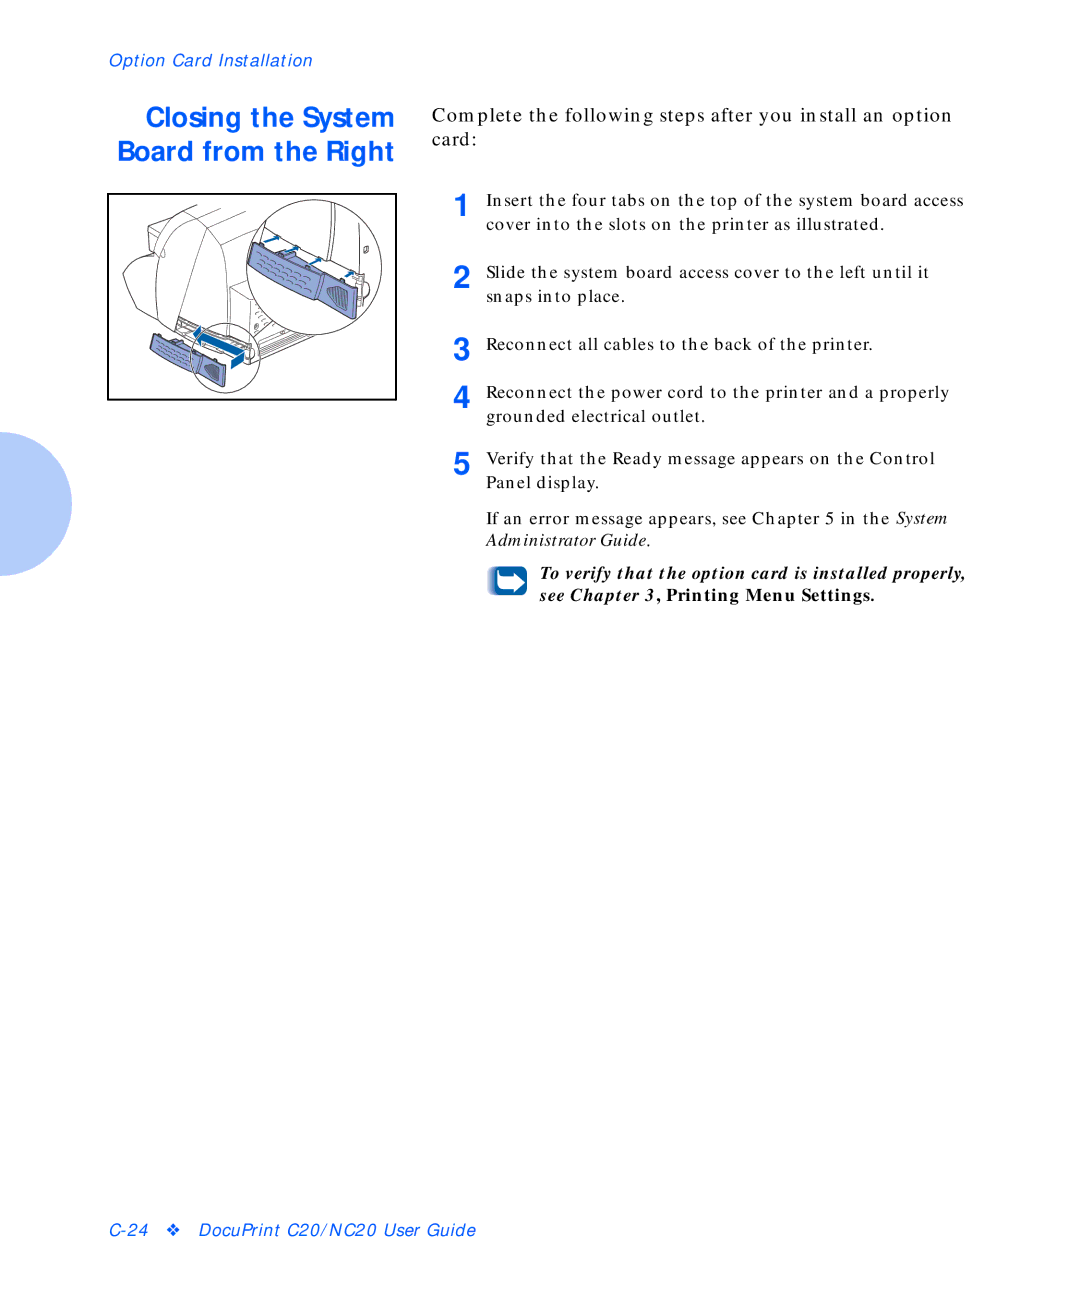
Complete the following steps after you install an option card:
1 | Insert the four tabs on the top of the system board access |
| cover into the slots on the printer as illustrated. |
2 | Slide the system board access cover to the left until it |
| snaps into place. |
3 | Reconnect all cables to the back of the printer. |
4 | Reconnect the power cord to the printer and a properly |
| grounded electrical outlet. |
5 | Verify that the Ready message appears on the Control |
| Panel display. |
If an error message appears, see Chapter 5 in the System Administrator Guide.
To verify that the option card is installed properly, see Chapter 3, Printing Menu Settings.