Installing Printer Options
Installing Printer Options
You can customize your printer by changing memory capacity and installing different connectivity options. This chapter provides instructions for installing each option. To install each option, you must first access the printer system board. Access is from three locations depending upon the option you are installing:
•Under the input tray and output bin unit on the front of the printer
•The back of the printer, and
•The right side of the printer (when facing the front of the printer).
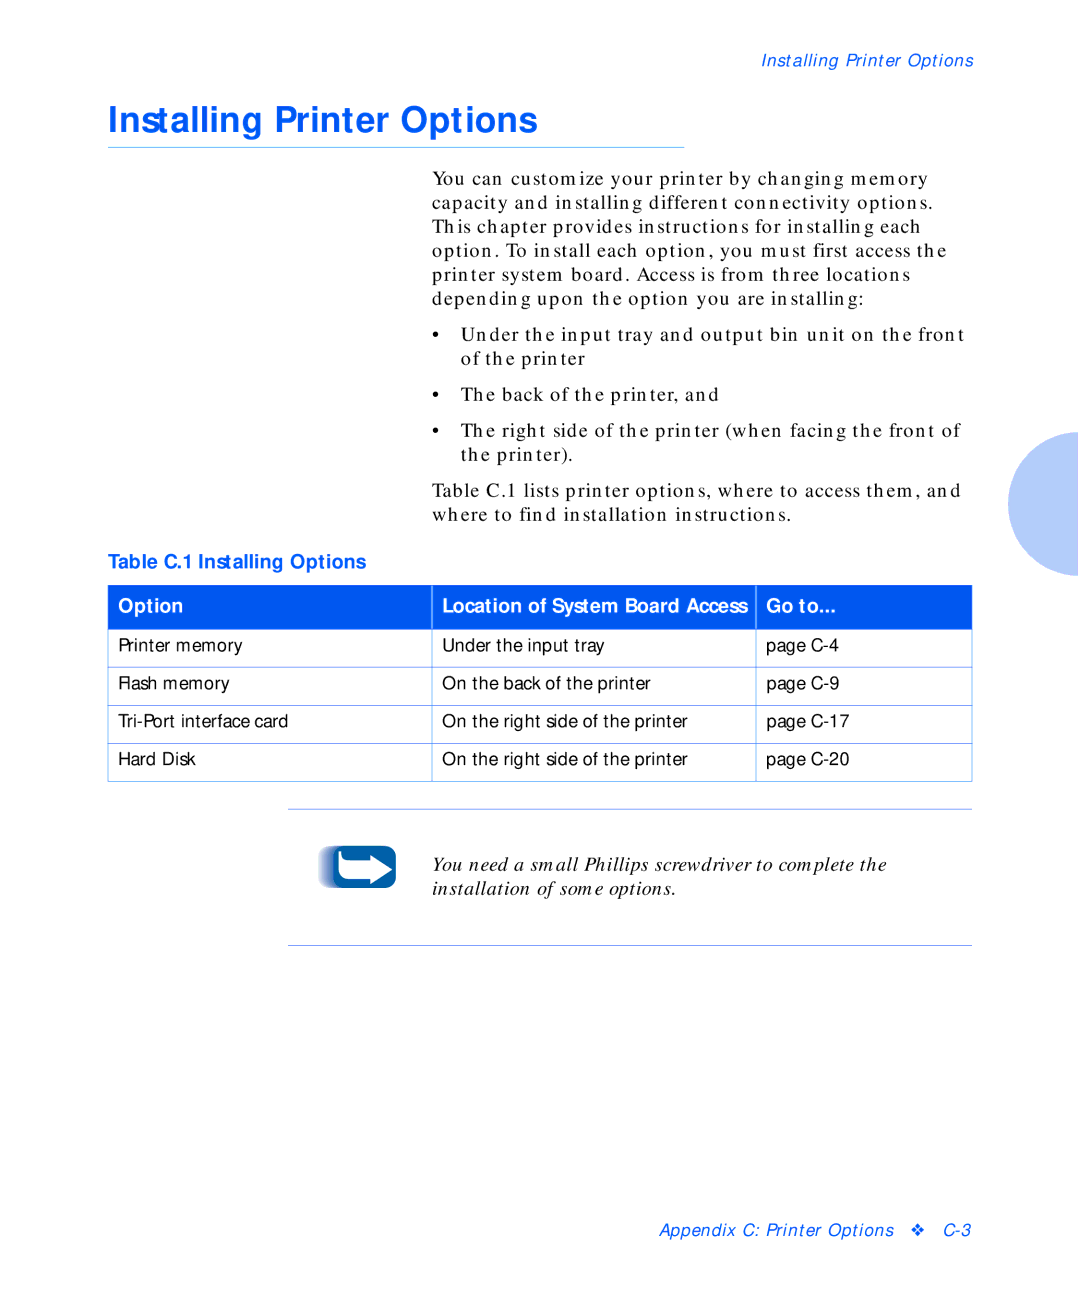
Table C.1 lists printer options, where to access them, and where to find installation instructions.
Table C.1 Installing Options
Option |
| Location of System Board Access |
| Go to... | |
|
|
|
|
|
|
Printer memory |
| Under the input tray |
| page | |
|
|
|
|
|
|
Flash memory |
| On the back of the printer |
| page | |
|
|
|
|
|
|
| On the right side of the printer |
| page | ||
|
|
|
|
|
|
Hard Disk |
| On the right side of the printer |
| page | |
|
|
|
|
|
|
|
|
|
|
|
|
You need a small Phillips screwdriver to complete the installation of some options.
Appendix C: Printer Options ❖
