Input Tray 2
Attaching the
Paper Support
1 |
2 |
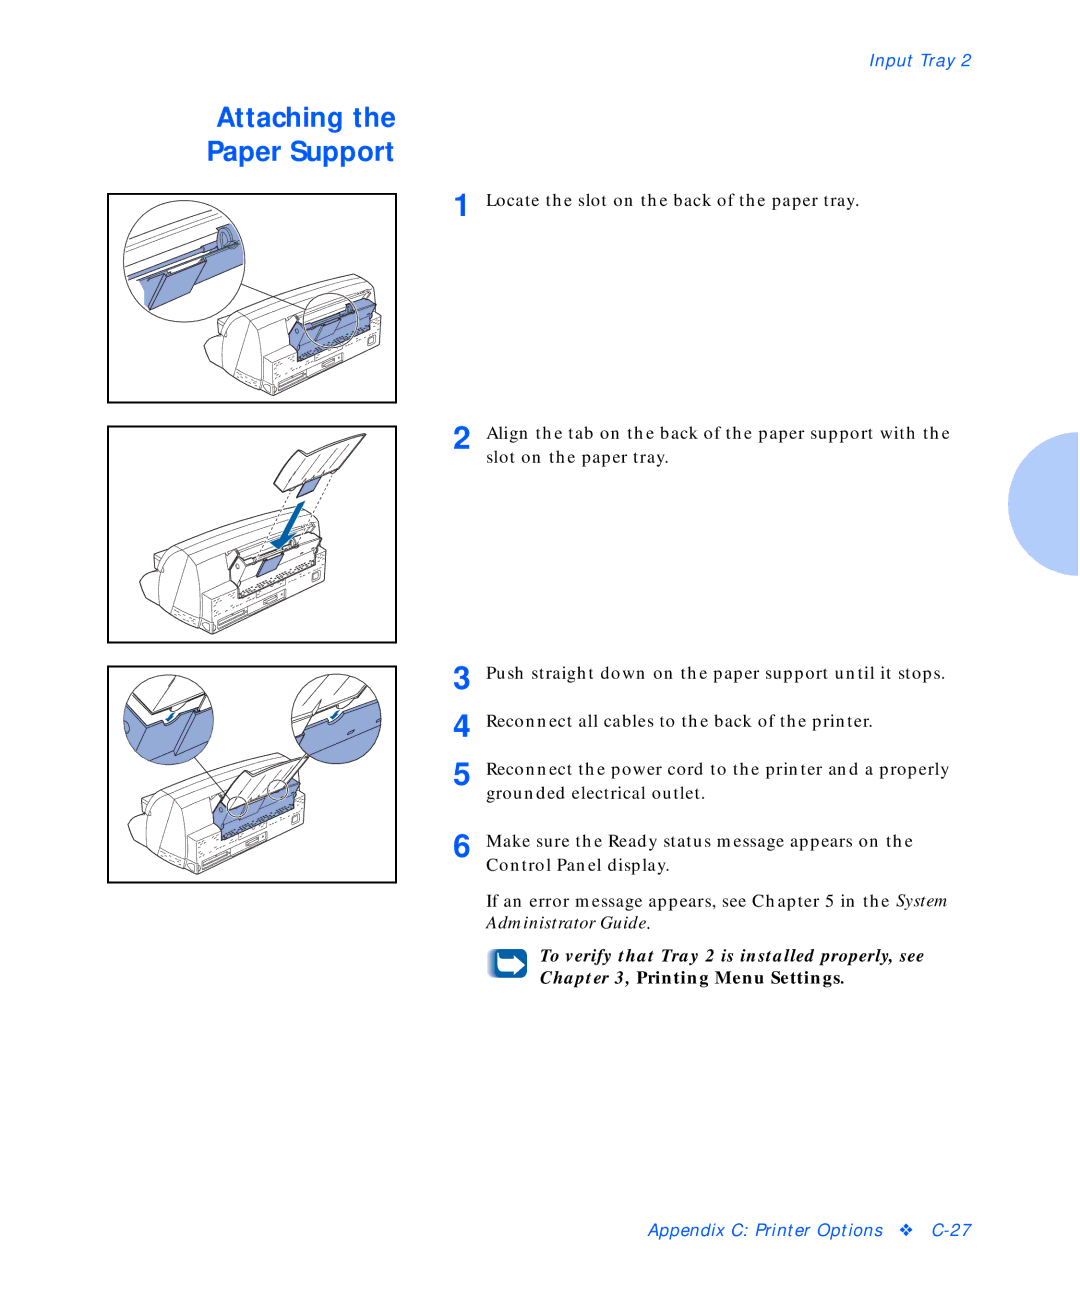
Locate the slot on the back of the paper tray.
Align the tab on the back of the paper support with the slot on the paper tray.
3 | Push straight down on the paper support until it stops. |
4 | Reconnect all cables to the back of the printer. |
5 | Reconnect the power cord to the printer and a properly |
| grounded electrical outlet. |
6 | Make sure the Ready status message appears on the |
| Control Panel display. |
If an error message appears, see Chapter 5 in the System Administrator Guide.
To verify that Tray 2 is installed properly, see Chapter 3, Printing Menu Settings.
Appendix C: Printer Options ❖