Replacing the Print Cartridges
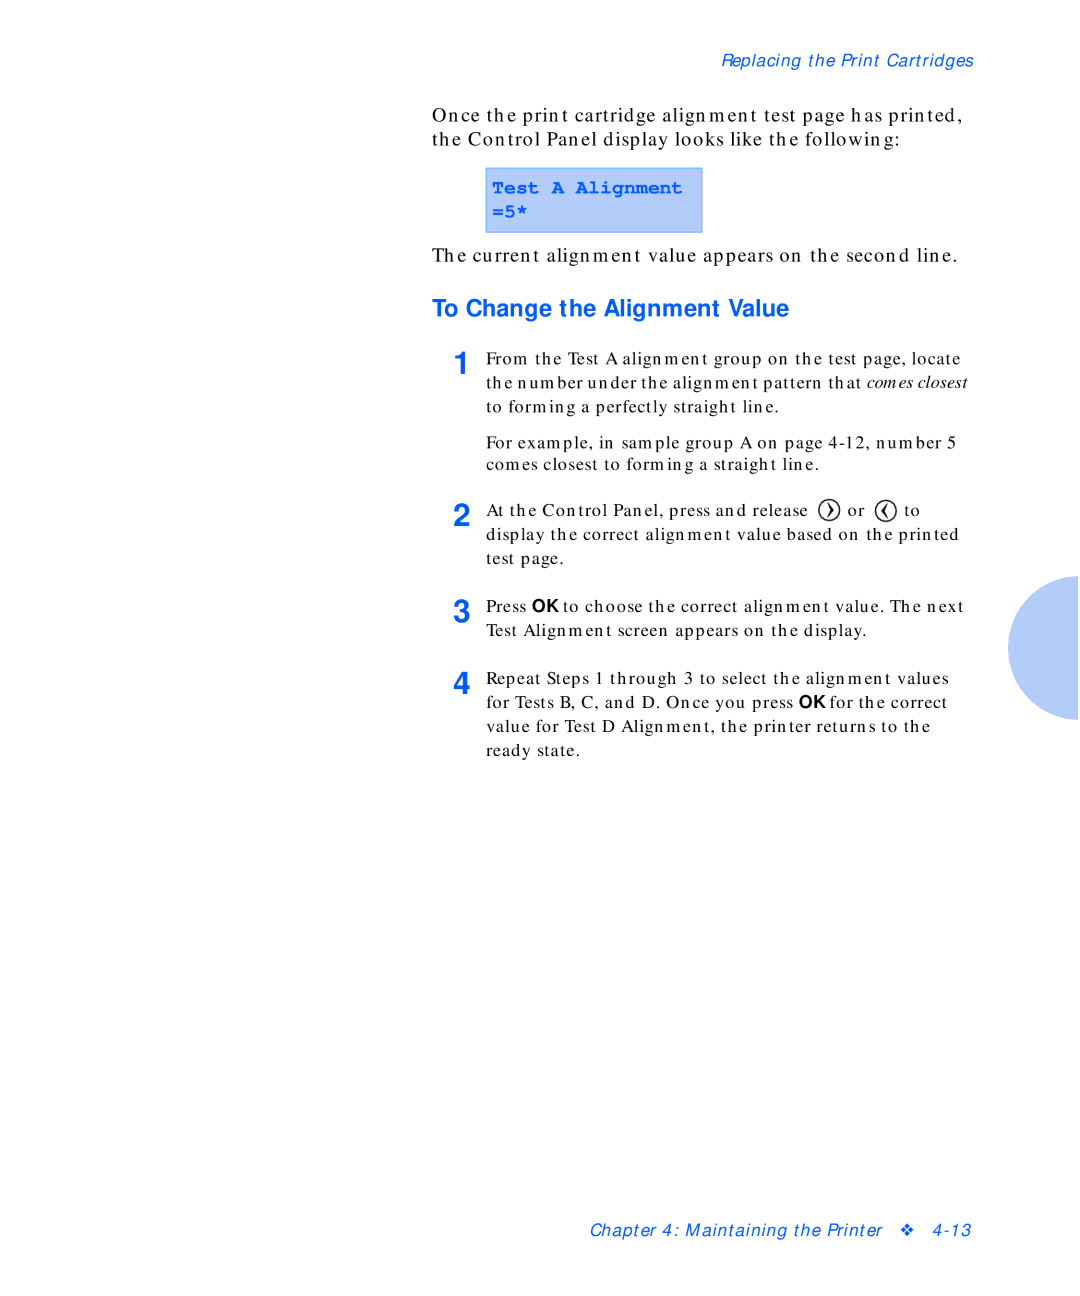
Once the print cartridge alignment test page has printed, the Control Panel display looks like the following:
Test A Alignment =5*
The current alignment value appears on the second line.
To Change the Alignment Value
1
2
3
4
From the Test A alignment group on the test page, locate the number under the alignment pattern that comes closest to forming a perfectly straight line.
For example, in sample group A on page
At the Control Panel, press and release ![]() or
or ![]() to display the correct alignment value based on the printed test page.
to display the correct alignment value based on the printed test page.
Press OK to choose the correct alignment value. The next Test Alignment screen appears on the display.
Repeat Steps 1 through 3 to select the alignment values for Tests B, C, and D. Once you press OK for the correct value for Test D Alignment, the printer returns to the ready state.
Chapter 4: Maintaining the Printer ❖
